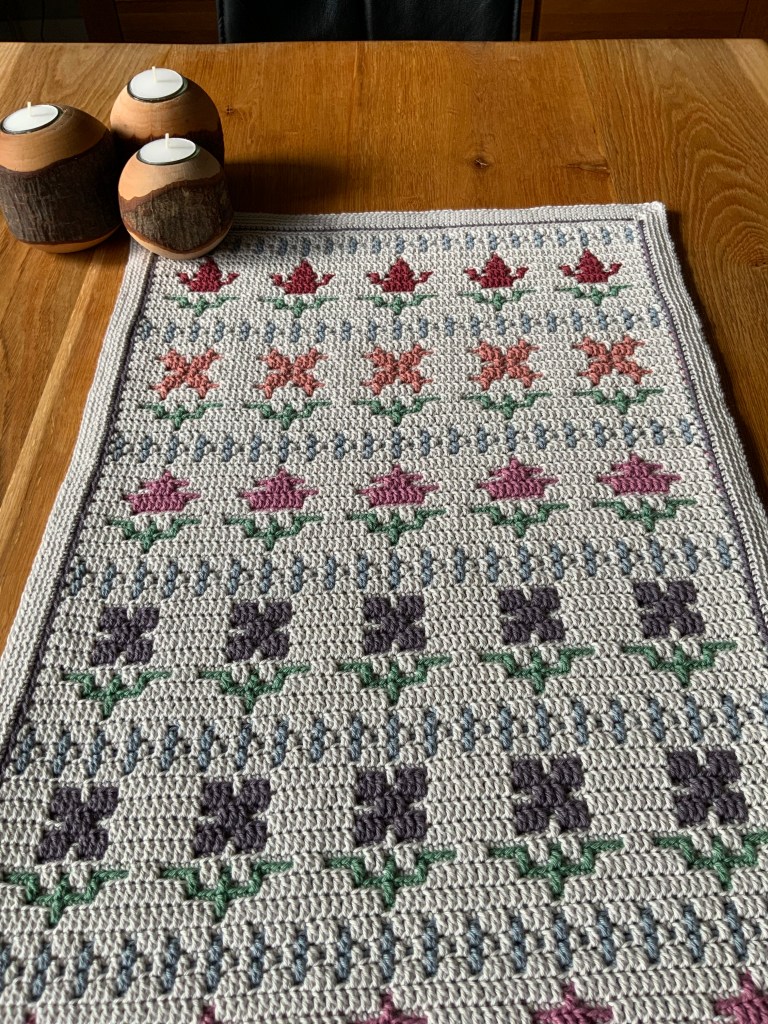
Winter Wonderland, the new Cal by Ana Morais Soares / One Skein of Love started today. Are you ready?
As promised, I will list the colours I used row by row here At the end of this post you will find a document to download.
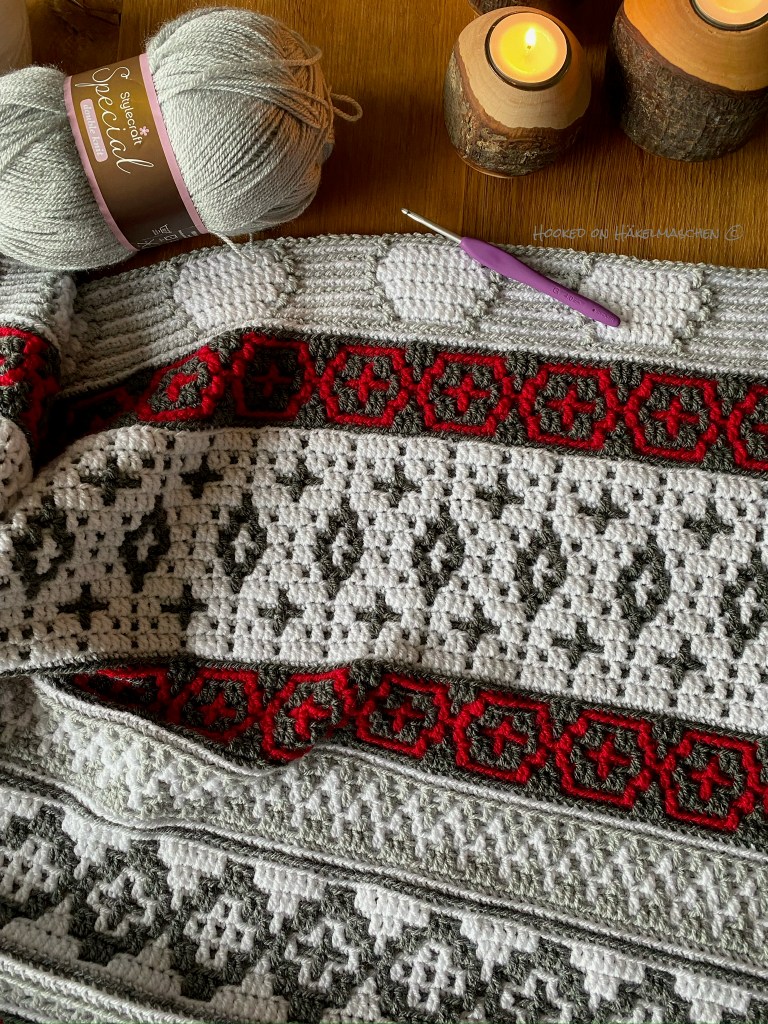
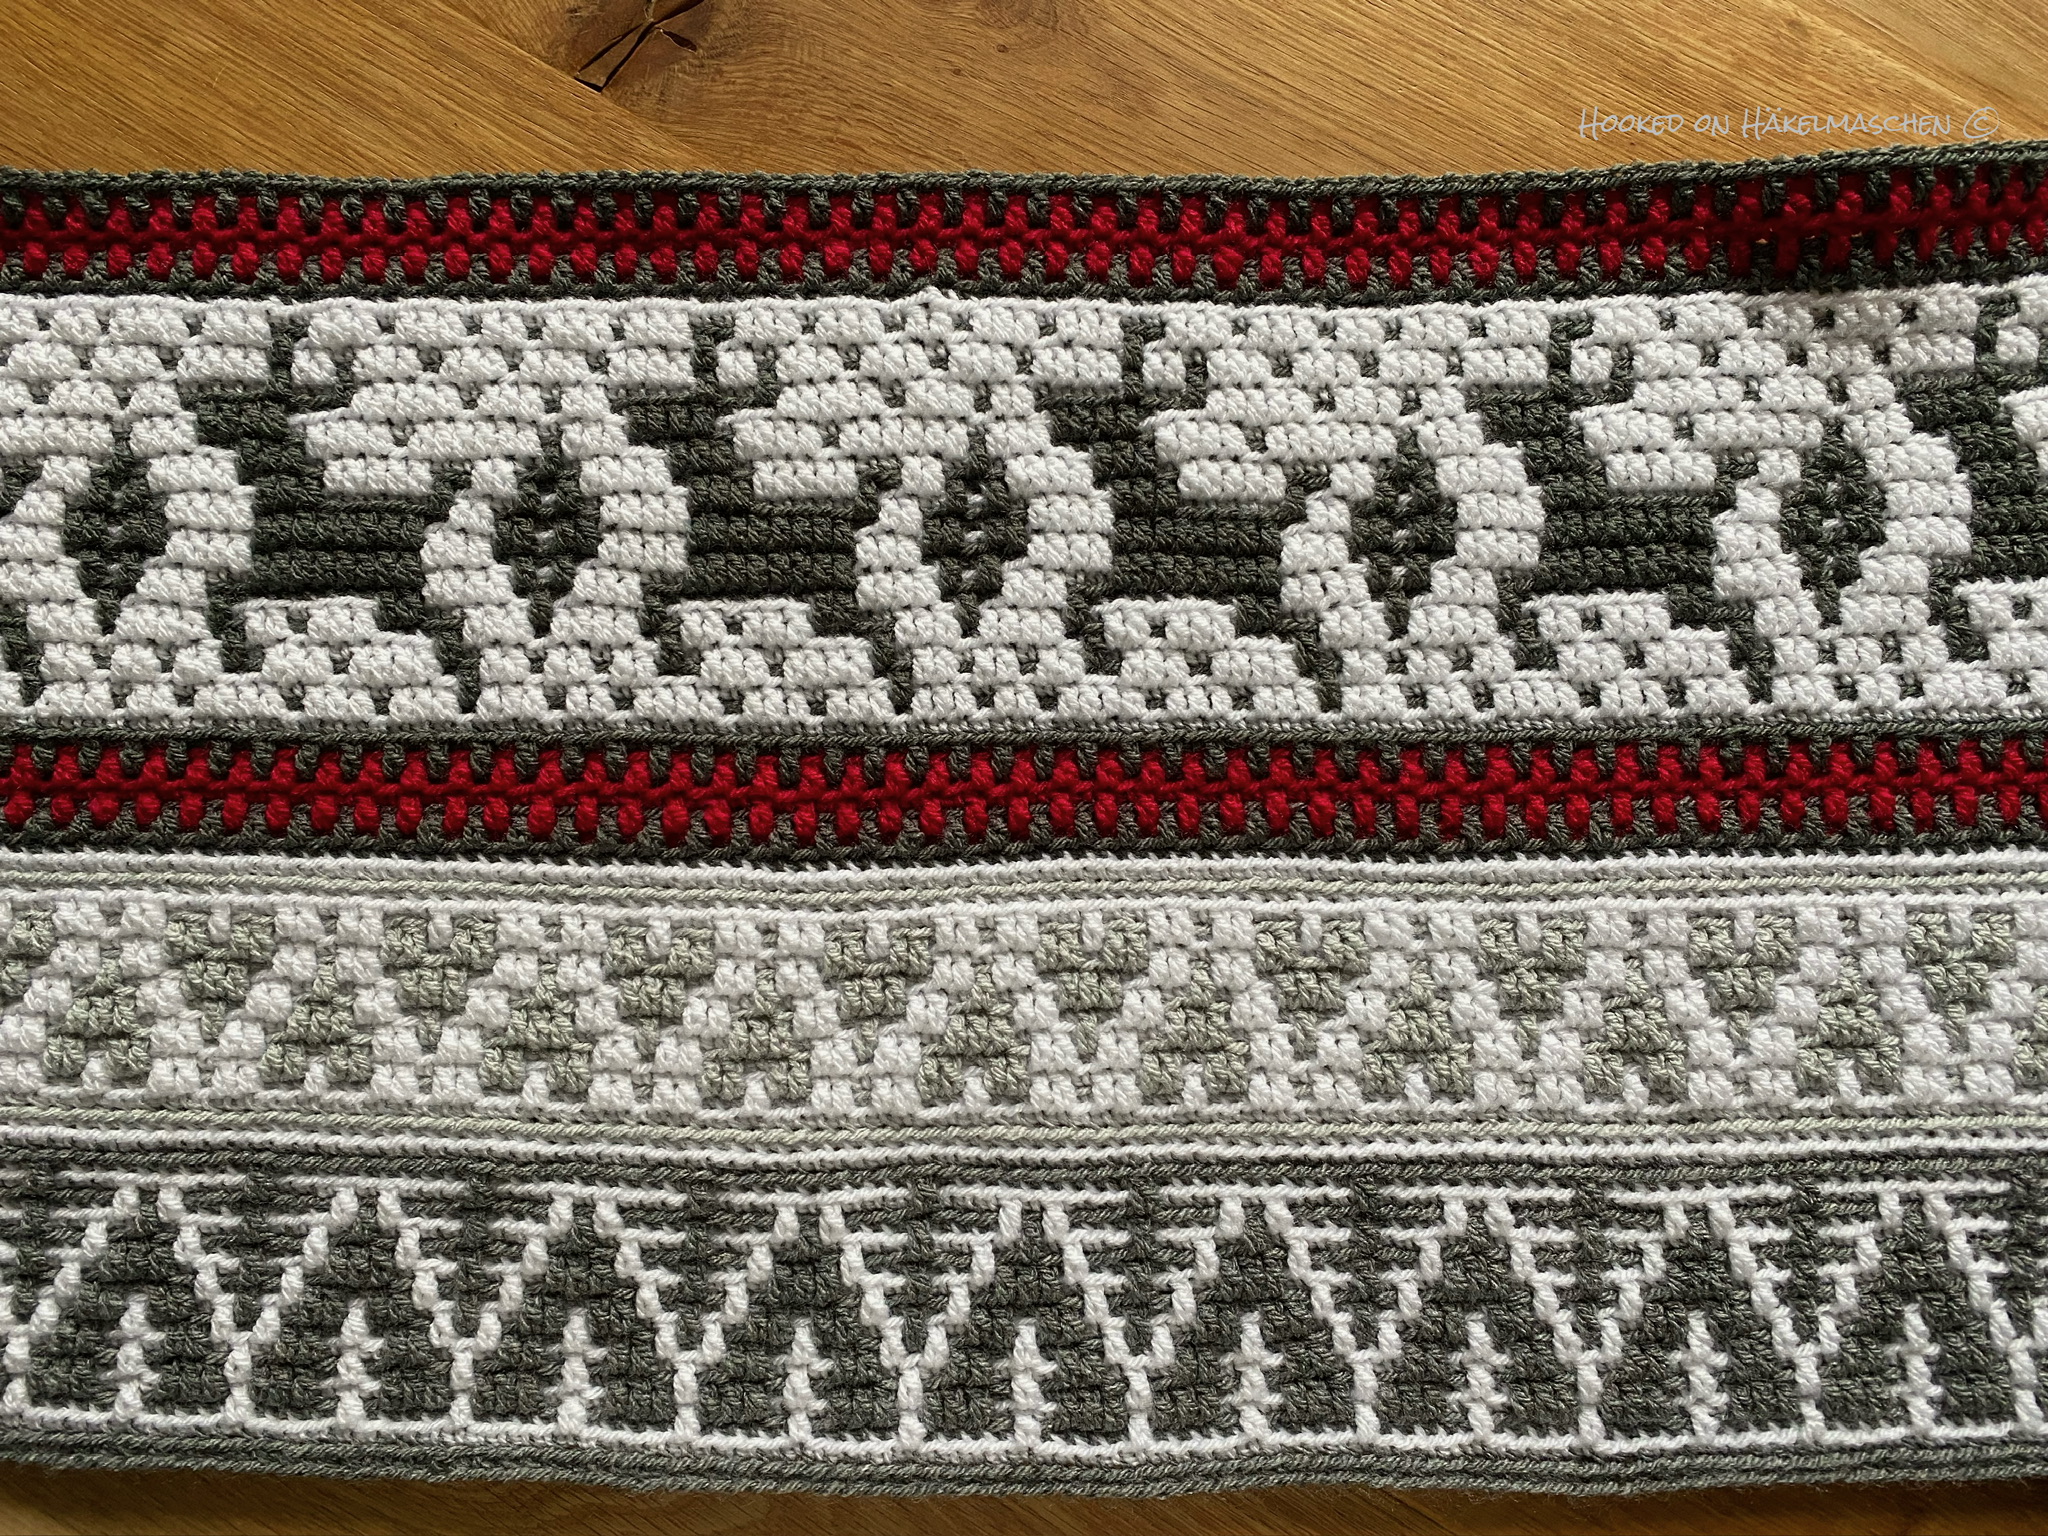
I used Stylecraft Special DK in White, Silver, Grey, Graphite and Lipstick. Although the pattern has now been fully tested, I am unfortunately still working on my blanket. Therefore, I am not yet able to give any details about my total yarn consumption. I will keep you updated as soon as possible.
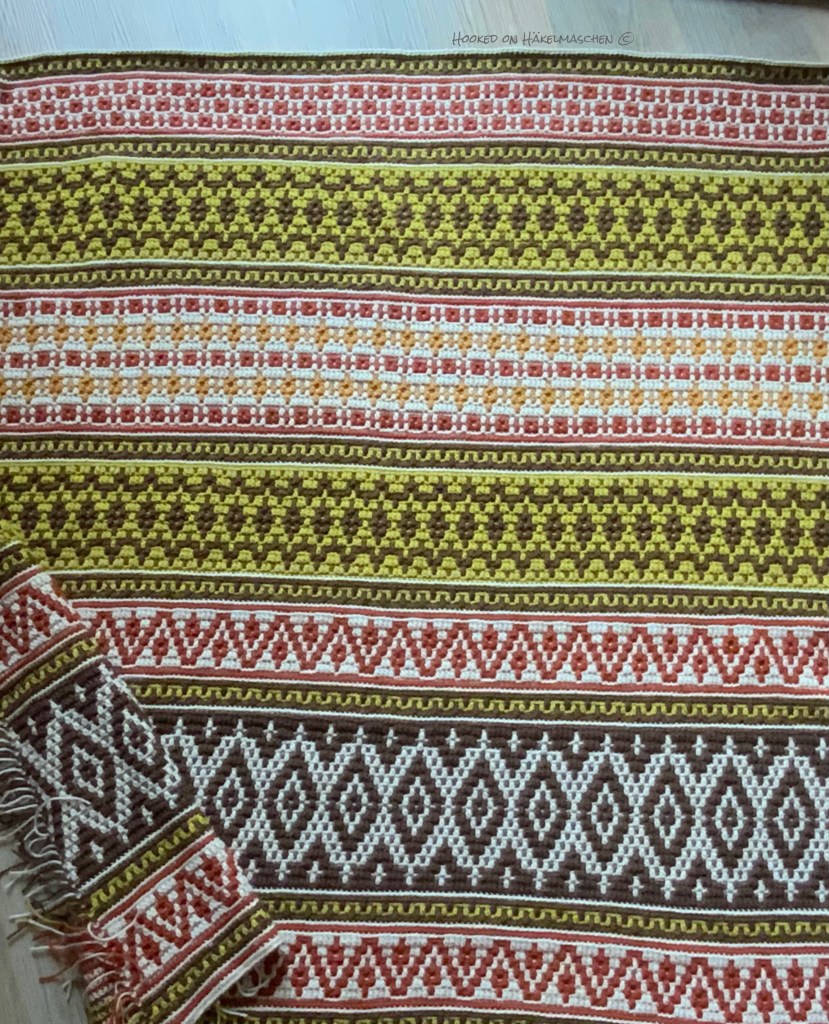
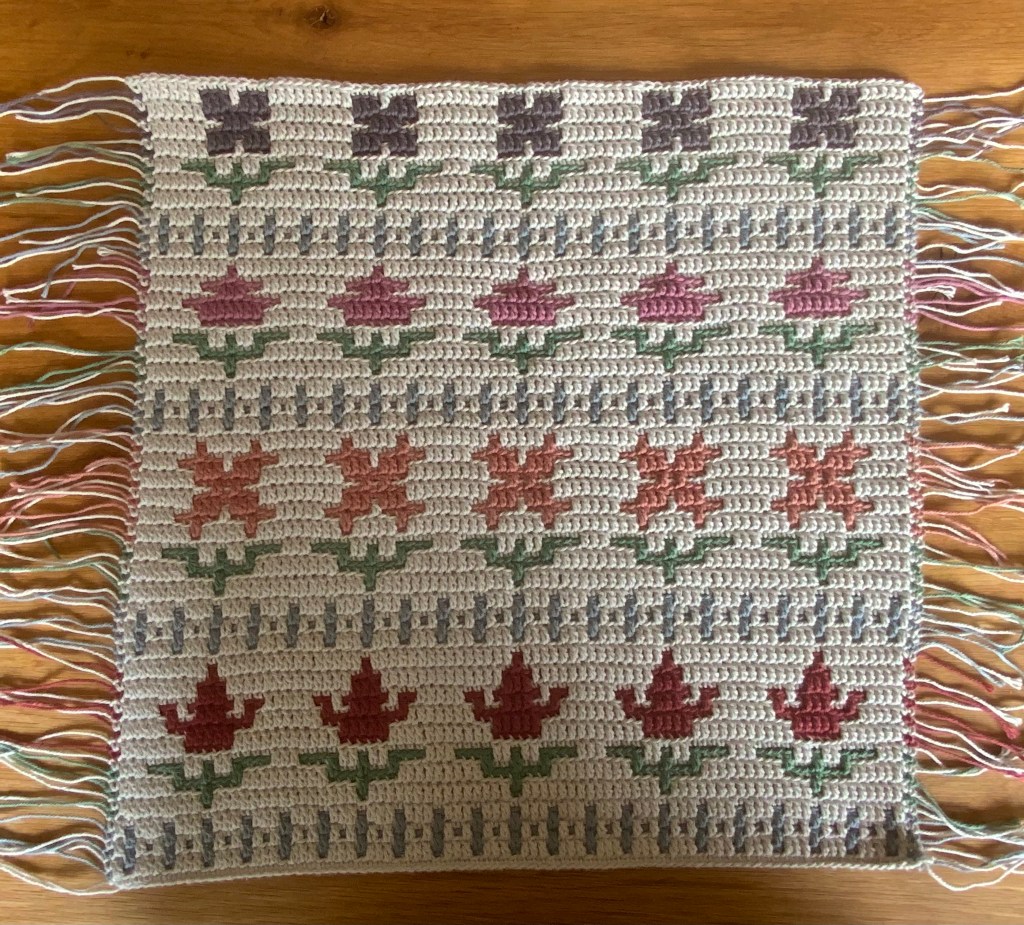
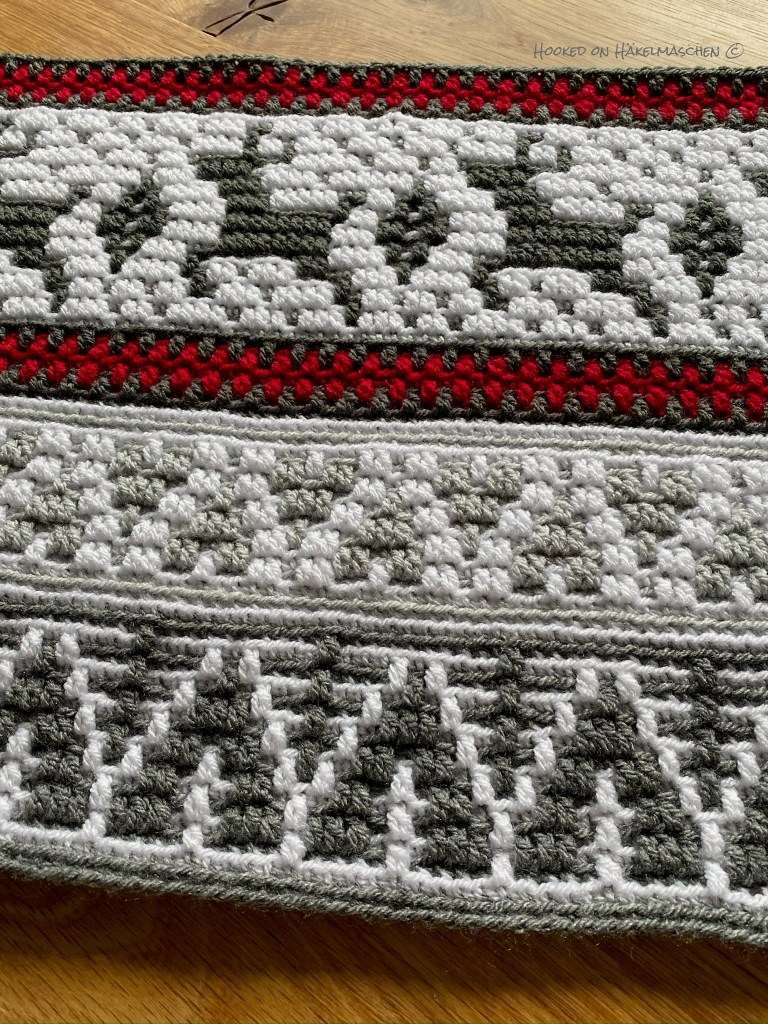
Here a photo of „my Part 1”. Aren‘t these reindeers cute?
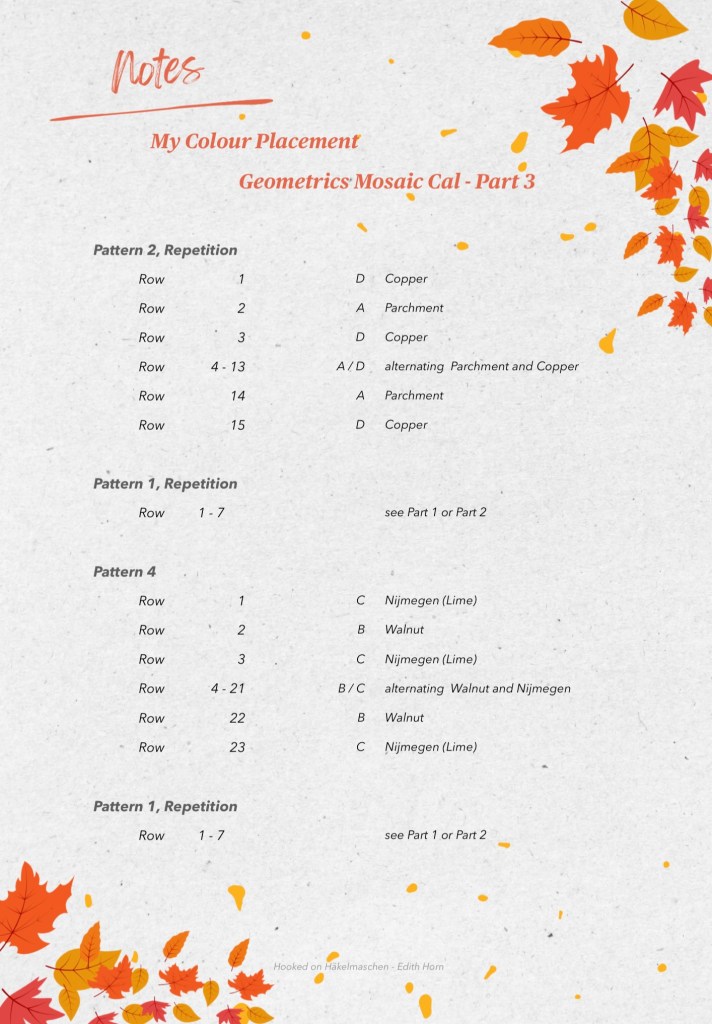
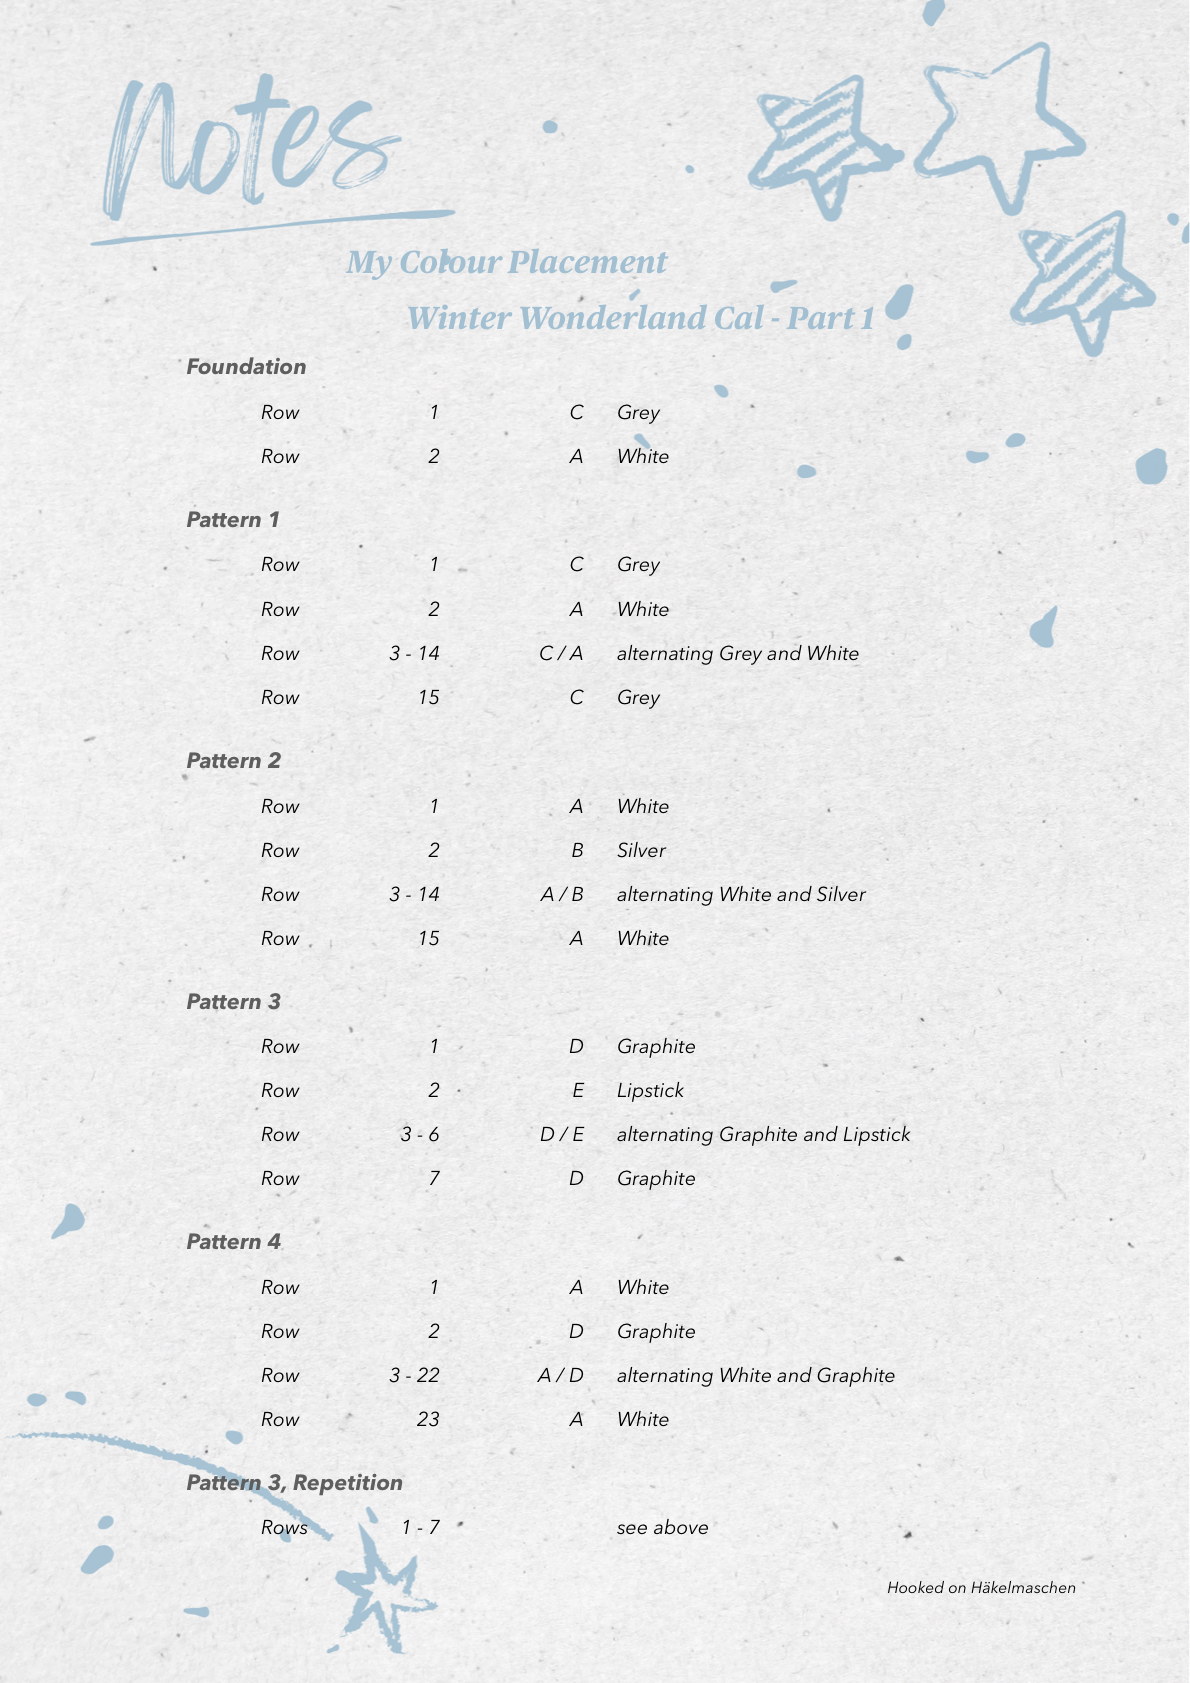
And here my colour placement
Update June 2024:
It’s long overdue: I’ve finally redesigned the documents with my colour scheme and combined the download into one document. There you will also find the total amount of yarn required. Details on the yarn consumption are listed in this post.
Please don’t be surprised that the files look a little different, the content is the same.
In case you are looking for Ana‘s pattern, you will find it here.
I hope you will enjoy this pattern as much as I did. My colours for part 2 and 3 will follow in a few days.
Happy crocheting!

More posts about Winter Wonderland:
Winter Wonderland – My colours part 2
Winter Wonderland – My colours part 3
Winter Wonderland – My colours part 4
Winter Wonderland – My colours part 5