After the Winter Wonderland Cal is over now I thought it might be a good idea to collect all information about my blanket in one place.
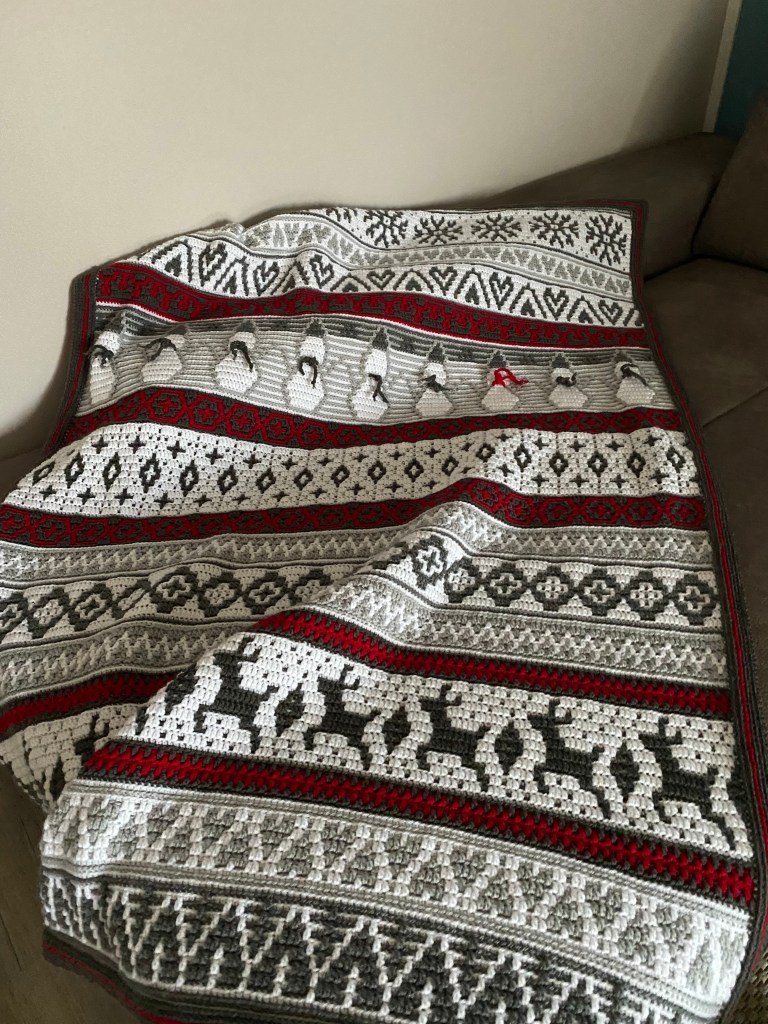
Winter Wonderland Cal
Cal – timeframe
11. November – 16. December 2021
Designer
Ana Morais Soares from One Skein of Love
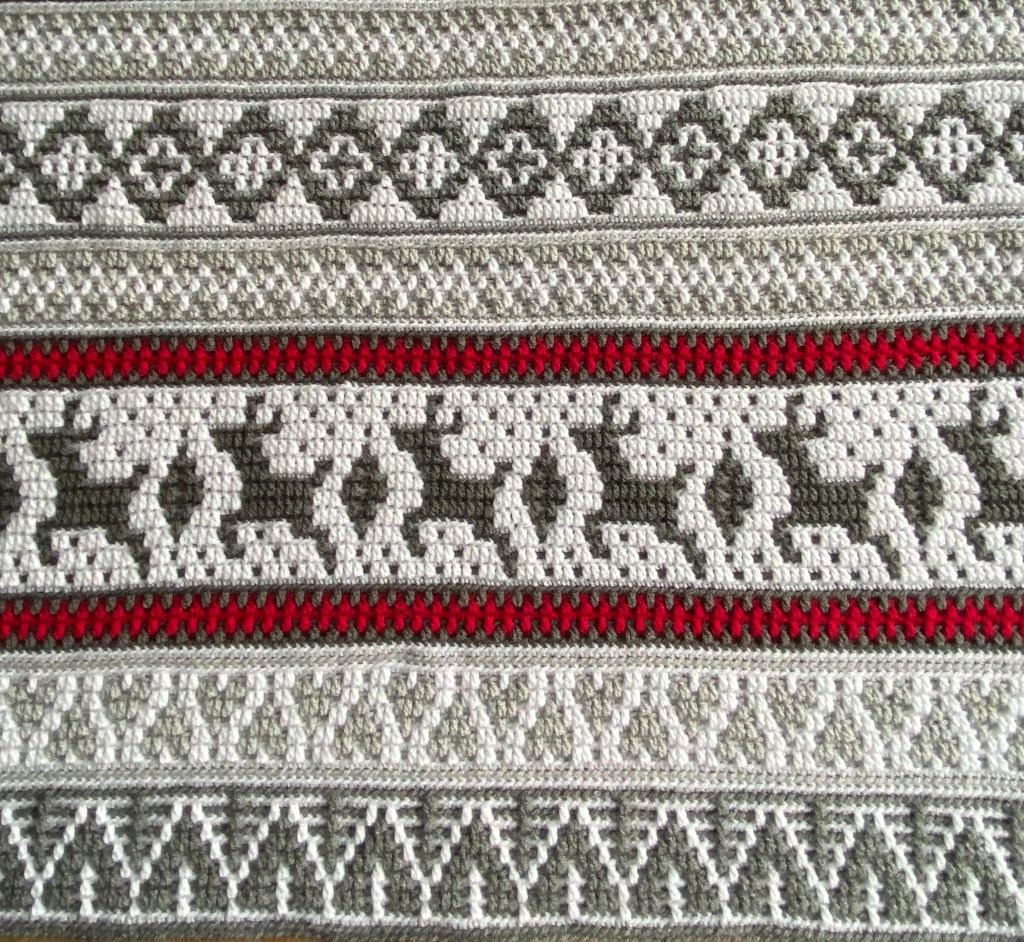
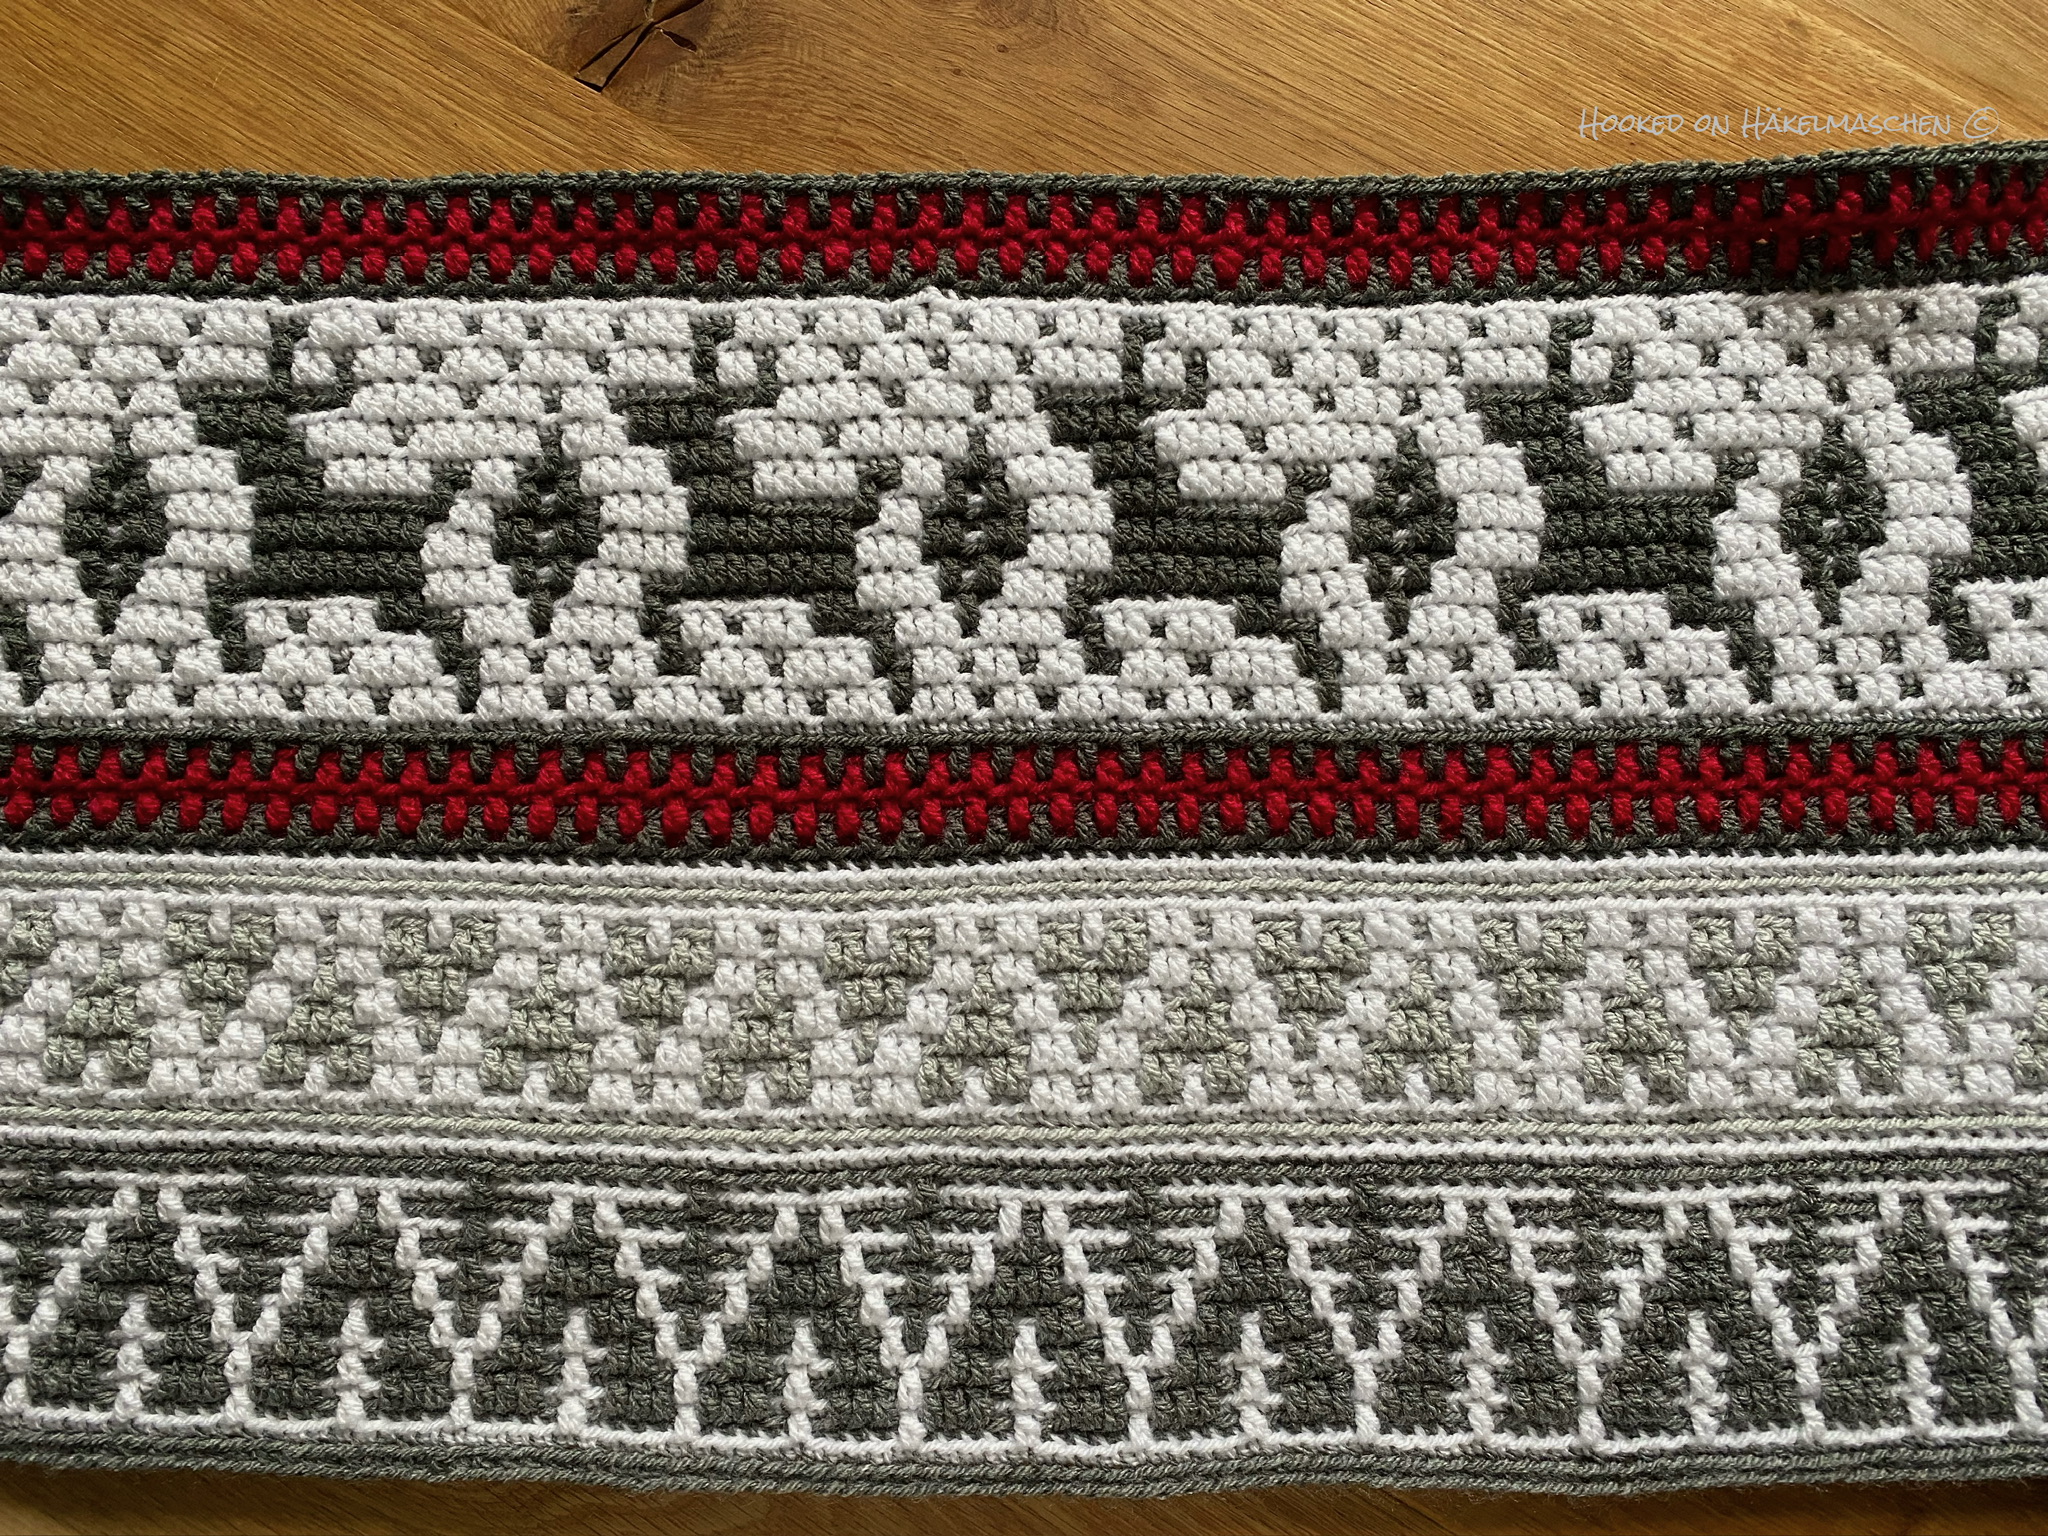
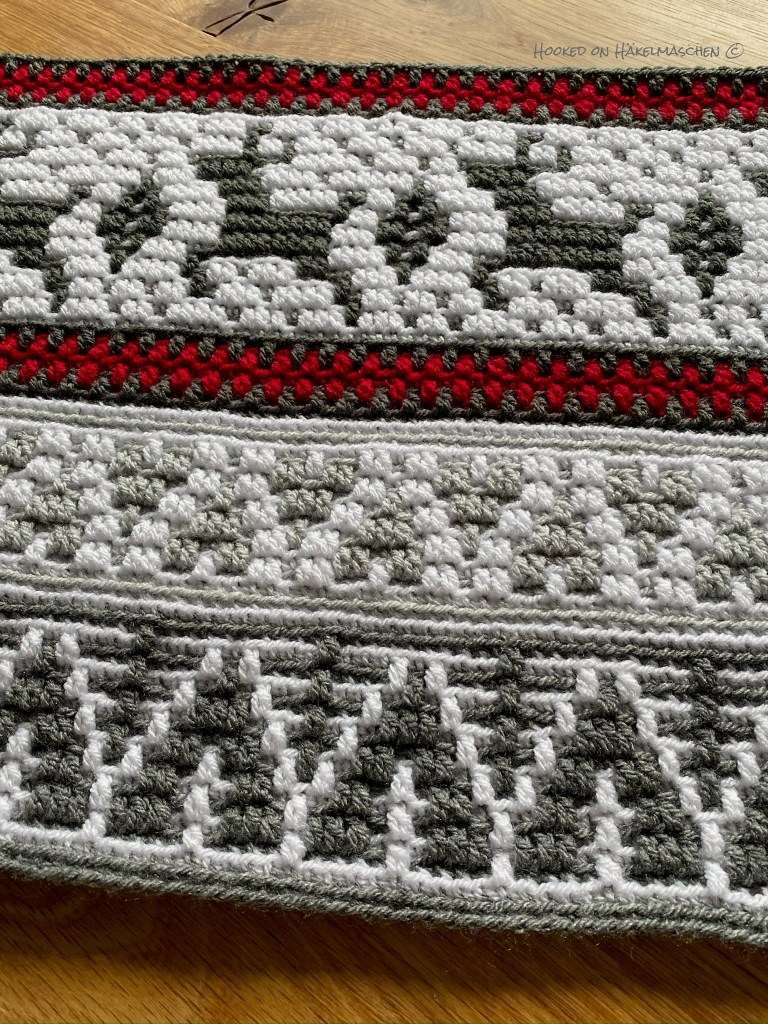
Technique
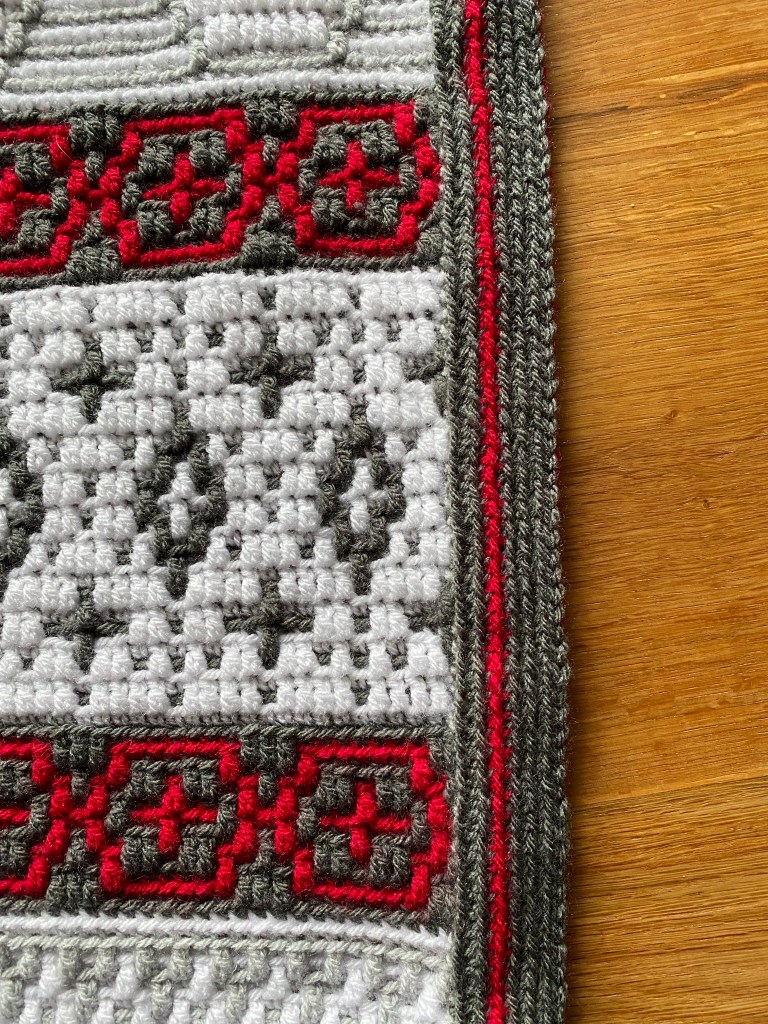
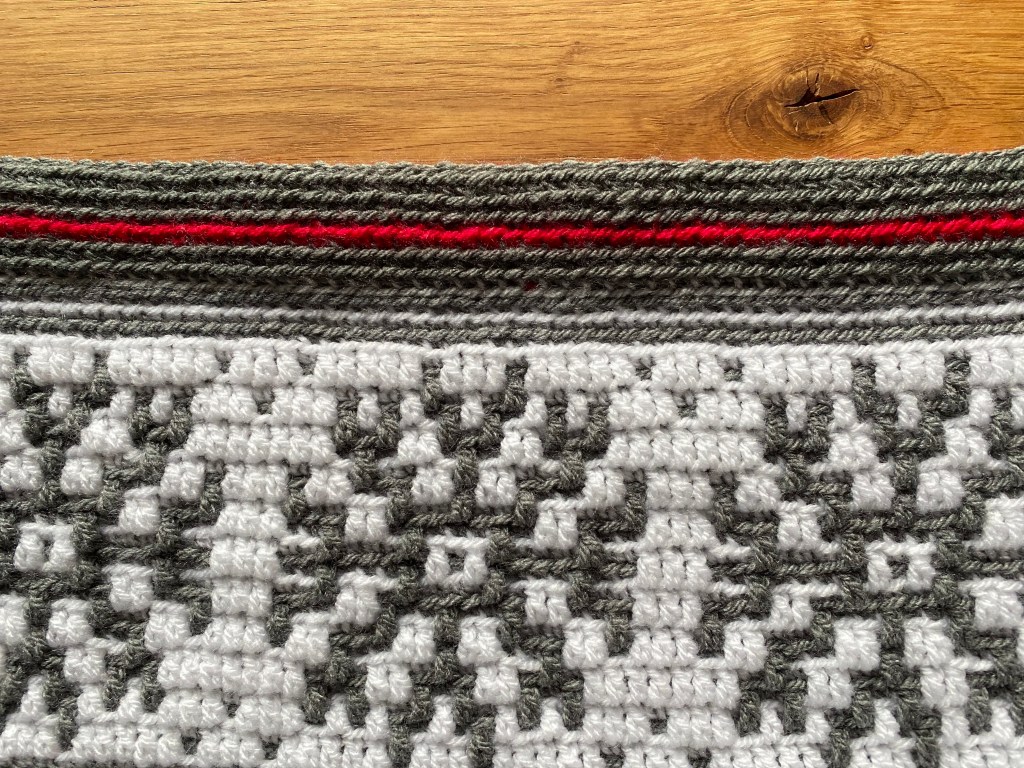
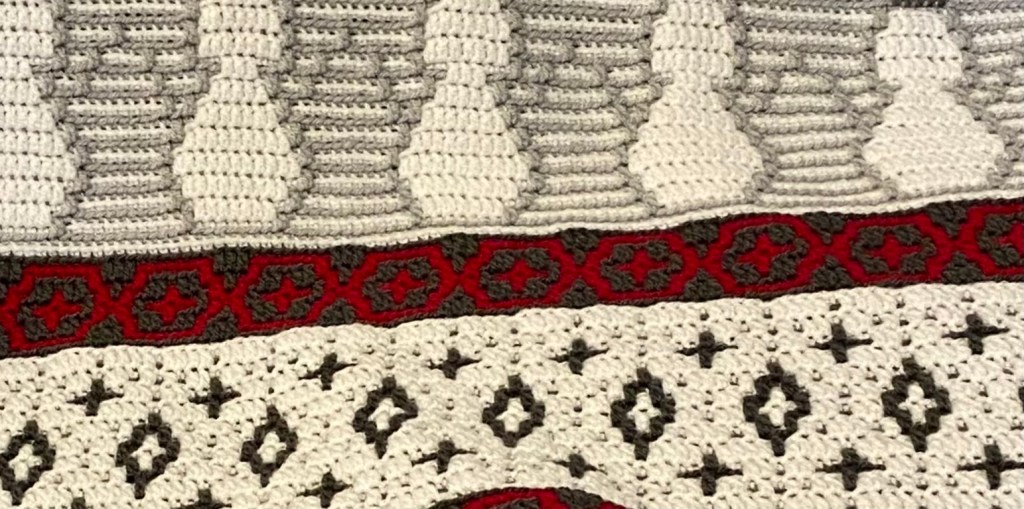
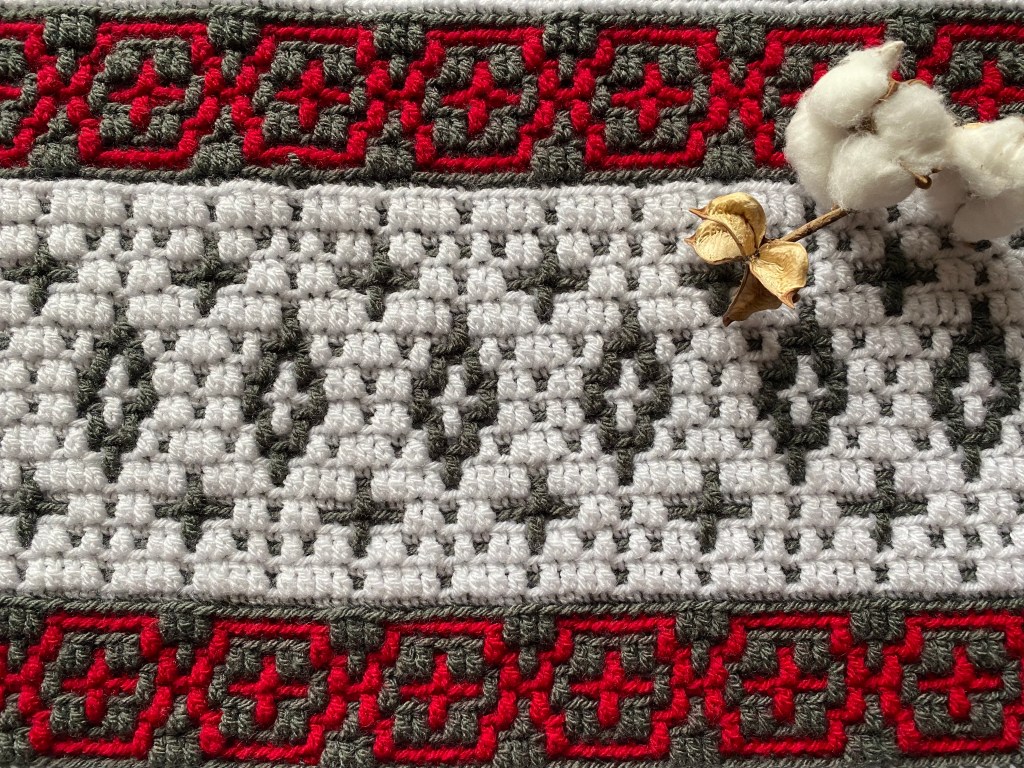
Overlay Mosaic crochet
Test phase
12. October – 14. November 2021
finished
26. November 2021
Colour inspiration
Mood board by Pippin Porppycock
Yarn and colours
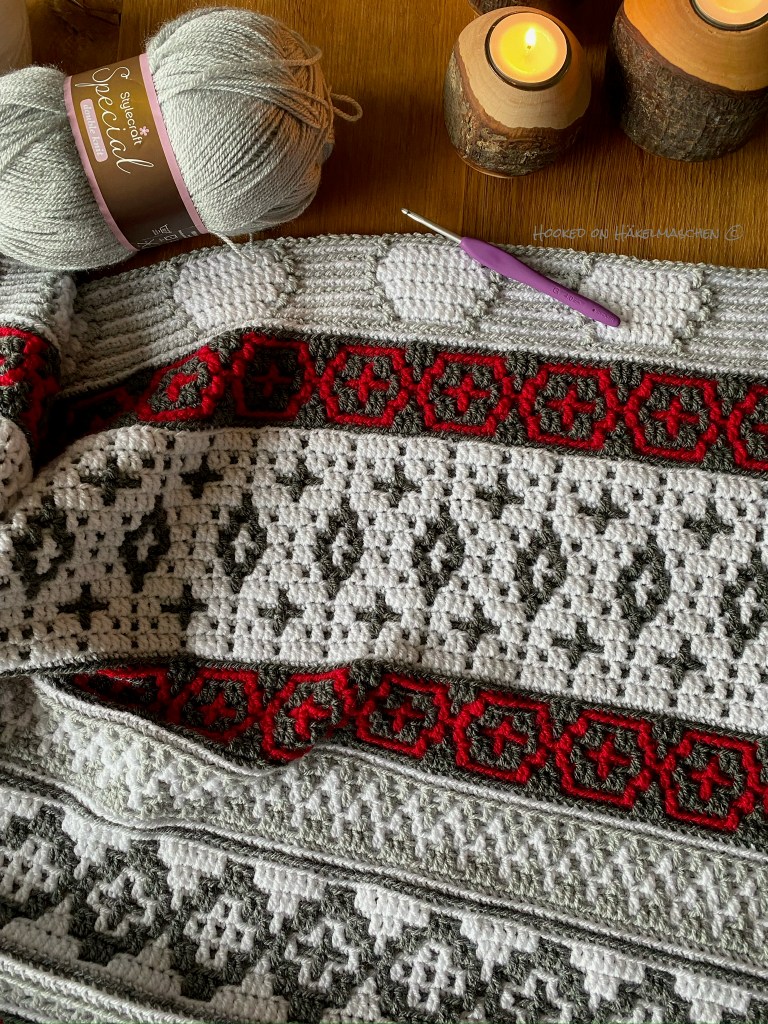
Stylecraft Special DK (295 m / 100 g)
White
Silver
Grey
Graphite
Lipstick
4 balls
2 balls
2 balls
3 balls
2 balls
Hook
Clover Amour Hook, 4 mm
Gauge
23 stitches, 15 rows —> 13,5 x 8 cm
Repeats
9 repeats, 183 stitches
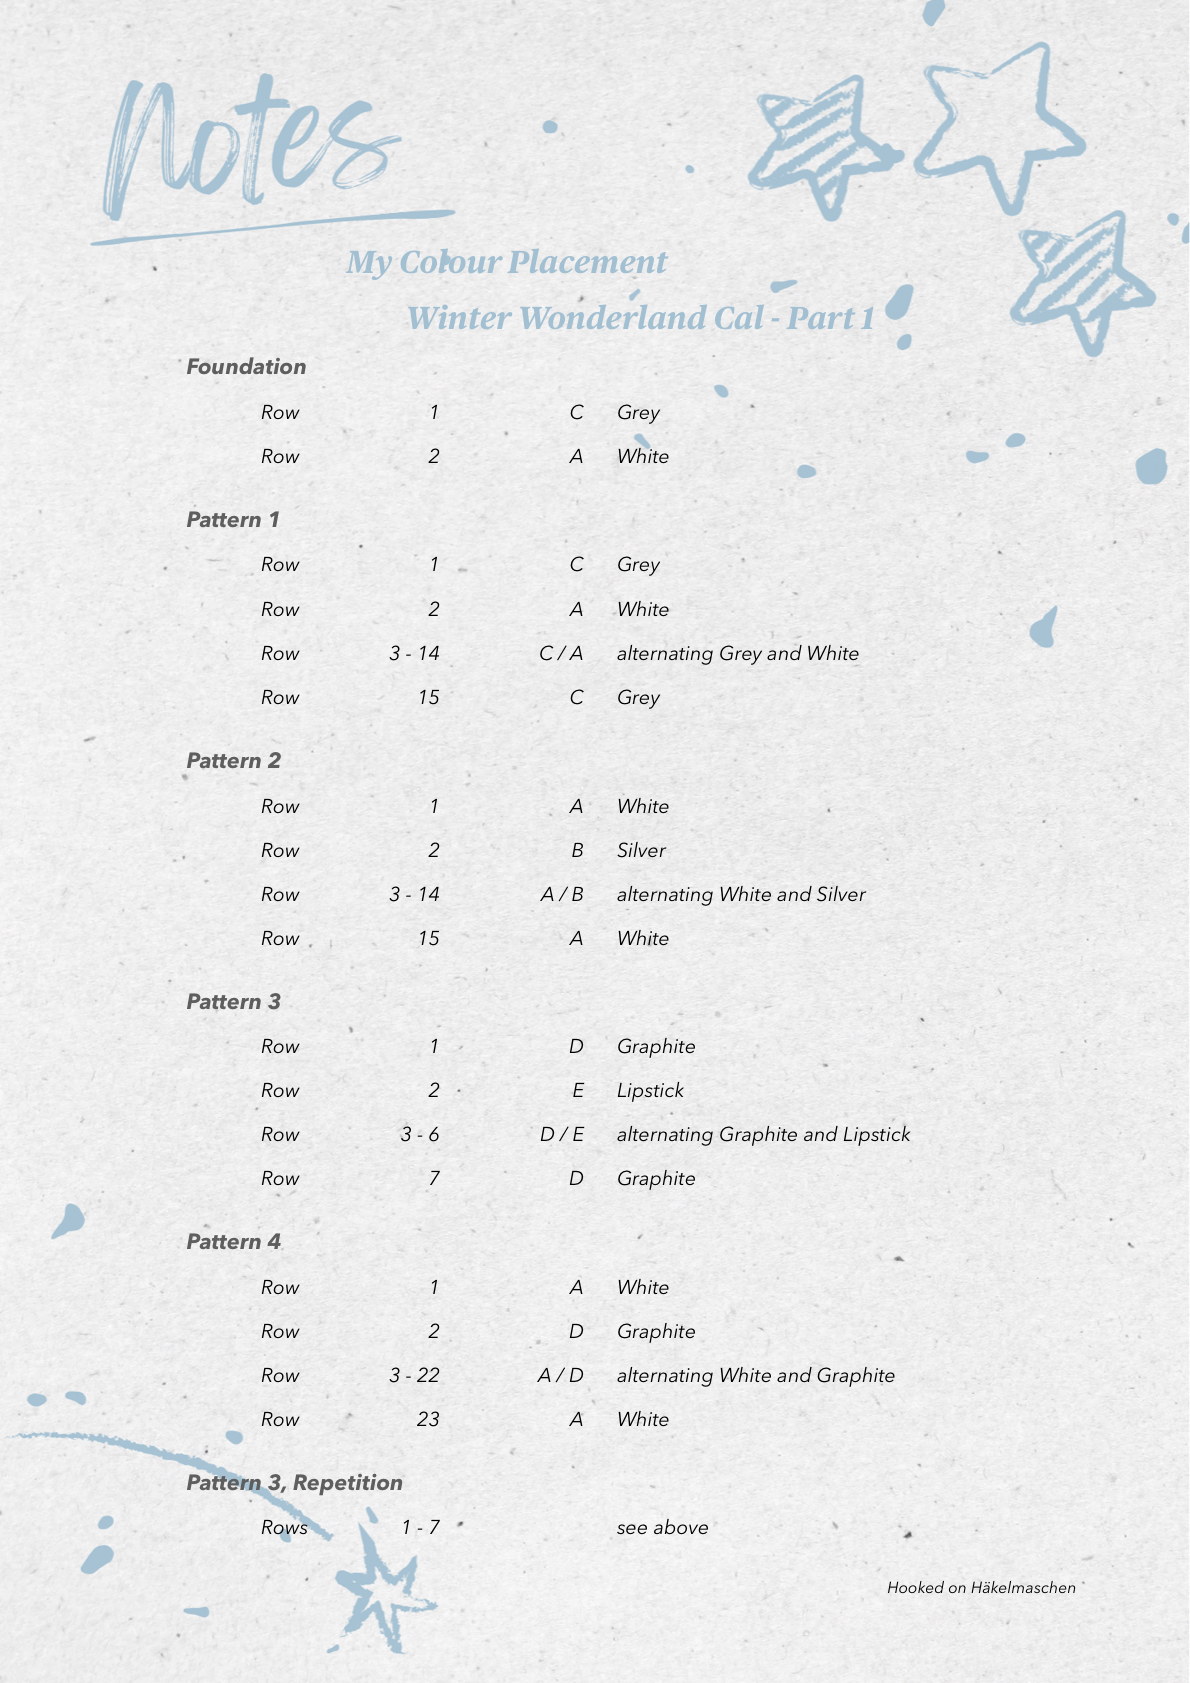
Rows / Patterns
256 rows, Pattern 1 – 14, following the Cal pattern
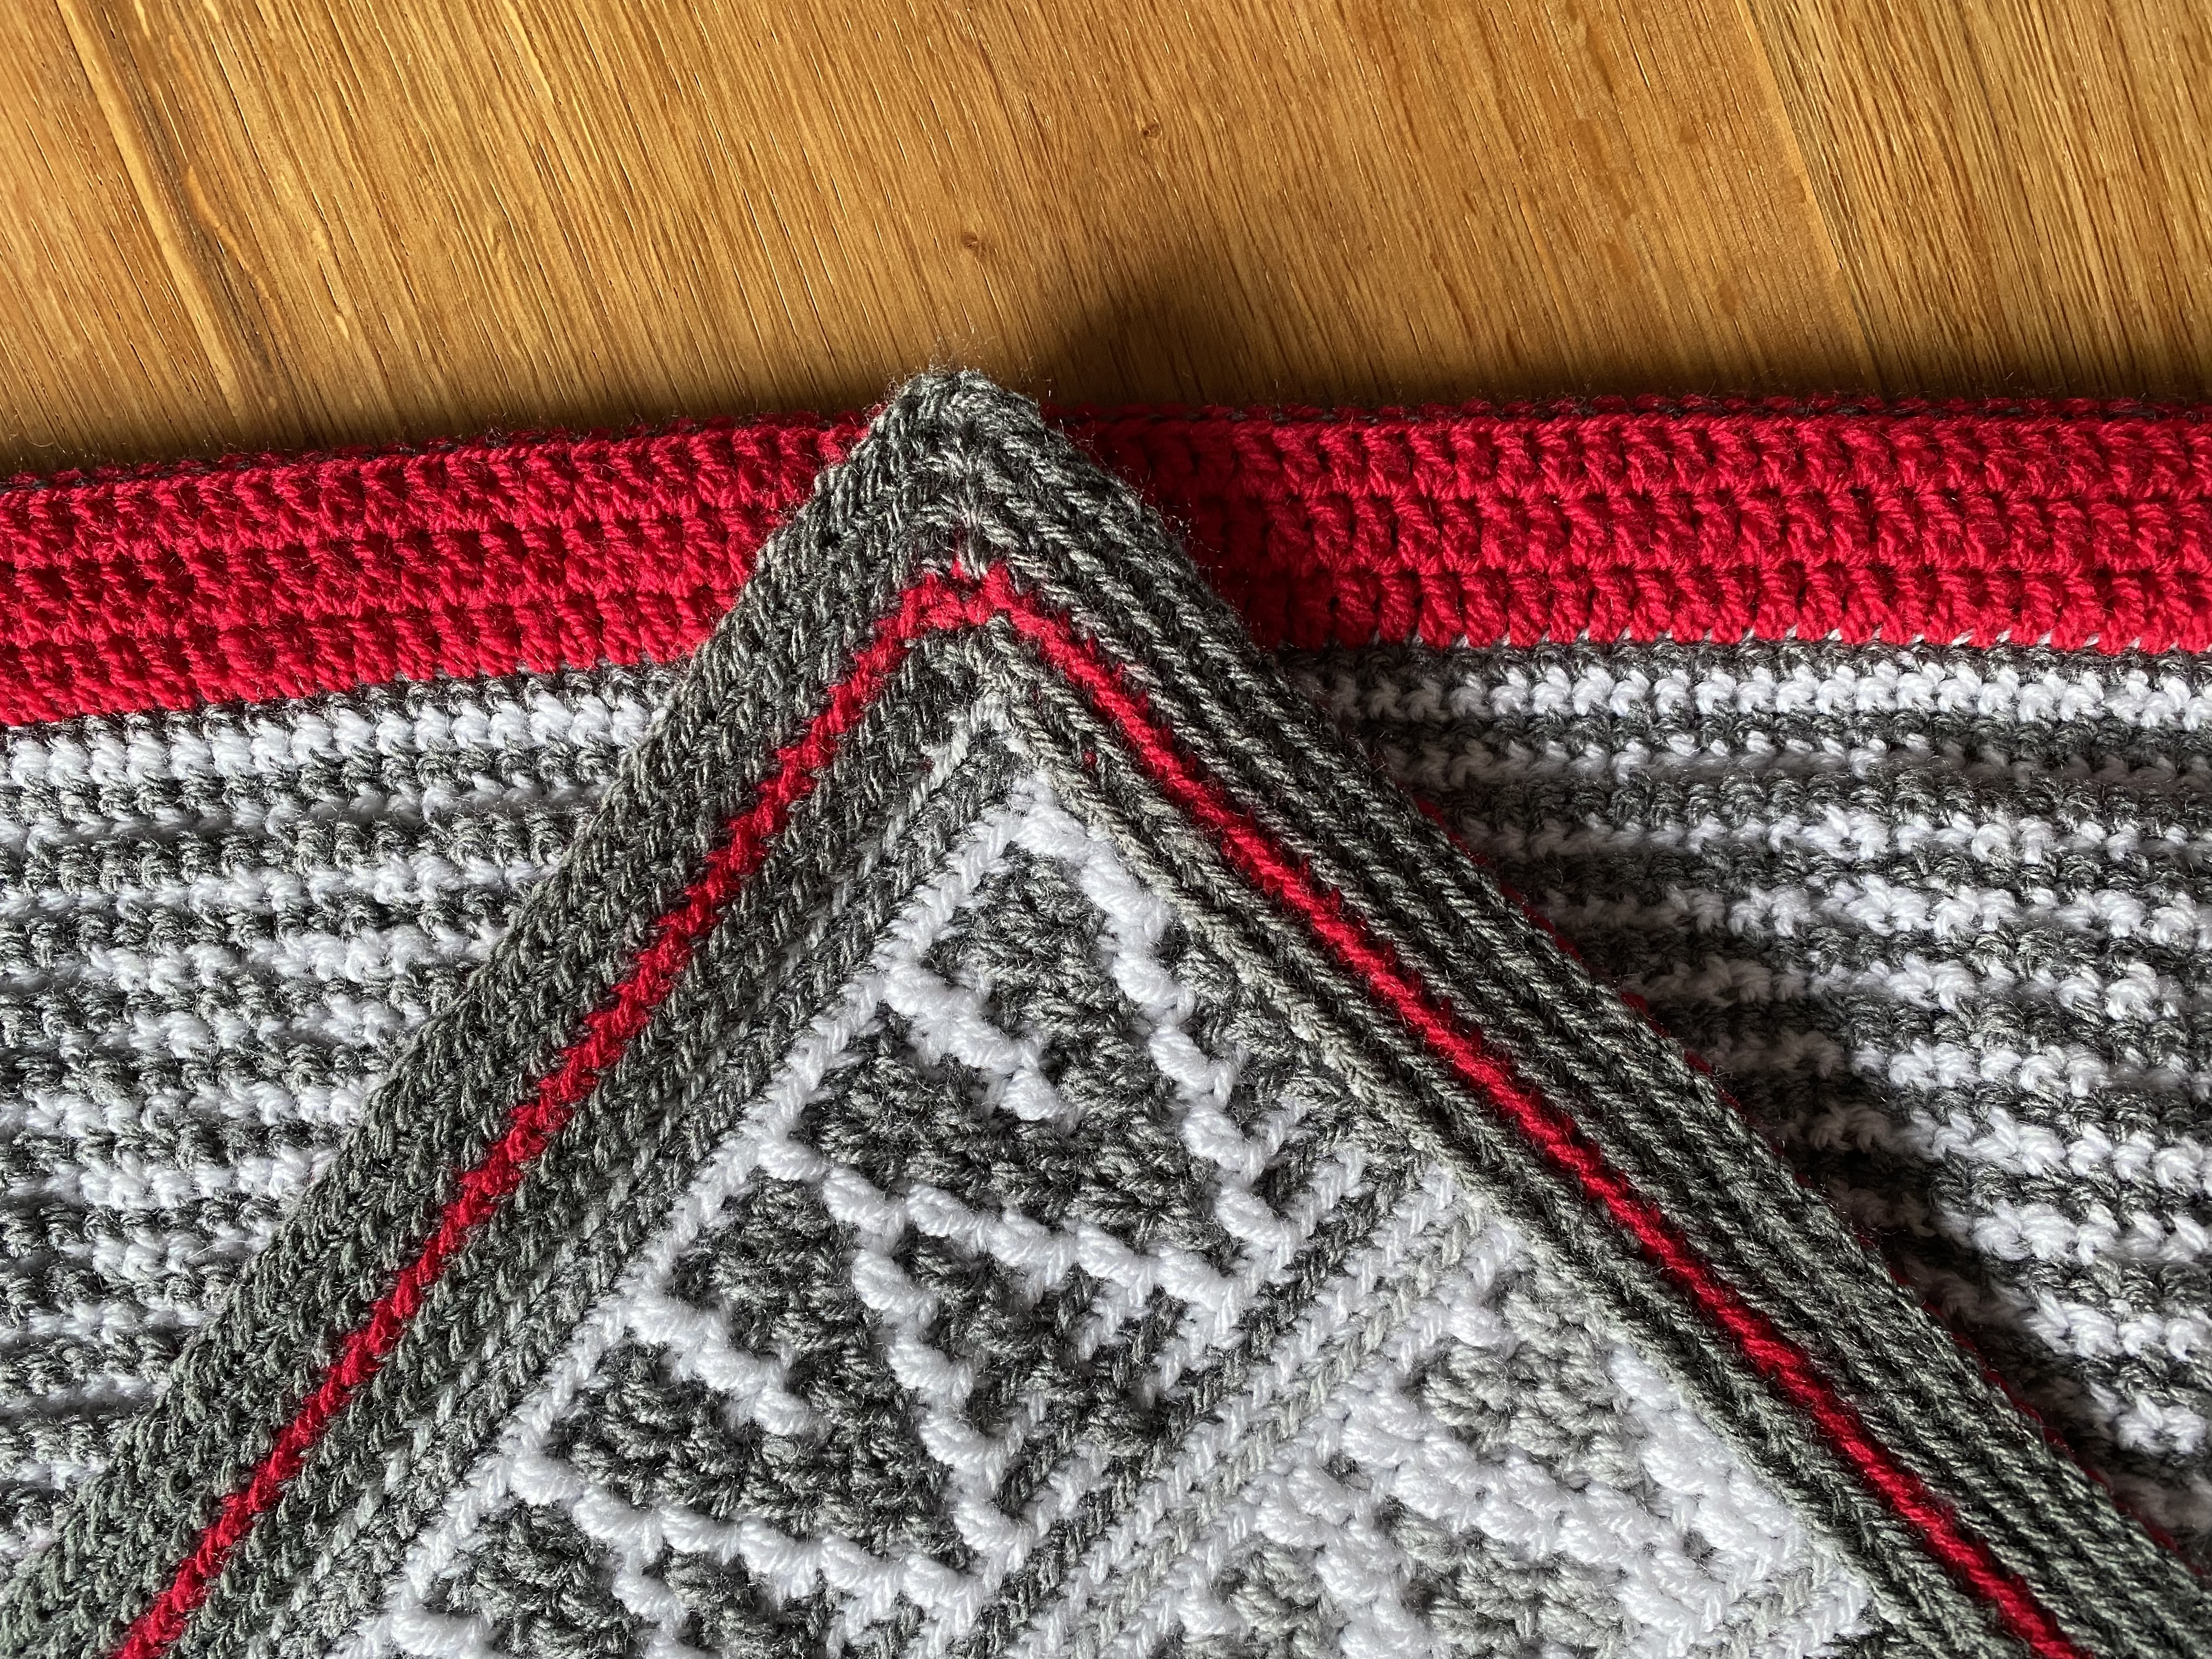
Border
Double border
Finished Size
114 x 148 cm
〰️〰️〰️〰️〰️〰️〰️〰️
And for those who are interested – my detailed yarn amounts

〰️〰️〰️〰️〰️〰️〰️〰️
Long overdue update, June 2024: I’ve finally redesigned the documents with my colour scheme. Please don’t be surprised that it looks a little different, the content is the same.
〰️〰️〰️〰️〰️〰️〰️〰️
I worked on this project for about 61/2 weeks. It was a stressful time but I enjoyed it a lot. It‘s definitely my most favorite project in 2021.
Please also have a look at my previous Winter Wonderland posts
Winter Wonderland
Winter Wonderland – My colours part 1
Winter Wonderland – My colours part 2
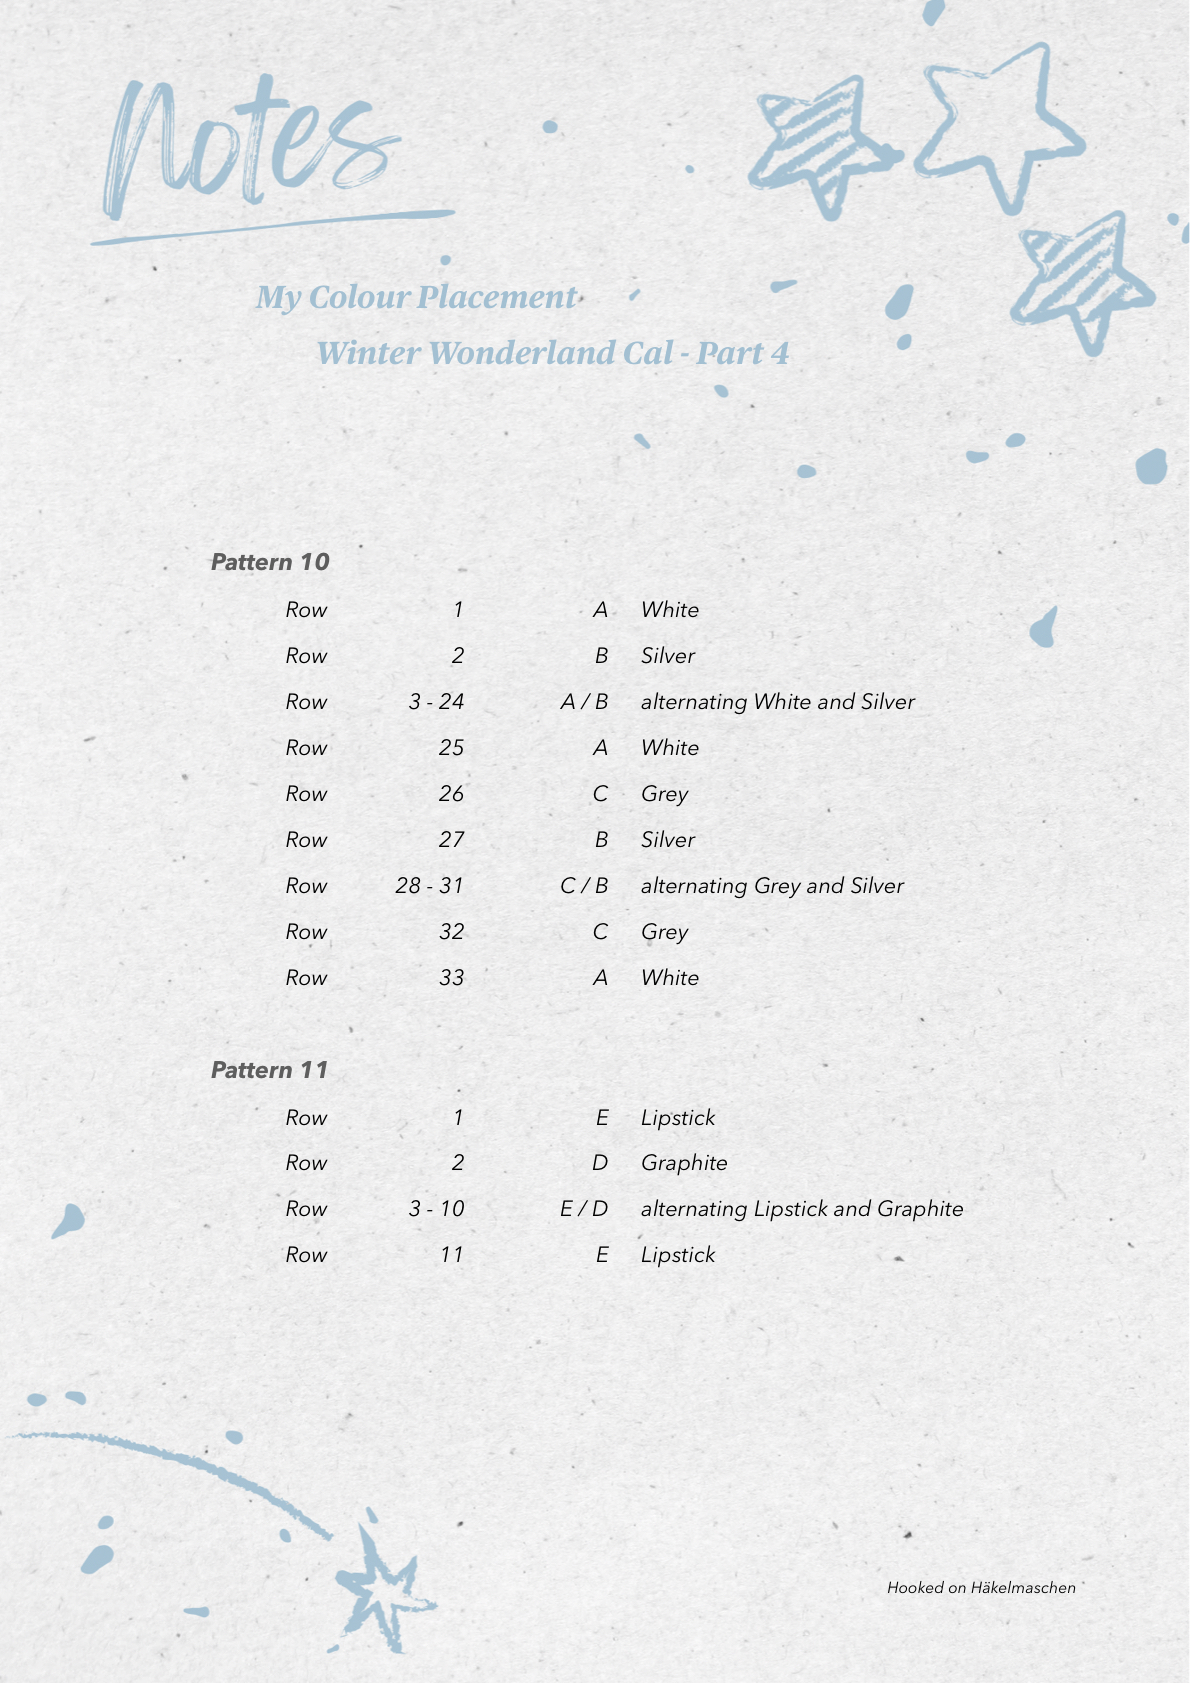
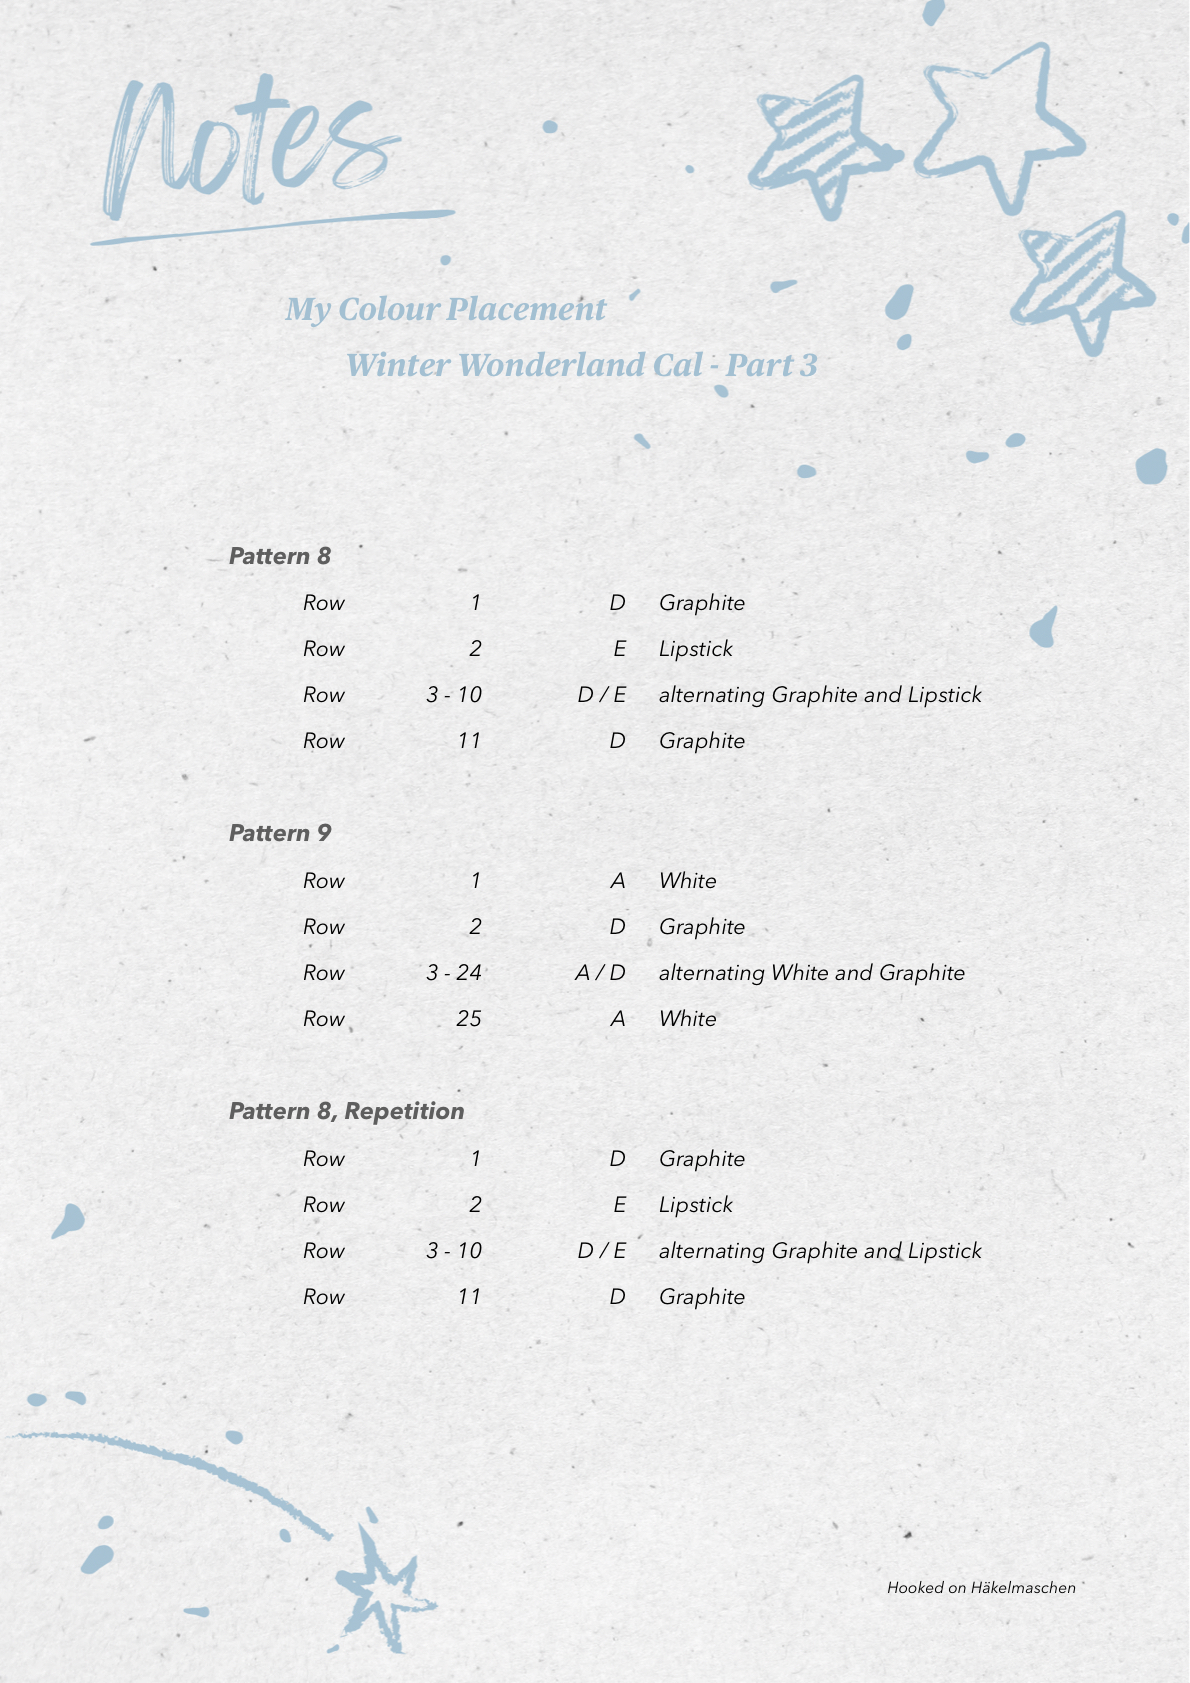
Winter Wonderland – My colours part 3
Winter Wonderland – My colours part 4
Winter Wonderland – My colours part 5
Winter Wonderland – My colours part 6