Cover image created with AI assistance
A few weeks ago, I wrote about my very first pattern test – that was back in 2019, seven years ago by now. In this post, I talked a little about my motivation and the fears I had when I started testing, as well as my experiences. If you missed the article, you can read it here.
While that previous article focused on my personal journey, this time I’d like to take a more practical look at pattern testing itself.
Would you like to try testing a pattern yourself, but aren’t quite sure how to get started? What skills you need and what you need to bear in mind?
I’ve been asked these questions many times in the past, and I’m happy to share my experiences here. However, these are my personal experiences, which are by no means necessarily universally applicable.
What you should know before applying as a pattern tester
Firstly, you need to know that testing crochet patterns does not usually involve any financial compensation. (As far as I know, the same applies to knitting patterns.)
Most designers will thank you with a copy of the finalised pattern.
So, before starting, keep in mind that you are effectively investing your own resources, such as time, yarn and other supplies. Speaking of time: you should be aware that testing a crochet pattern will require more time than if you were simply following a pattern to crochet a blanket, an Afghan square, an amigurumi, or whatever. I’ll explain why that is later.
The fun of being a pattern tester is getting access to a pattern before other people do, being part of the creative process and meeting like-minded people from all over the world.
Do you need special skills?
I’d say no, there aren’t any specific ones! At any rate, not as long as the test call doesn’t require specific skills.
Of course, you should already know how to crochet and have mastered the basic stitches. And you should be able to read, understand and follow a written pattern.
But mostly there is no need to have an intermediate or advanced skill level.
In my experience, it’s actually helpful for designers to have testers with varying levels of crochet skills. This makes it easier for them to assess whether the instructions are clearly worded and whether all the stitches are described properly.
What does a pattern tester actually do?
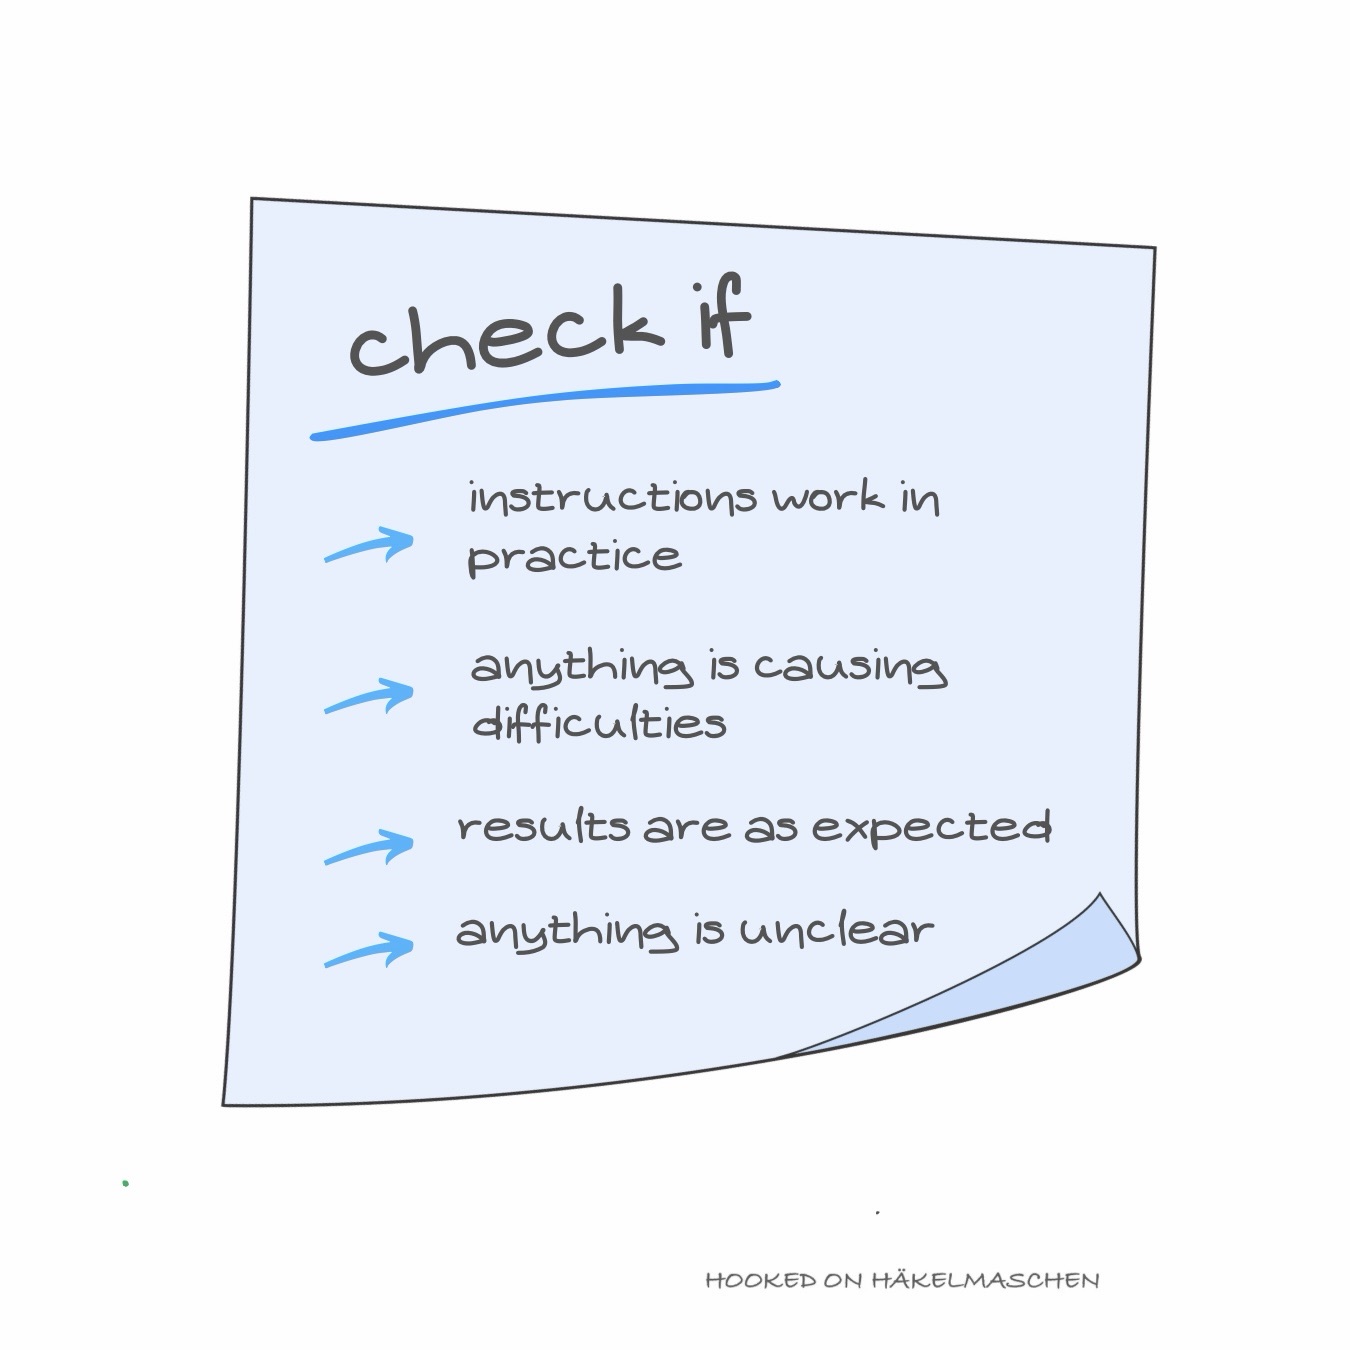
Essentially, testing a pattern involves checking
- wether the instructions in the pattern work in practice
- wether they can be followed without struggling
- wether the described result occurs
- or wether there are any points where one gets stuck or might misunderstand something
However, designers often specify additional criteria that are important to them and which should be checked as part of the test. That may just be specific points that need to be read particularly carefully for clarity. But often it’s also about looking out for typos and spelling mistakes and / or checking the stitch counts.
Here, the requirements of a tester overlap with those of a technical editor. Checking stitch counts and correcting spelling mistakes are, strictly speaking, tasks of a technical editor.
On the other hand: in order to assess how clear a pattern is, a tester has to read the entire pattern anyway. In this context, you can also flag up spelling mistakes if you spot them (whereas a technical editor would look for this specifically). The same applies to the stitch counts. You should check them after every row or round in any case and in your own interest. Although, I must admit, I myself often don’t (and mostly regret it 3 or 4 rows or rounds later).
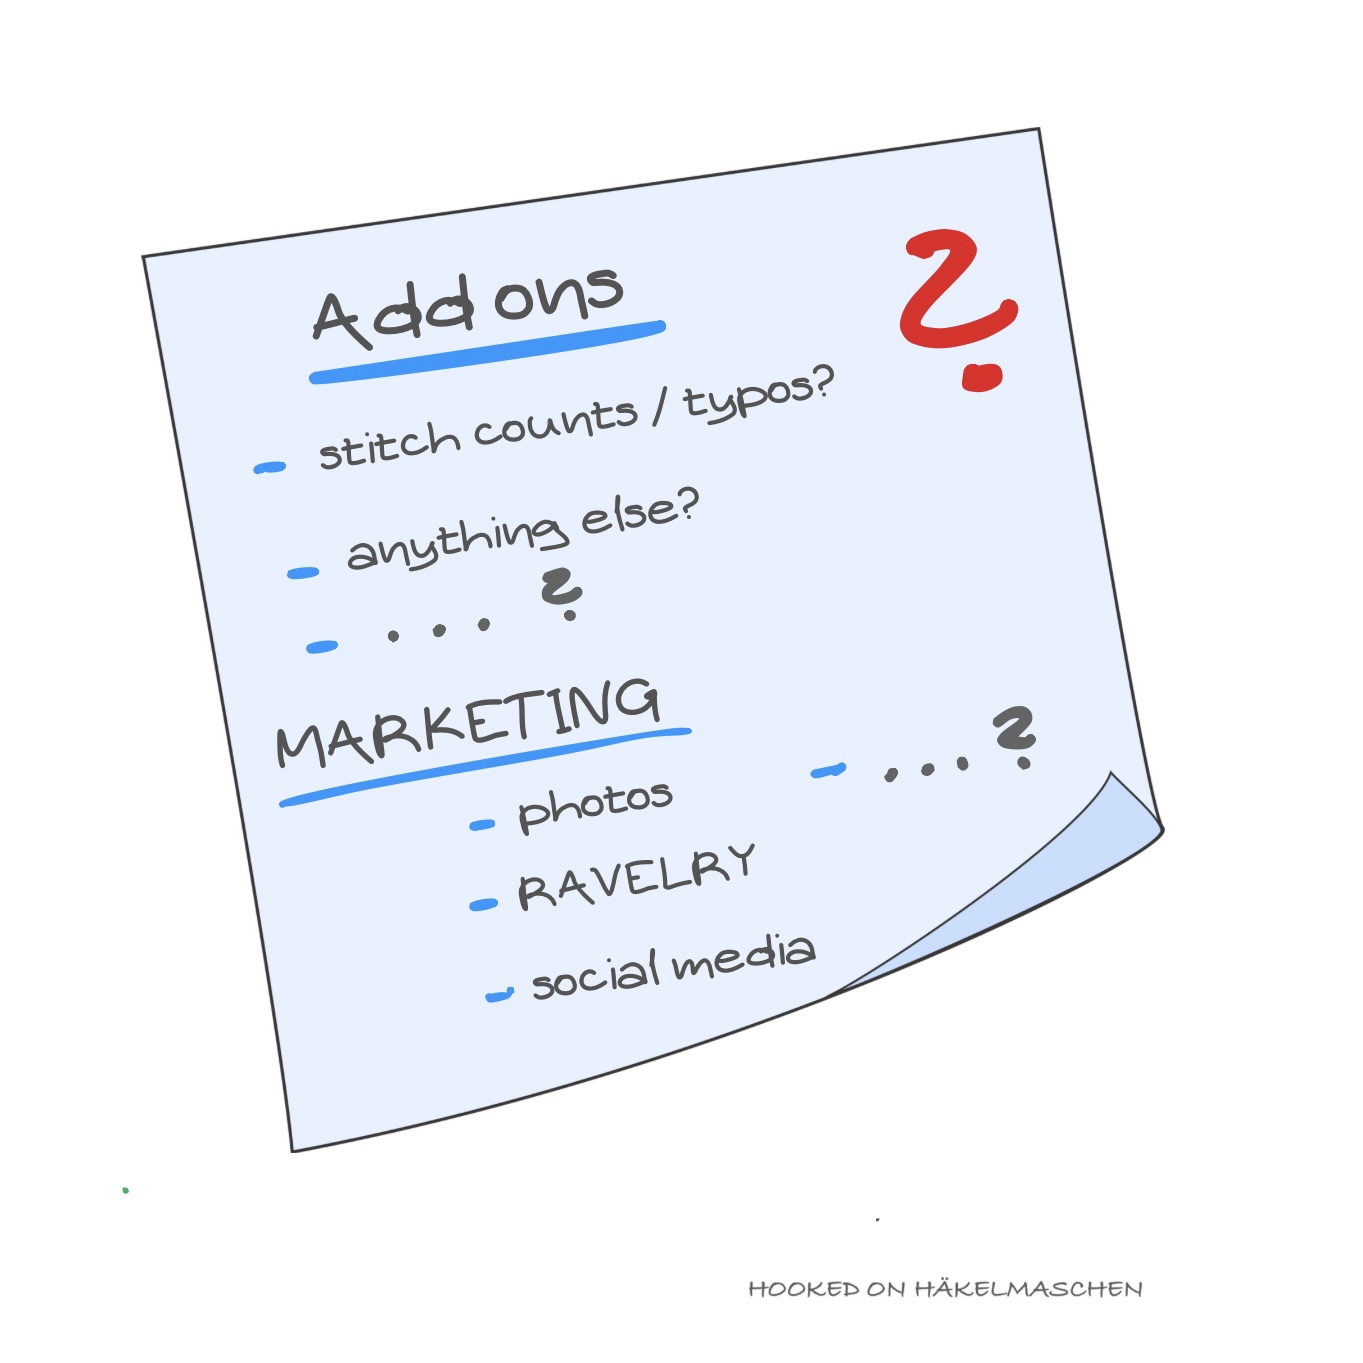
Additionally, the demands are increasingly moving into the fields of marketing and social media.
So you may also be asked to
- create a project page on Ravelry and link it to the pattern, once it has been published
- provide at least one attractive, high-quality photo of the finished project
- give the designer permission to use your photos for marketing purposes
- post your finished project yourself on social media (Instagram, crochet groups on Facebook etc.) and to help spread the word about the pattern
A designer usually sets out their requirements and expectations in what is known as a ‘test call’.
It all starts with a test call
A designer uses a test call to recruit testers for a specific project. This is when they present their new design for the first time and state how many testers and what skills they are looking for.
It should contain all the information you need to decide whether you would like to take part in the test or not.
Besides at least one picture of the design, there should also be some basic information about the pattern. Such as the final size(s) of the project, yarn and yarn amounts required, skill level and so on.
Based on this information you can roughly estimate how long the project will take you and decide wether you can use yarn from your stash or wether you’ll need to buy some first.
All this is important to determine whether or not you can meet the deadline of the test. The deadlines is the date by which the test must be completed and should, of course, also be defined in the test call.
In addition to all this information, the test call should also provide an insight into the communication channels and how, and to what extent, the designer would like to receive feedback.
If there are any points you’d like to know about in advance but which aren’t covered in the test call, just ask. I think, communication is one of the most important things when it comes to testing.
Dos and Don’ts – How the testing process works
Once you’ve applied for a test call and been selected as a tester, the designer will send you the pattern. Then you’re all set to get started!
As you’ve seen, the requirements in a test can vary greatly. In my opinion, however, there are a few very general rules:
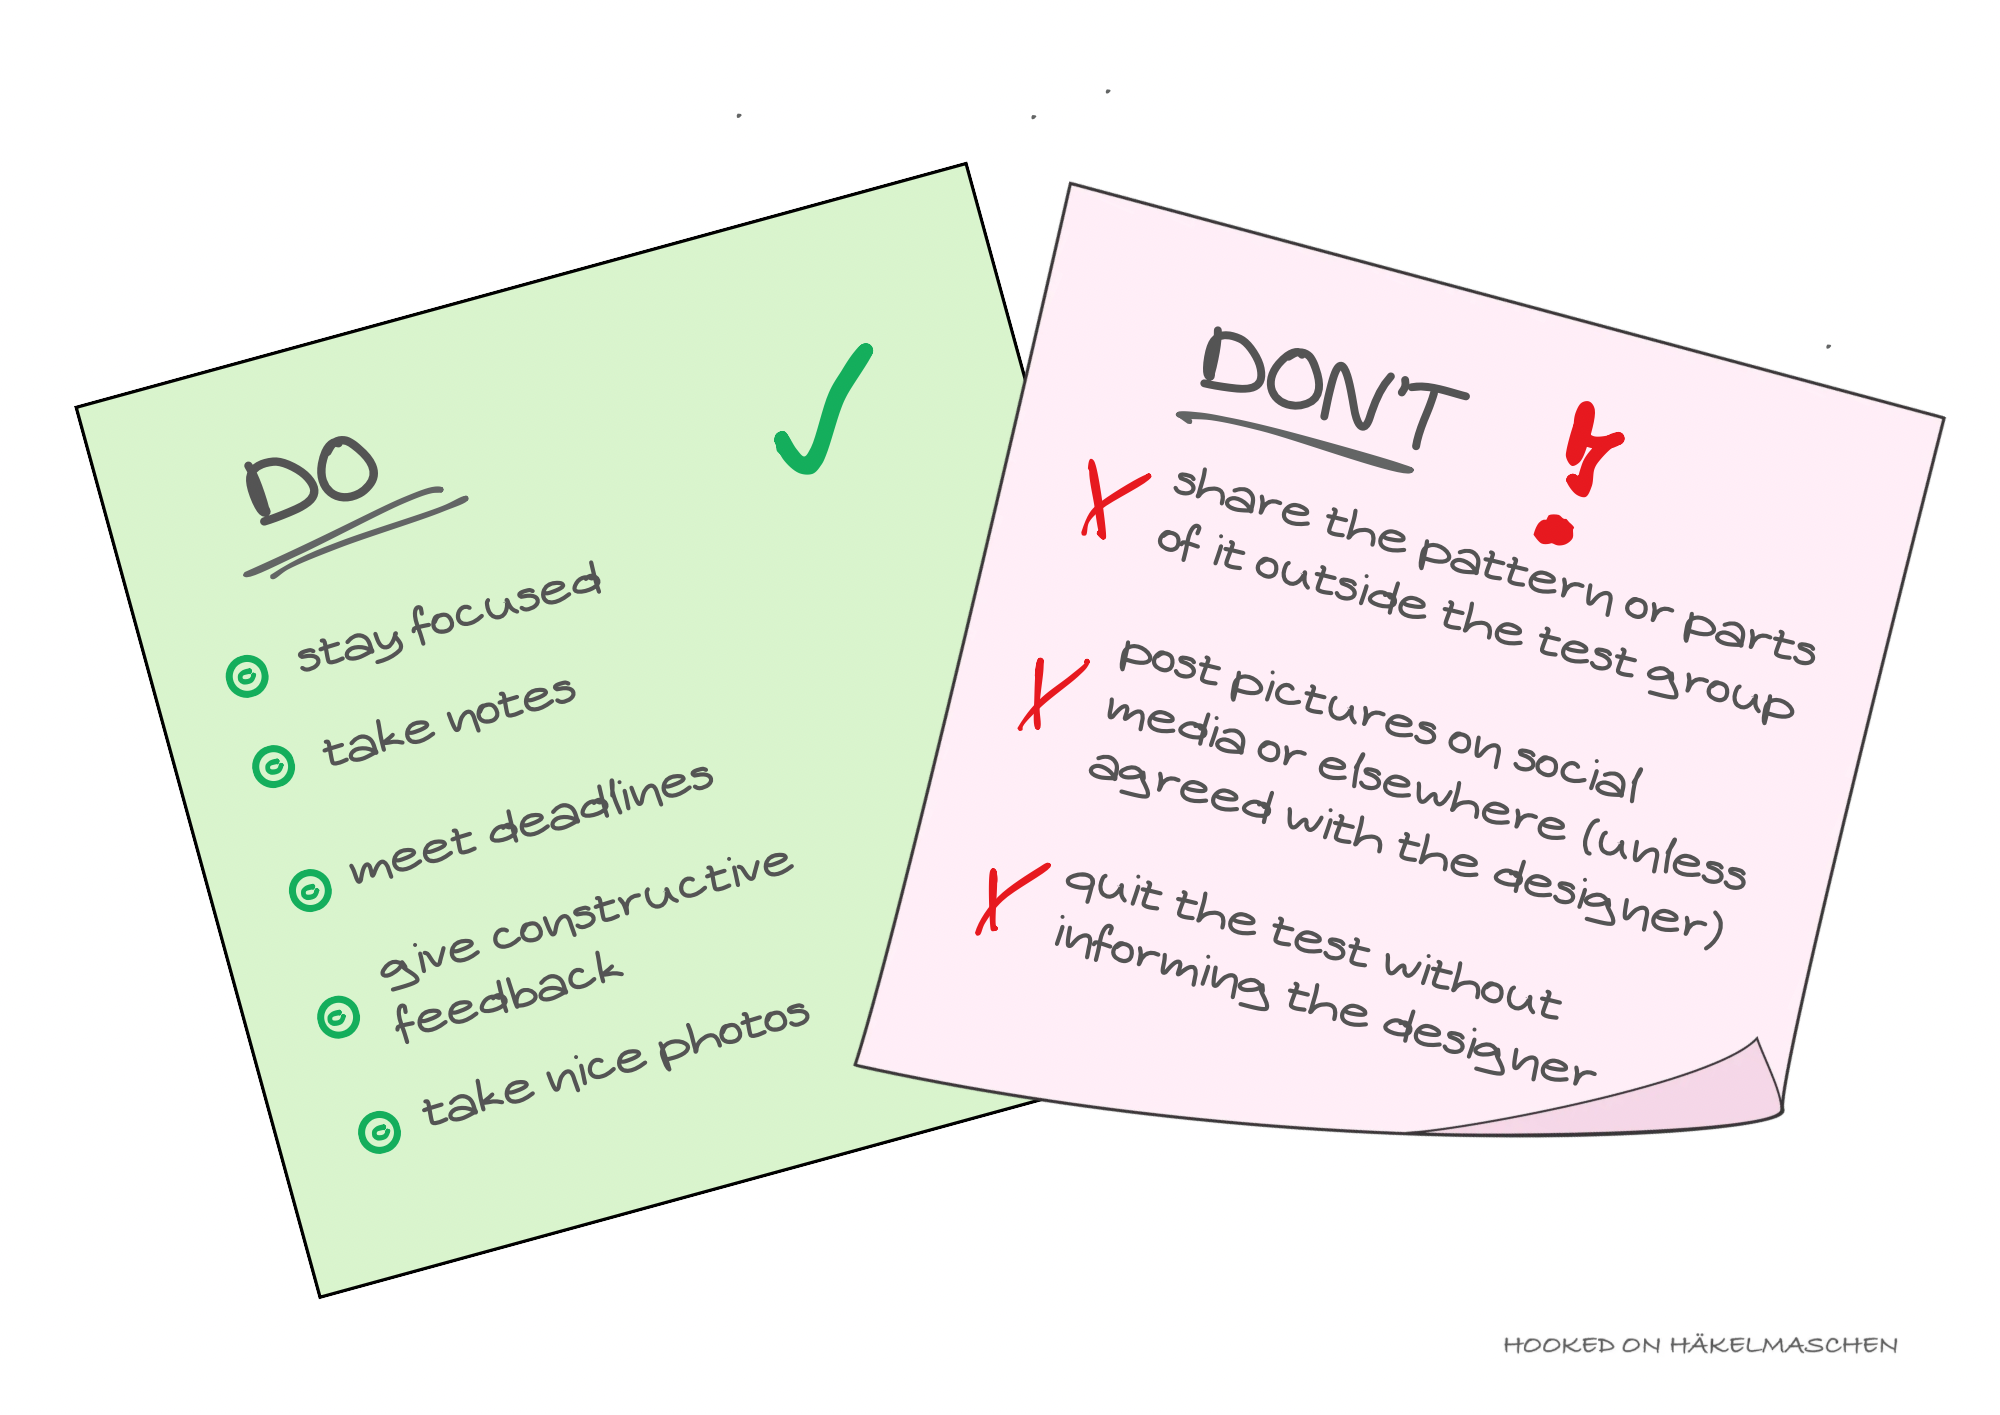
Stay focused
From my own experience, I can say this: however excited you may be to start to work on a brand new design, and however keen you are to present your results, stay focused!
It’s surprising how easily a mistake can be overlooked in a pattern. Especially if you already have some experience with crochet, you might automatically work the correct stitch or sequence of stitches, even though there’s a little mistake hidden in the pattern.
Take notes
Make notes on everything. Whether it’s mistakes, wording you find hard to understand, or special stitches you might have struggled with. But also make a note of things you really like, e.g. clear, easy-to-understand explanations, particularly attractive design elements, etc. It’s best to also note down details about the yarn, the colours, the amount of yarn used and the crochet hook you used. Especially if you’re planning to post on social media later, you may well be asked about these things.
Meet deadlines
The most important deadline in a pattern test is the date by which the test must be completed. Depending on the project, there may also be other deadlines during the testing phase – dates by which a specific part should be completed or on which interim feedback is requested. You should meet these deadlines wherever possible. If, at any point, you realise that this will not be possible for whatever reason, you should inform the designer immediately.
Give constructive feedback
In my view, it is best to address errors and inconsistencies straight away. That way, any discrepancies can be resolved immediately.
If the designer has asked for final feedback, please provide them with honest and constructive feedback. Look at your notes and list what you liked about the pattern, where you might have struggled, and do mention any areas where you see room for improvement.
I know it’s not always easy to talk about the things that perhaps weren’t so positive. You just might not feel confident enough. Phrase it politely and constructively! And just keep in mind: the designer probably wouldn’t have asked if they weren’t genuinely interested. Your feedback can be incredibly important. It gives the designer the opportunity to improve their pattern writing. But don’t be angry or disappointed if they don’t take your suggestions on board. That’s entirely their decision.
Take nice photos
Once you’ve finished crocheting the project, you should at least take a nice photo of it and send it to the designer. That way, they can see that you’ve actually finished the test.
If you plan to post pictures on social media later, it is usually also a good tip to take pictures of the ‘Work in Progress’ (WIP) for larger projects. These photos are often ideal for ‘sneak peeks’ (if the designer wants this in the run-up to the pattern’s release). And these WIP photos often go down better on social media than posting the finished project with the caption “Look, I’ve tested pattern xy”.
What a tester shouldn’t do
I’ve been talking at length now about what a tester should do. But there are also a few absolute no-gos. Actually, though, these are things that should go without saying.
Of course, do not share the pattern. You should never do that anyway, even if it’s a pattern that’s freely available. Every pattern is protected by copyright! Of course it is ok to post a screenshot in your test group, just to mark a mistake or points where you are struggling. But don’t post it outside this group.
The same applies to photos of your test piece. You shouldn’t publish those until the pattern is released. The exception, of course, is if the designer asks you to post a few sneak peeks to promote the pattern ahead of its release.
Personally, I only upload my photos to Ravelry once the pattern has been published. Even though a pattern search on Ravelry won’t return any results until then, anyone who visits your profile will be able to see the photos.
However, the absolute no-go is simply to stop the test without letting the designer know. Of course, there may be times when something comes up in your life and you can’t finish the test. In that case, just let them know. I’ve never come across anyone who didn’t understand that.
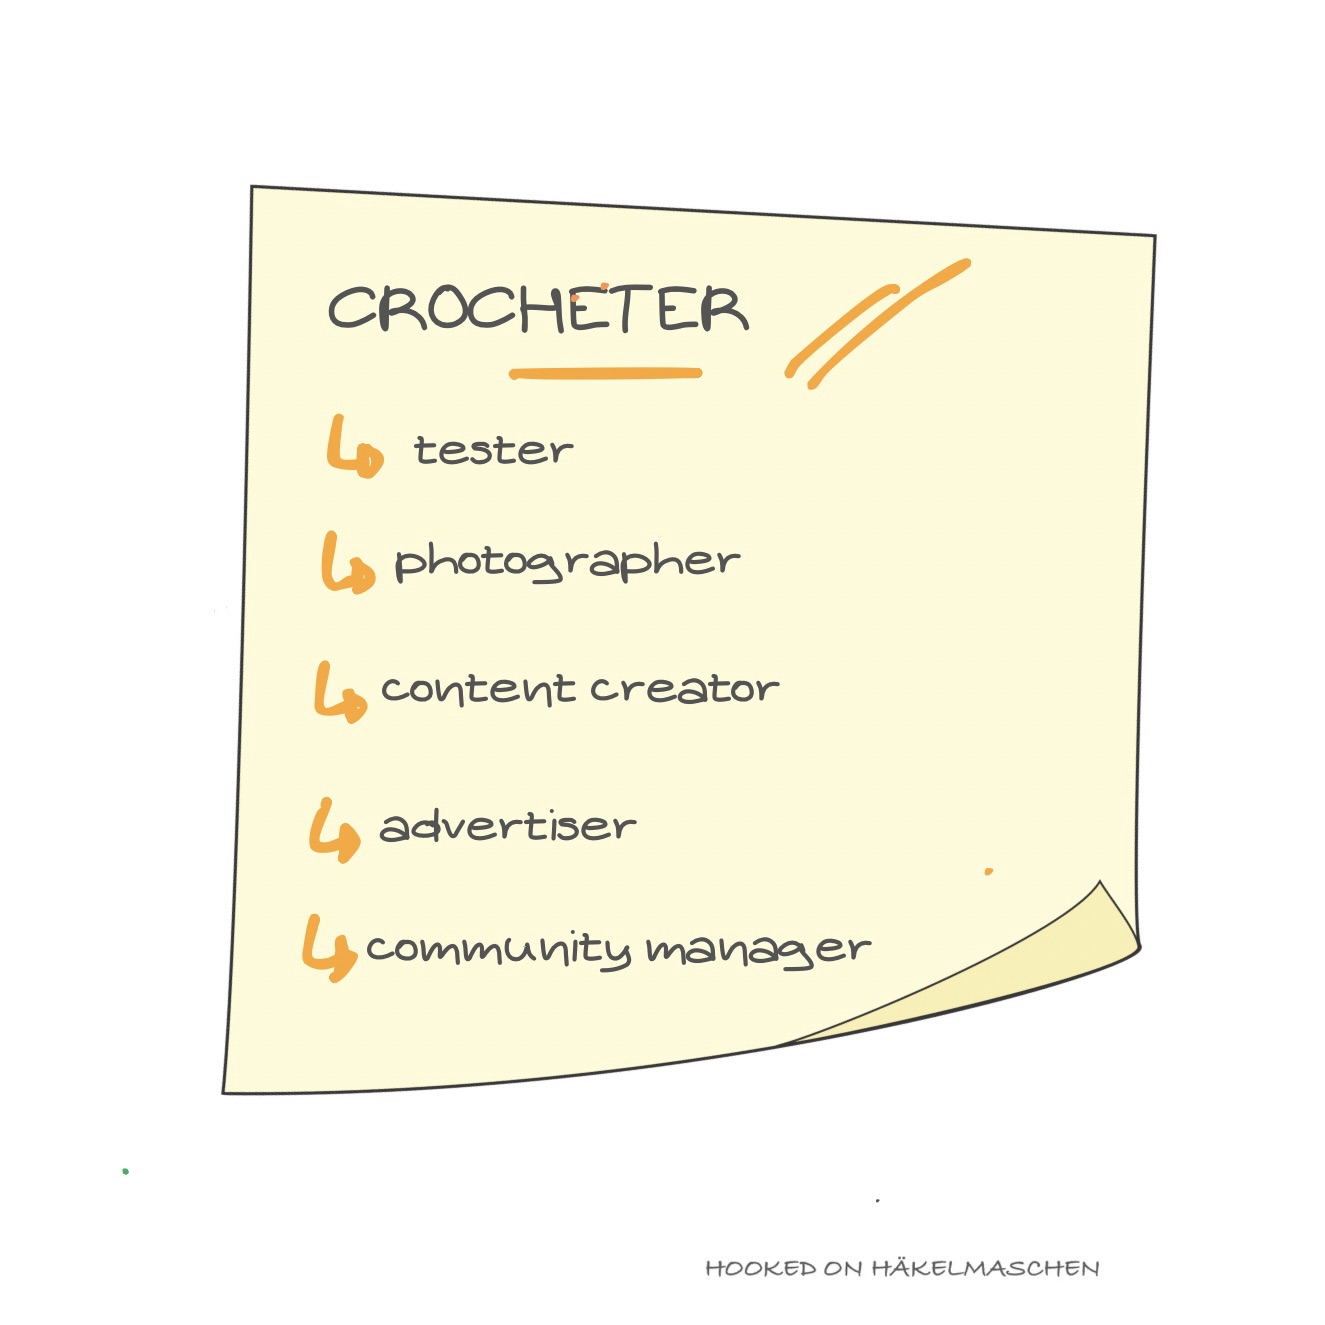
Why a tester is more than only a crocheter
By now you’ve probably realised that a tester does much more than simply crochet a project.
You need to study the pattern in detail, clarify any issues, keep track of deadlines, document your work and formulate feedback.
The tasks continue if the designer would like you to help promote the pattern. To do this, you’ll naturally need some lovely photos, and you’ll need to come up with a description that includes all the key information about the pattern, post it, monitor the post, and reply to comments and questions.
So you’re not just a crocheter, but also a tester, a photographer, a content creator, an advertiser and a community manager.
All of this takes extra time. That’s why I said at the start that testing a pattern will need more time than simply crocheting the pattern.
Are you still interested in becoming a tester?
How to become a pattern tester
There are various ways to become a pattern tester.
For instance, on Ravelry there’s a forum where designers share their patterns for testing. Unfortunately the focus there is mainly on knitting patterns, but there are also some lovely crochet patterns included.
Many designers also post their test calls on social media. Just keep an eye out.
Other designers have their own regular testing groups. This means they mainly work with the same people. However, they are often looking for new members too. So watch out designer specific crochet groups on Facebook.
Do you have a favourite designer you’d like to do a test for? If so, why not get in touch with them and let them know that you’re interested to work with them?
With all these various options, it’s helpful if you have photos of your previous work. These pictures are a bit like your shop window and will help the designer get a first impression of you.
So, if you spot a test call somewhere, you like the design and you meet the requirements: just apply!
My conclusion
I hope you’ve now got a rough idea of what’s involved in testing a crochet pattern. It’s a lot of work! It takes commitment. But it’s also great fun!
Over the years, I myself have become more selective about the tests I take part in. The reasons for this are primarily down to time constraints and health issues. Even so, I wouldn’t have missed the last seven years for the world.
I’ve learnt a lot during this time. I’ve learnt new crochet techniques. I’ve gained an insight into the process of creating a pattern. I’ve improved my communication skills and gained self-confidence. And I’ve met some really lovely people from all over the world!
Oh yes, the free patterns!
Well, I’m actually delighted with every single one. But to be perfectly honest, in my opinion, that shouldn’t be the main reason why you test crochet patterns.
So, just give it a go – and decide for yourselves!