Here in the northern hemisphere autumn is slowly setting in. The days are getting shorter and the evenings cooler. It feels like the perfect time to curl up with a cozy blanket and a hot cup of tea. With this in mind, I would like to show you some of the winter-themed blankets I’ve crocheted over the past few years.
Since 2021, I’ve had the joy of testing one of Ana’s (from One Skein of Love) beautiful winter designs each year. All were made using the overlay mosaic crochet technique.
Winter Wonderland (2021)
Winter Wonderland was my first winter blanket back in 2021.
I found inspiration for my colours in a mood board. It showed a (Swedish?) winter landscape with a red house.
Nevertheless, when I started crocheting, I had no clear idea of how I would arrange the colours. I chose them step by step as I went along. And I was very happy with the result in the end!
To my surprise (and of course delight), many crocheters ended up following my color scheme. I hadn’t expected that!
And Mary Maxim even created yarn packs not only in Ana’s original colours but also in mine. I still feel a little proud!
with a colour palette of white, various shades of grey and a little red
Materials used
For Winter Wonderland I used Stylecraft Special DK and a 4 mm hook. In total, I used something over 1,000 g of yarn.
The finished size of the blanket is 114 x 148 cm.
My colours are
- 1001 – White
- 1203 – Silver
- 1099 – Grey
- 1246 – Lipstick
- 1063 – Graphite
My colour placement is listed in a downloadable PDF which you can find in this post.
The pattern is available through Ravelry.
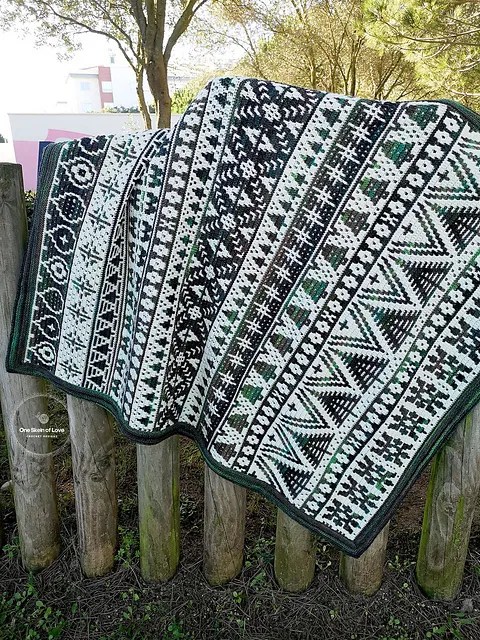
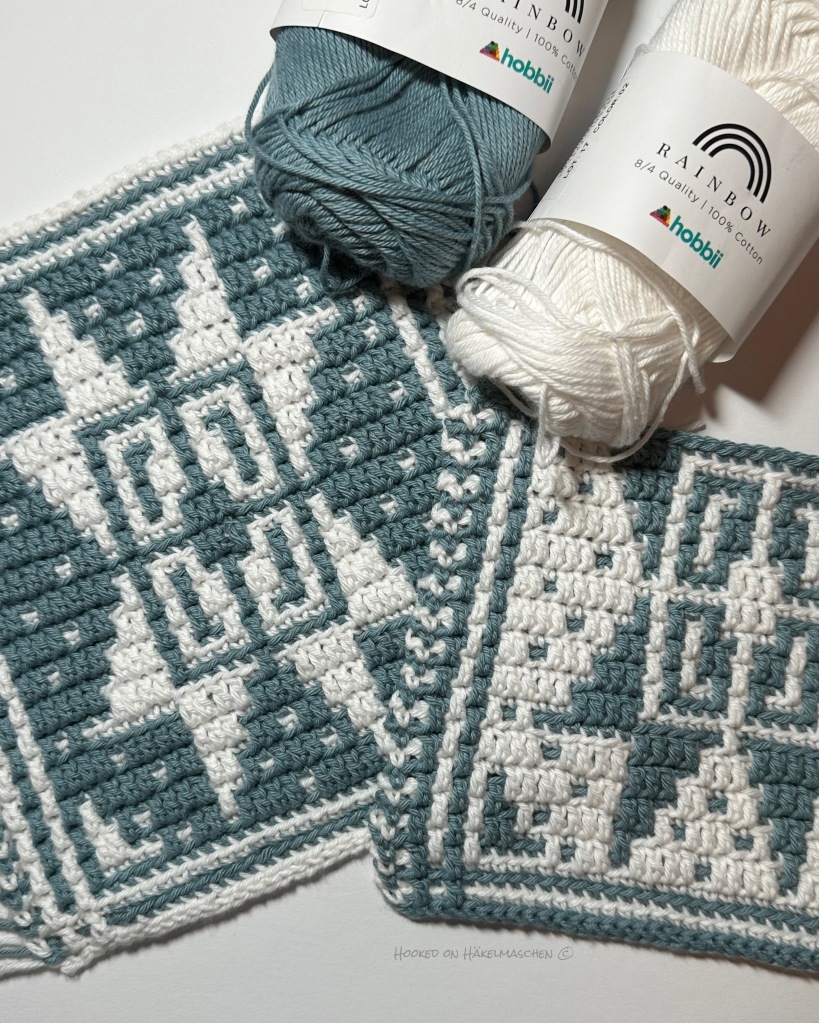
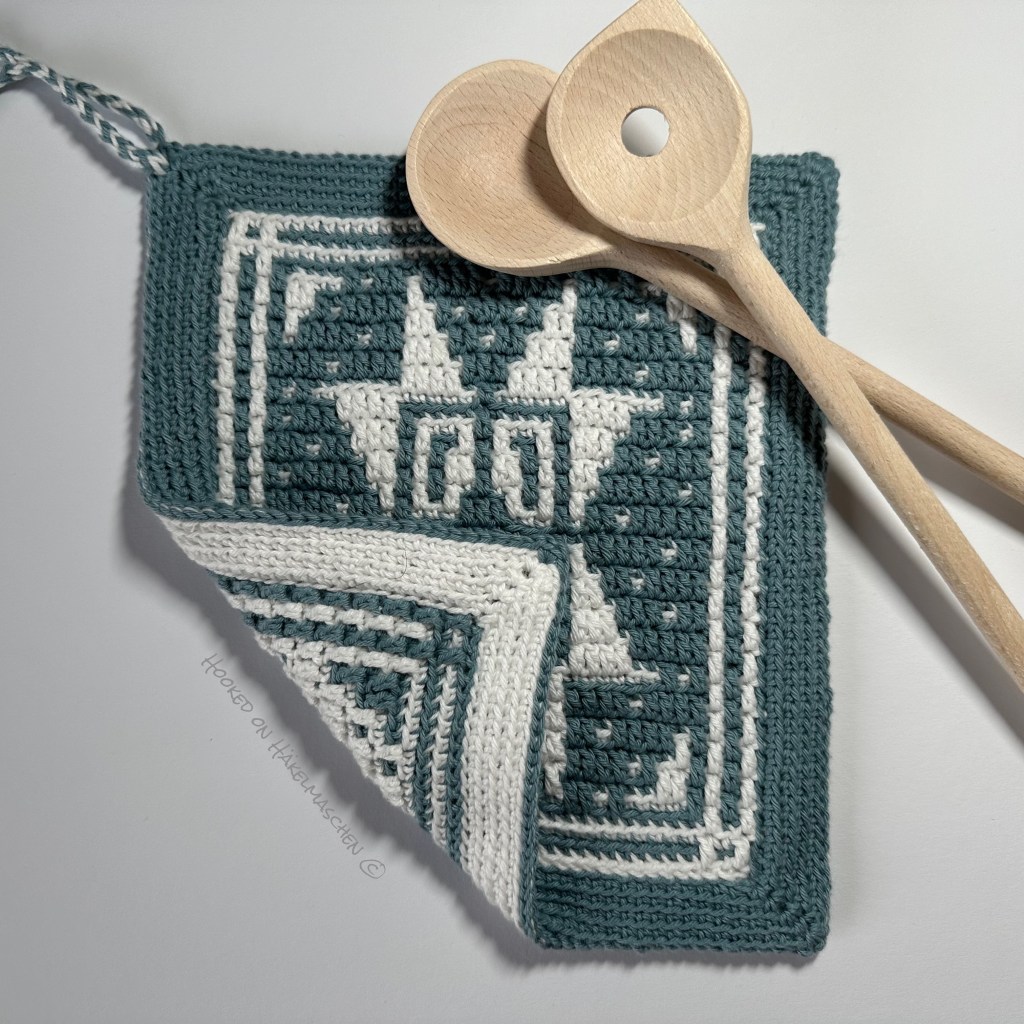
Wintry Forest (2022)
In 2022, Ana released Wintry Forest. The pattern was originally designed for a blanket similar in size to Winter Wonderland. However, when I saw it, I immediately had the idea of turning it into a wall decoration instead. Therefore I worked the pattern only over one repeat and divided it in three parts.
I still remember what difficulties I had in putting together the colours. So many failed attempts … But again, in the end, I was very happy with the result.
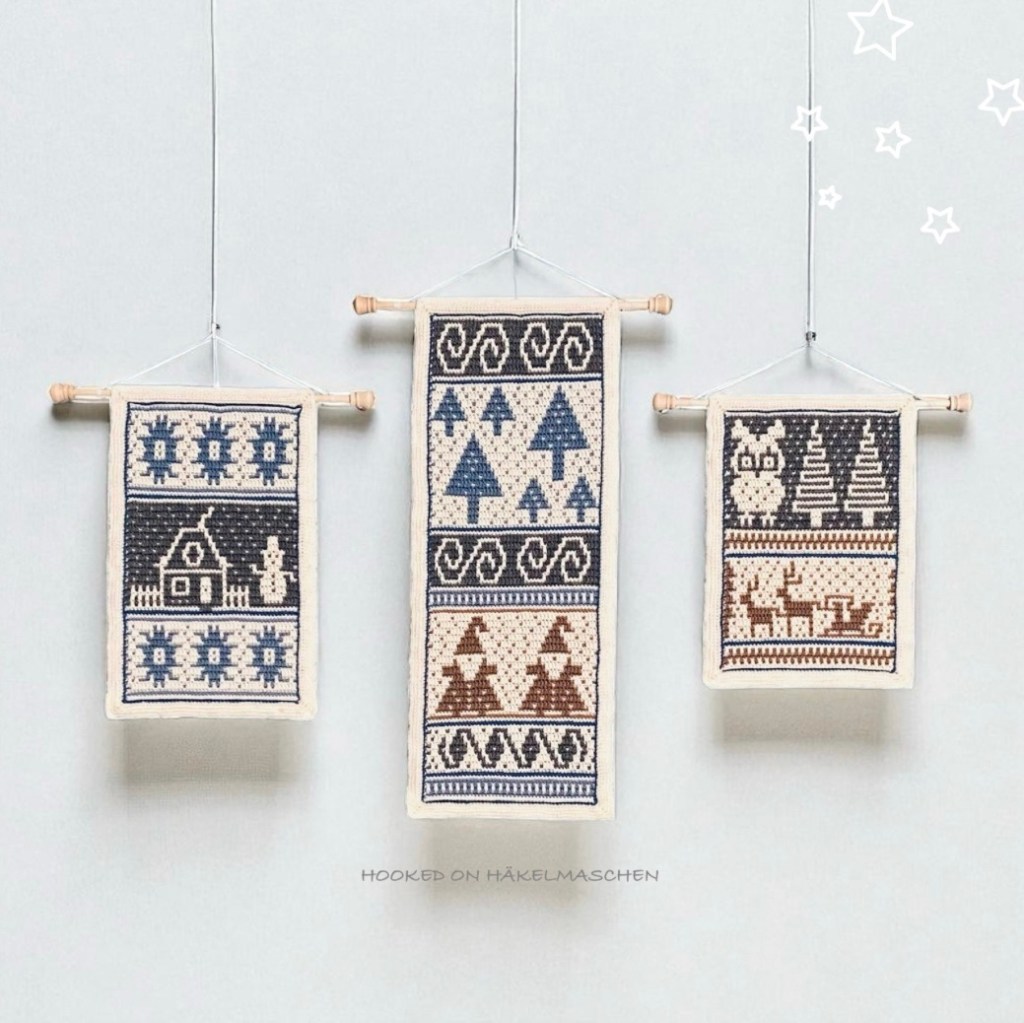
with a colour palette of creme, blue, grey and mocha
And my wall hangings also attracted a lot of attention and kind feedback:
In November 2022, they we’re featured in „Eye Candy: No Place Like Home“, an article on the Ravelry front page.
Another proud moment! It meant a lot to me!
Materials used
For the wall hangings, I chose a combination of Stylecraft Special DK (SSDK):and King Cole Comfort DK.
My colours are
- 1005 – Cream, SSDK
- 1728 – Stonewash, King Cole
- 1099 – Grey, SSDK
- 1064 – Mocha, SSDK
- 1302 – Denim, SSDK
My colour placement is listed in a downloadable PDF wich you can find in this post.
The pattern is available through Ravelry.
Oh, and if you are interested in my colour-journey you will find some details here.
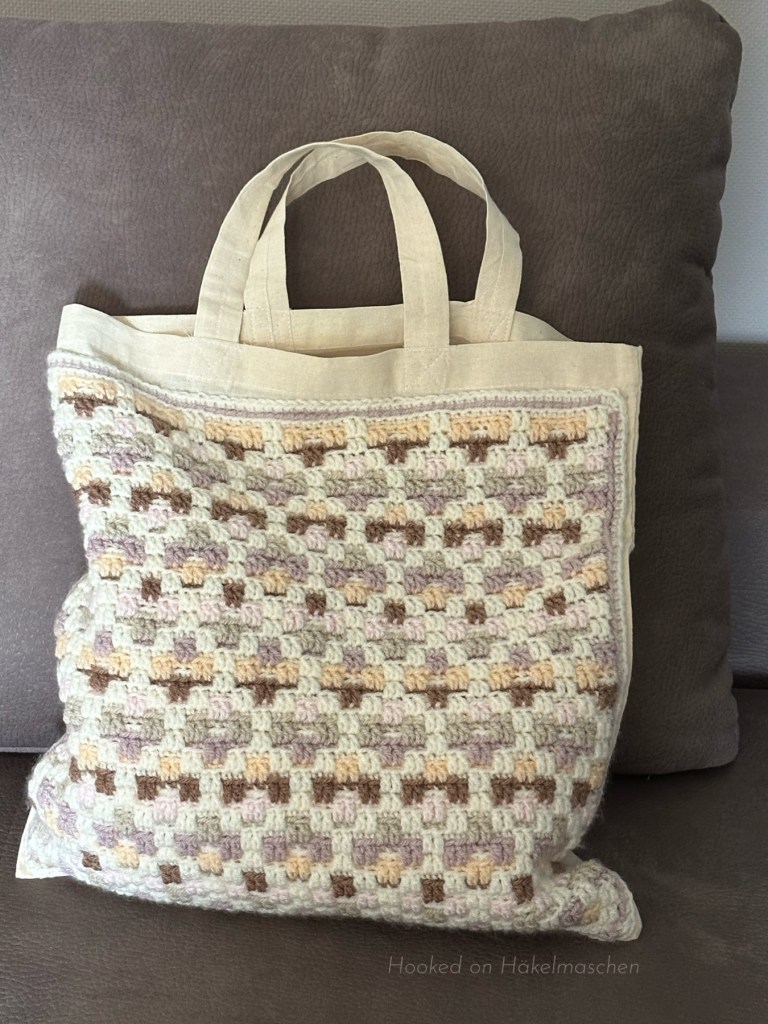
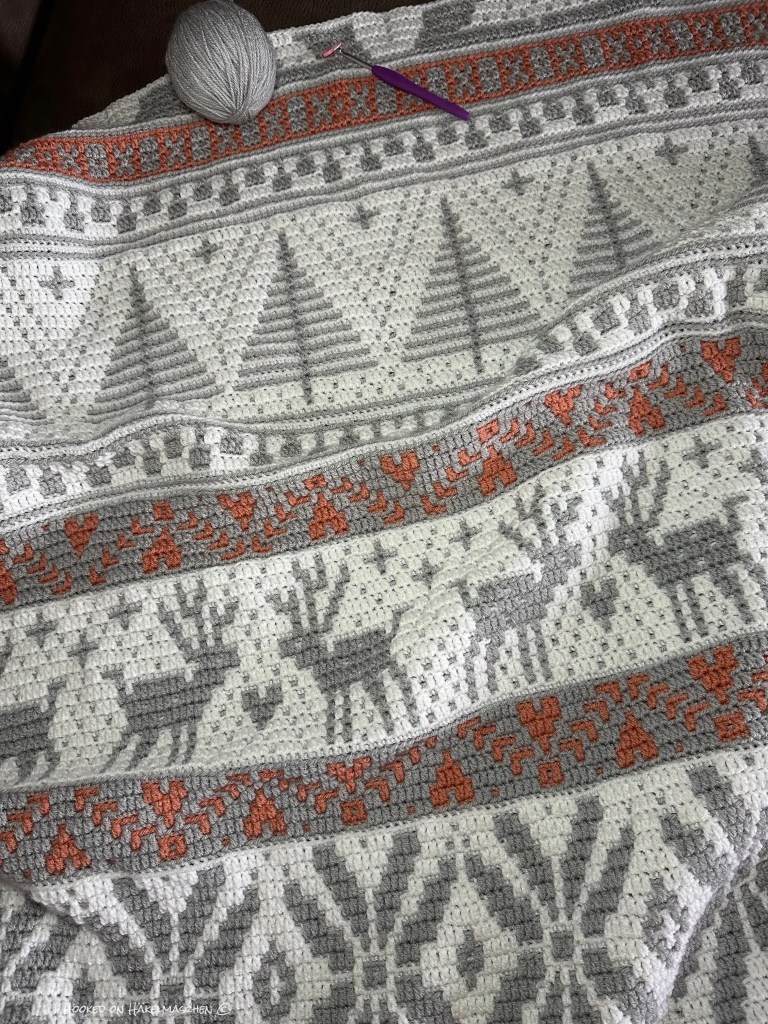
Magic Winter (2023)
Do you know those icy winter mornings, when the sun rises with a soft pink glow? On those days my grandma used to say, „The angles are baking in heaven“. That memory instantly came back to me when I saw Ana’s 2023 design. And I knew I wanted my blanket to capture that feeling.

with a colour palette of white, grey and peach
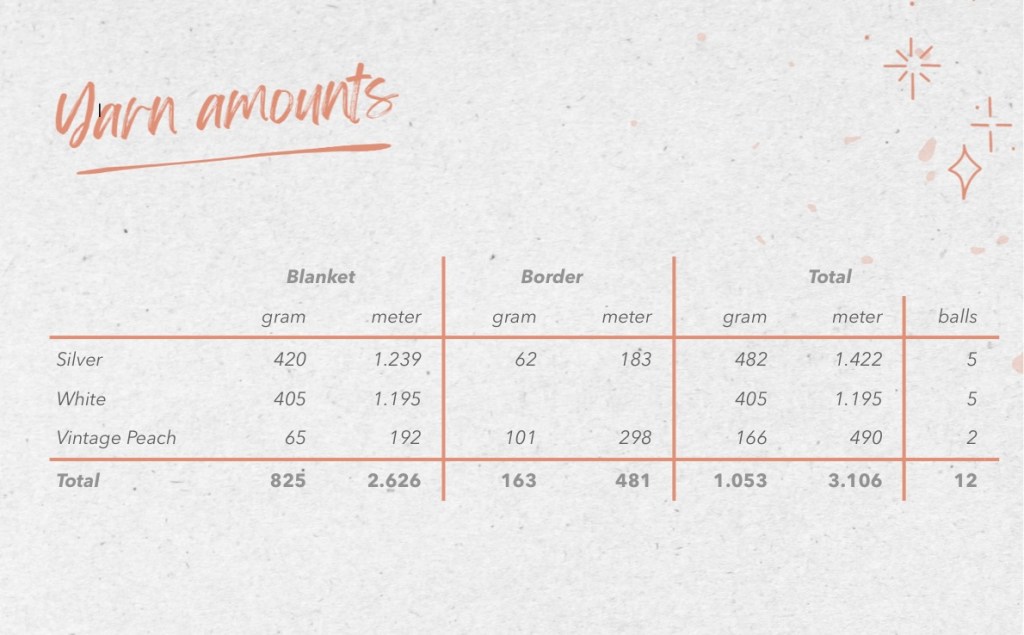
Materials used
Again my blanket was made with Stylecraft Special DK and a 4.0 mm hook.
Then finished blanket measures about 121 x 146 cm and I again needed something over 1,000 g of yarn.
My colours are
- 1001 – White
- 1203 – Silver
- 1836 – Vintage Peach
My colour placement is listed in a downloadable PDF which you can find in this post
The pattern is available through Ravelry.
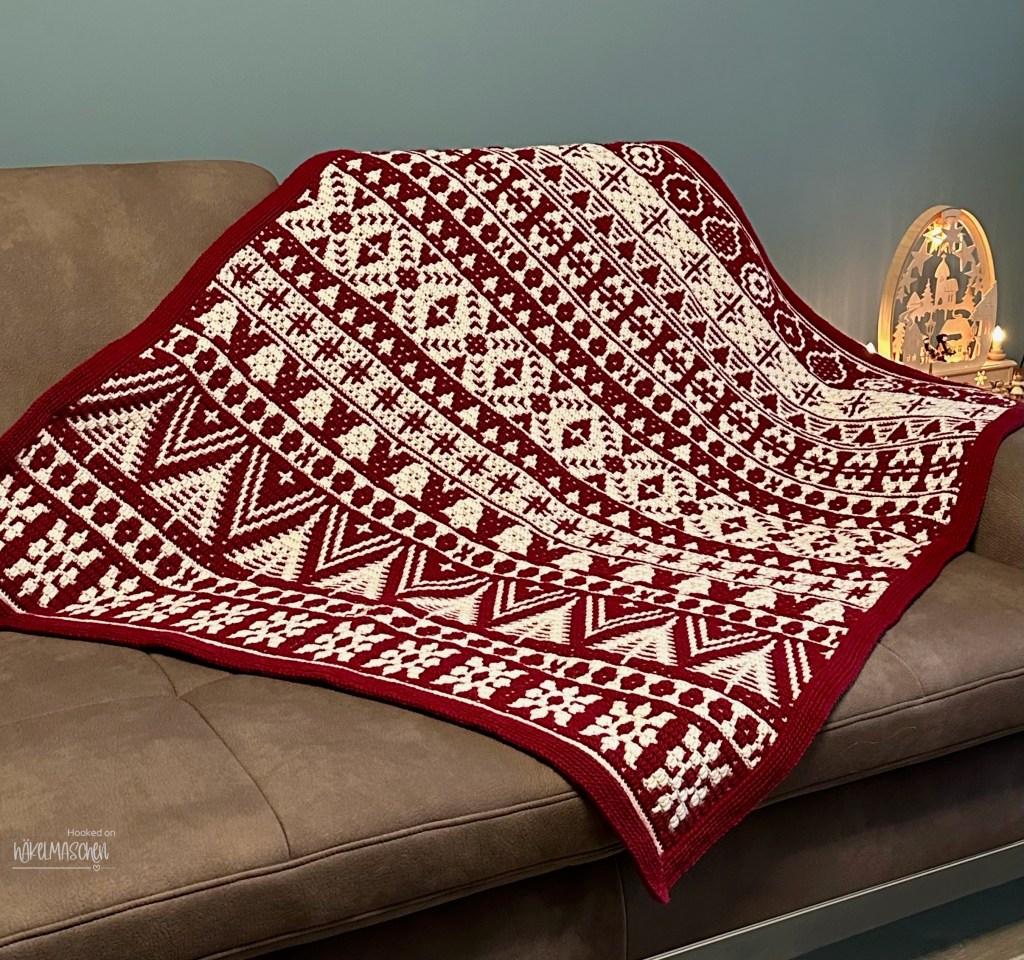
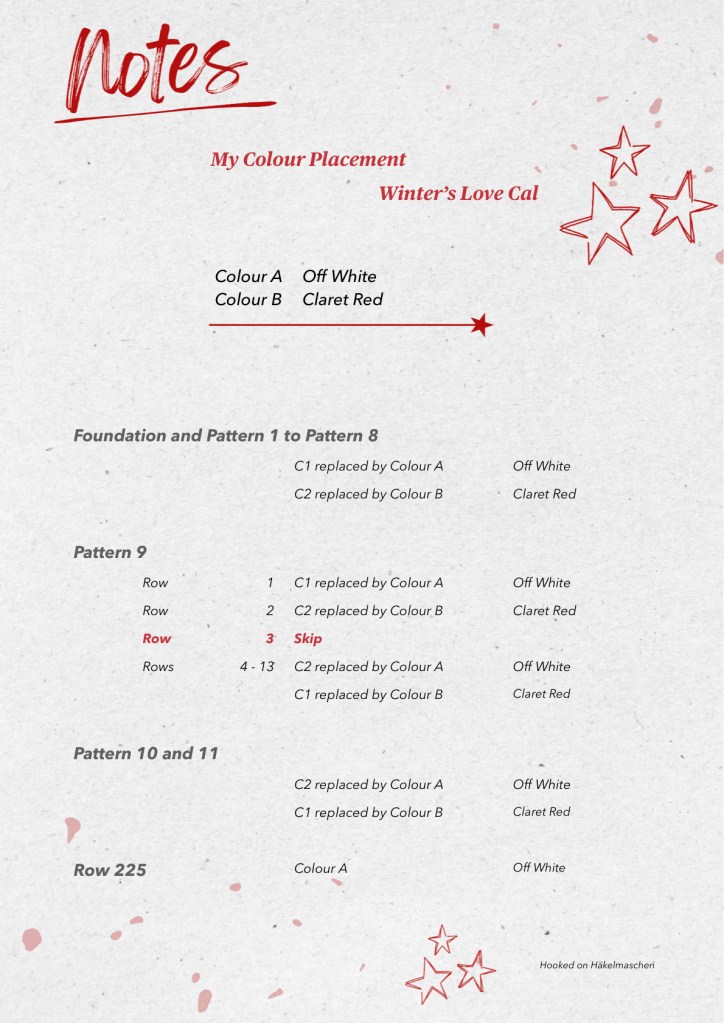
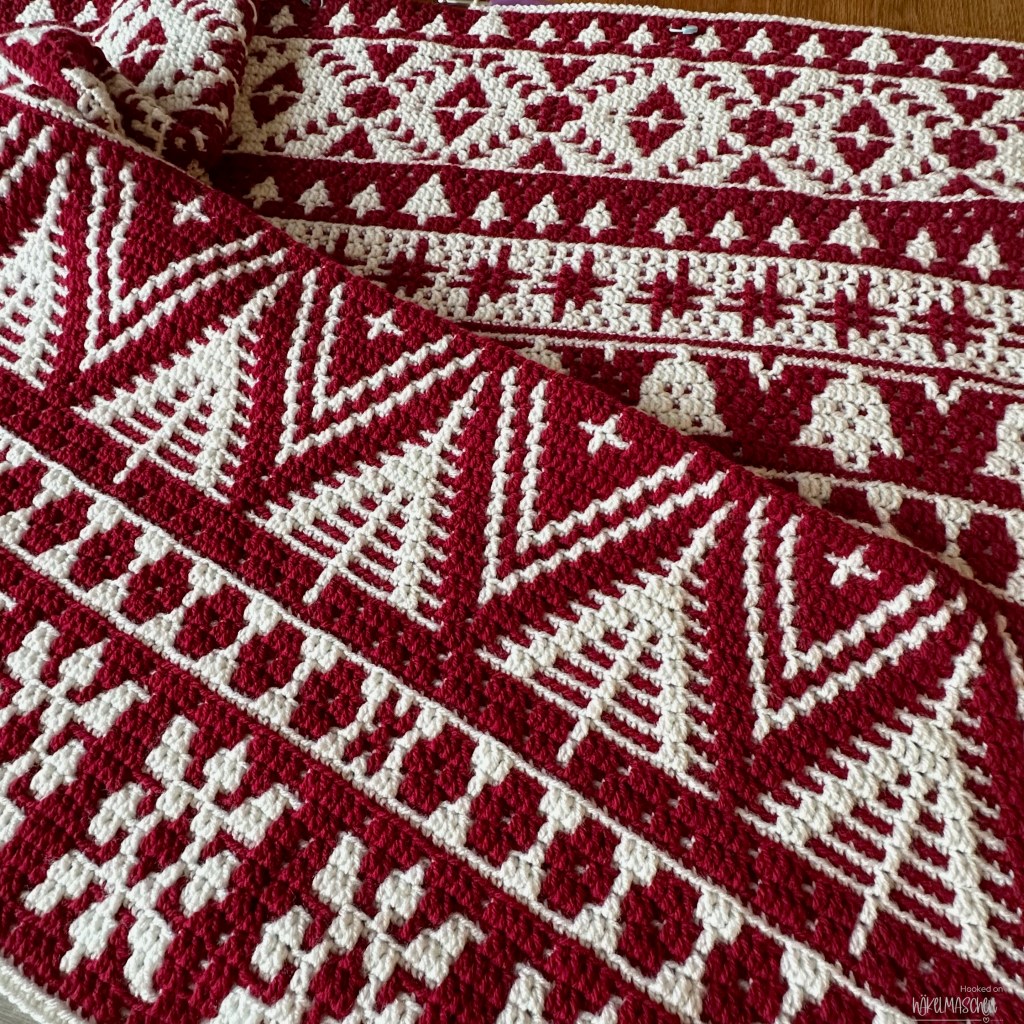
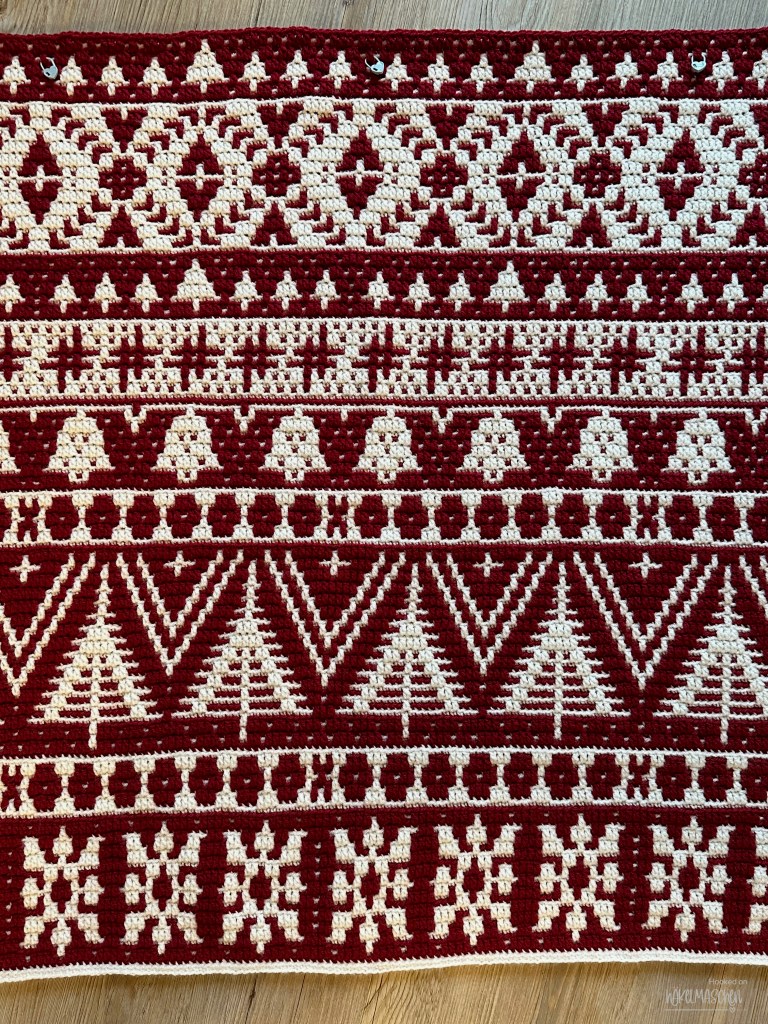
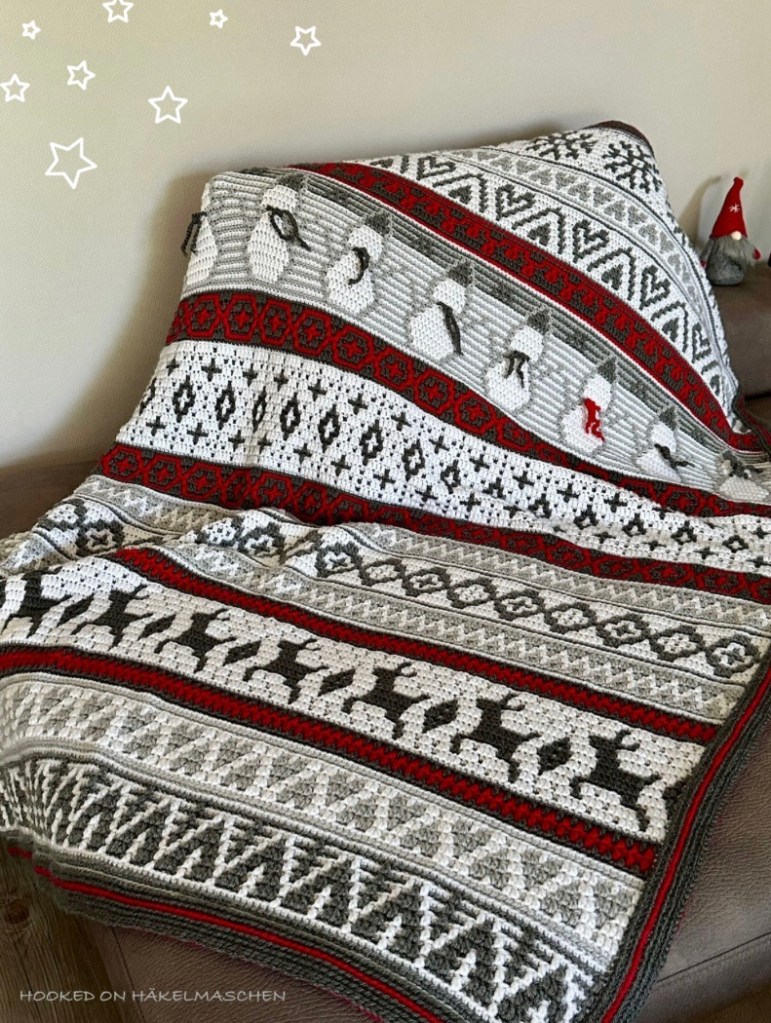
Winter’s Love (2024)
And so far the last in my series of winter blankets is Winter’s Love from 2024.
When I saw the design for the first time, I could immediately imagine it in a classic, Nordic style. So I choose a classic red- and white palette. Though I can also imagine it looking beautiful in cream and taupe tones.
Working on this blanket was a little different for me, as I was struggling with eye health issues during that time (and I’m still receiving treatment …). But despite this challenges, I love this blanket no less.

with a colour palette of white and red
Materials used
My Winter‘s Love is made with Yarnsmiths Create DK. It was the first time I had worked with this yarn, but certainly not the last!
The size of finished blanket is 120 x 150 cm, using a 4. 0 mm hook. I needed 10 balls / 1,000 g of yarn. I had almost nothing left. So, with a different tension, it could be tight.
My colours are
- 3045 – Off White
- 3090 – Claret Red
My colour placement is listed in a downloadable PDF which you can find in this post
The pattern is available through Ravelry.
For me, finishing a big crochet project is always a very special moment – do you feel the same?
I truly love each one of my blankets, and for me they all stand for warmth and comfort during the long, dark winter months.
I hope my winter blankets have inspired you as well! There’s still plenty of time before the season begins to create your own cosy piece.
Which colours would you choose for your winter blanket?