
Updated on July 15, 2026
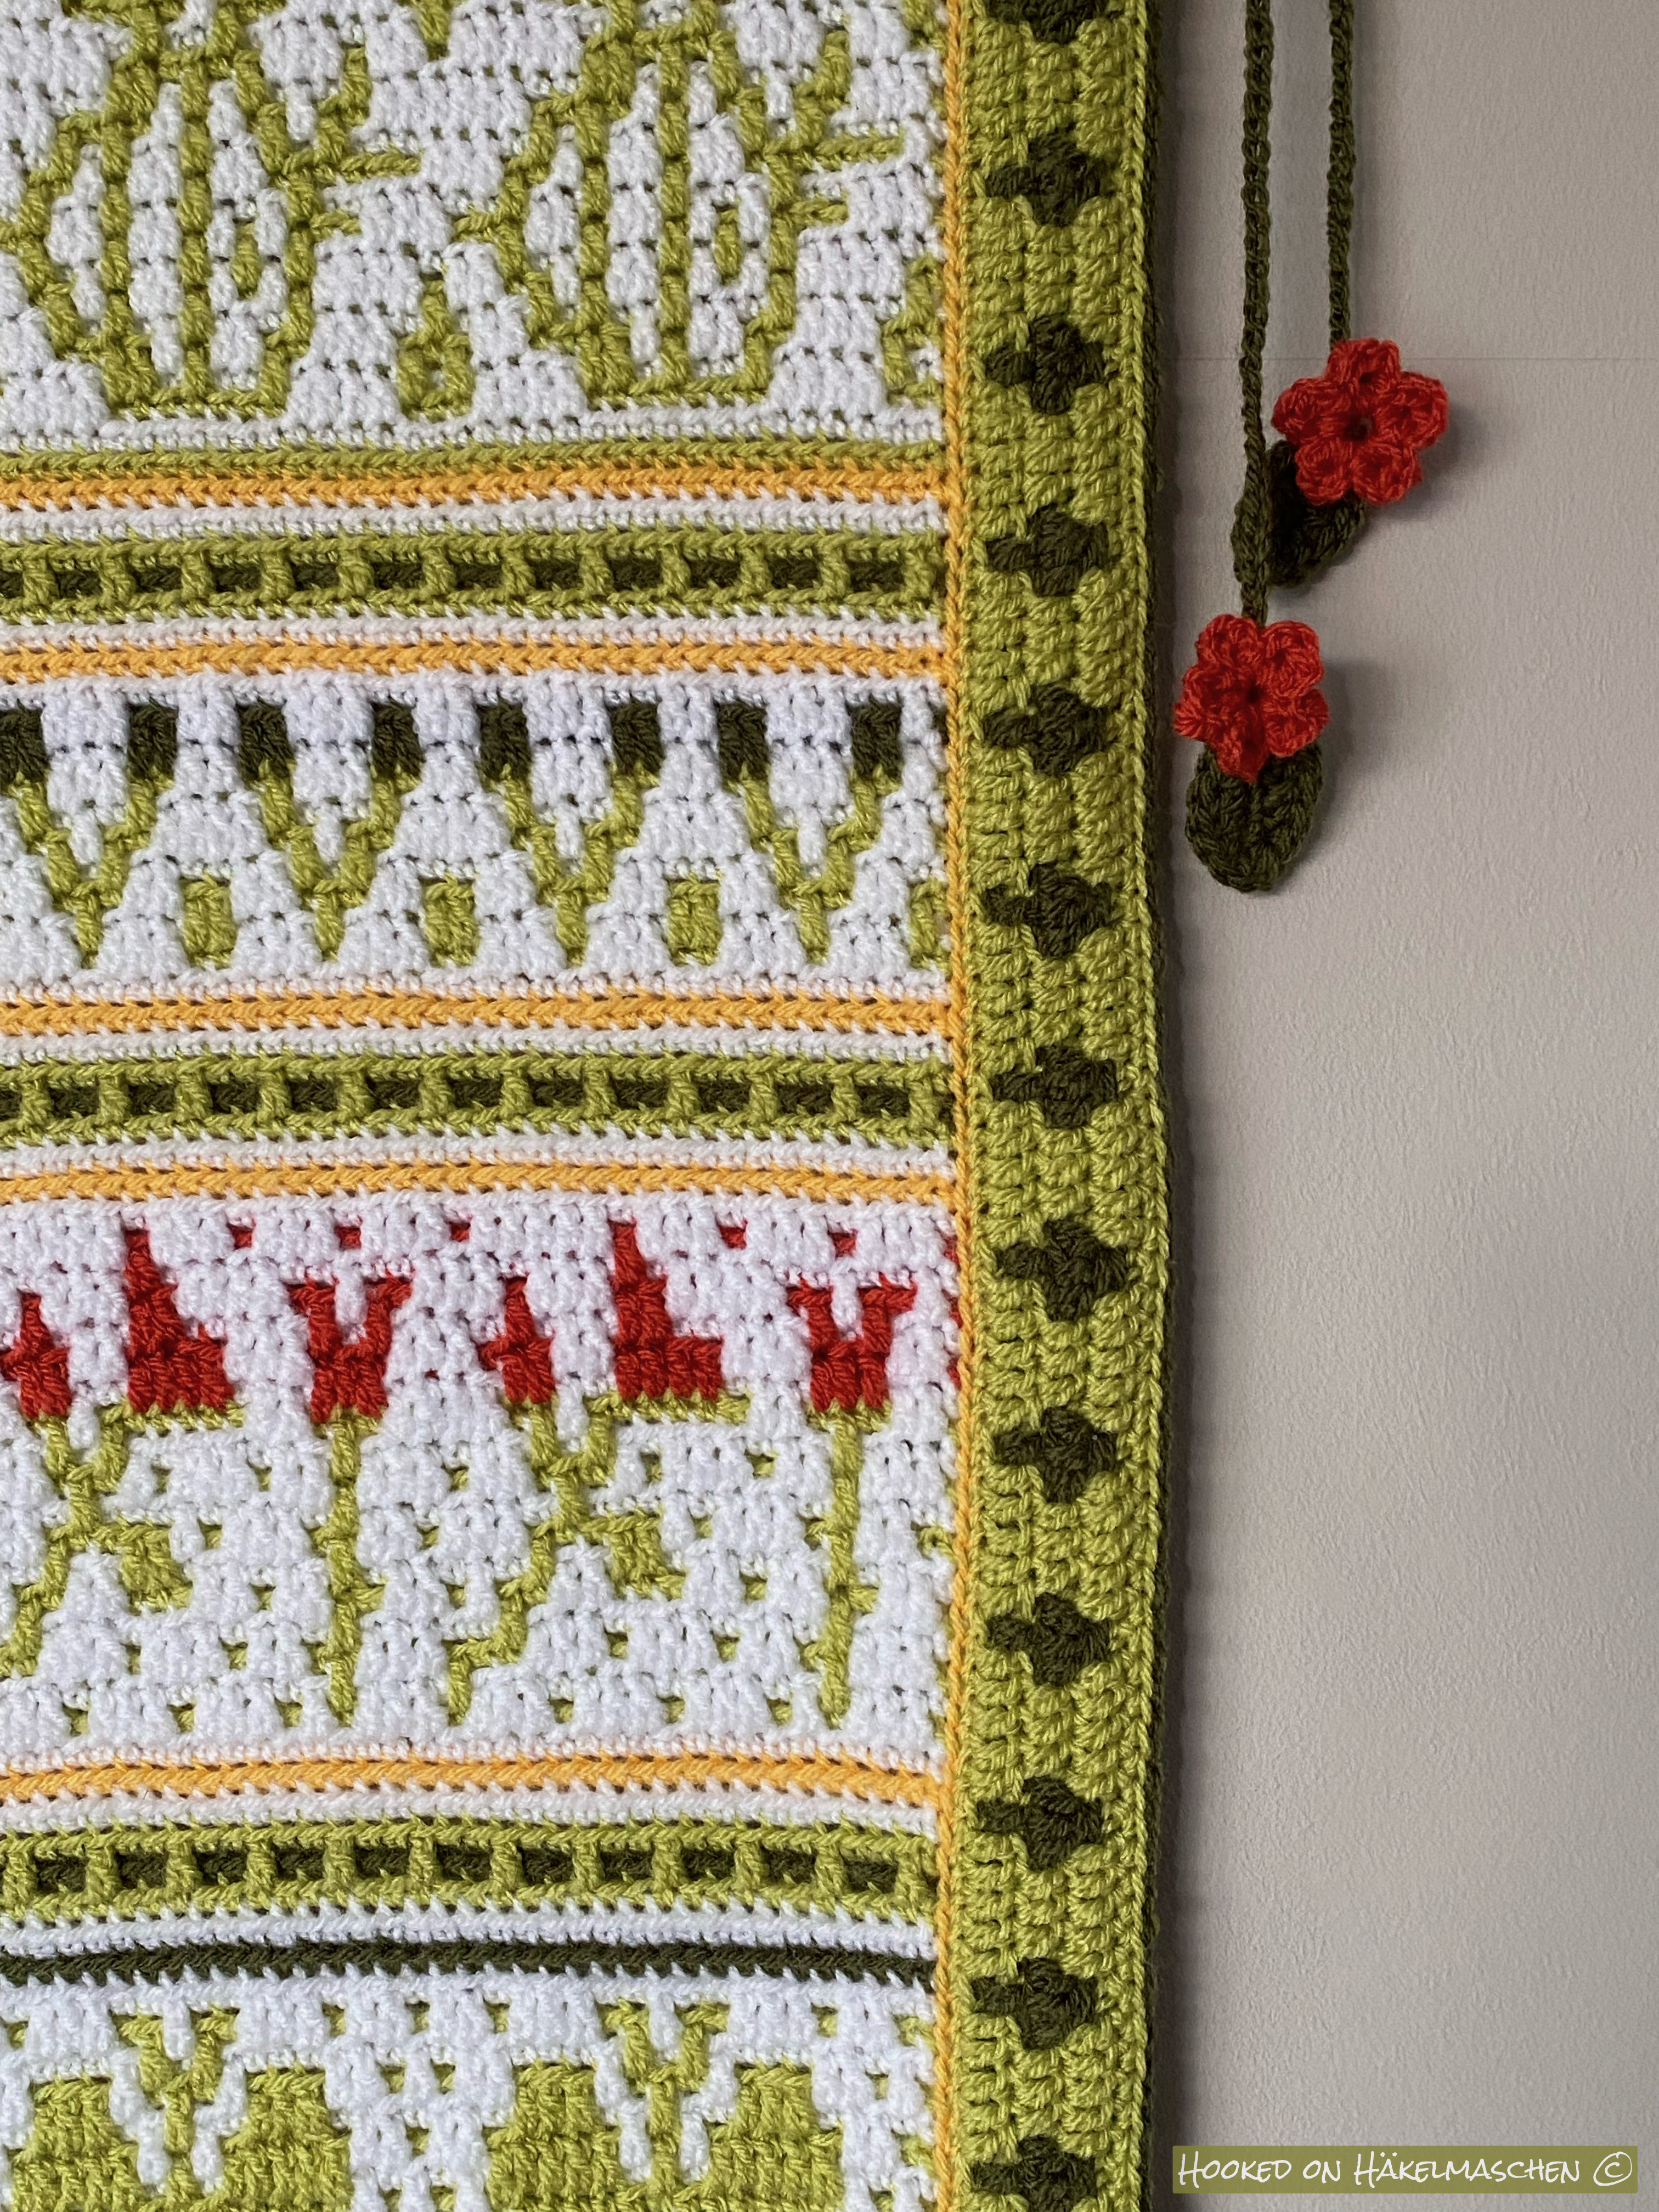
The Hello Spring CAL is now coming to an end; we’ve reached the border.
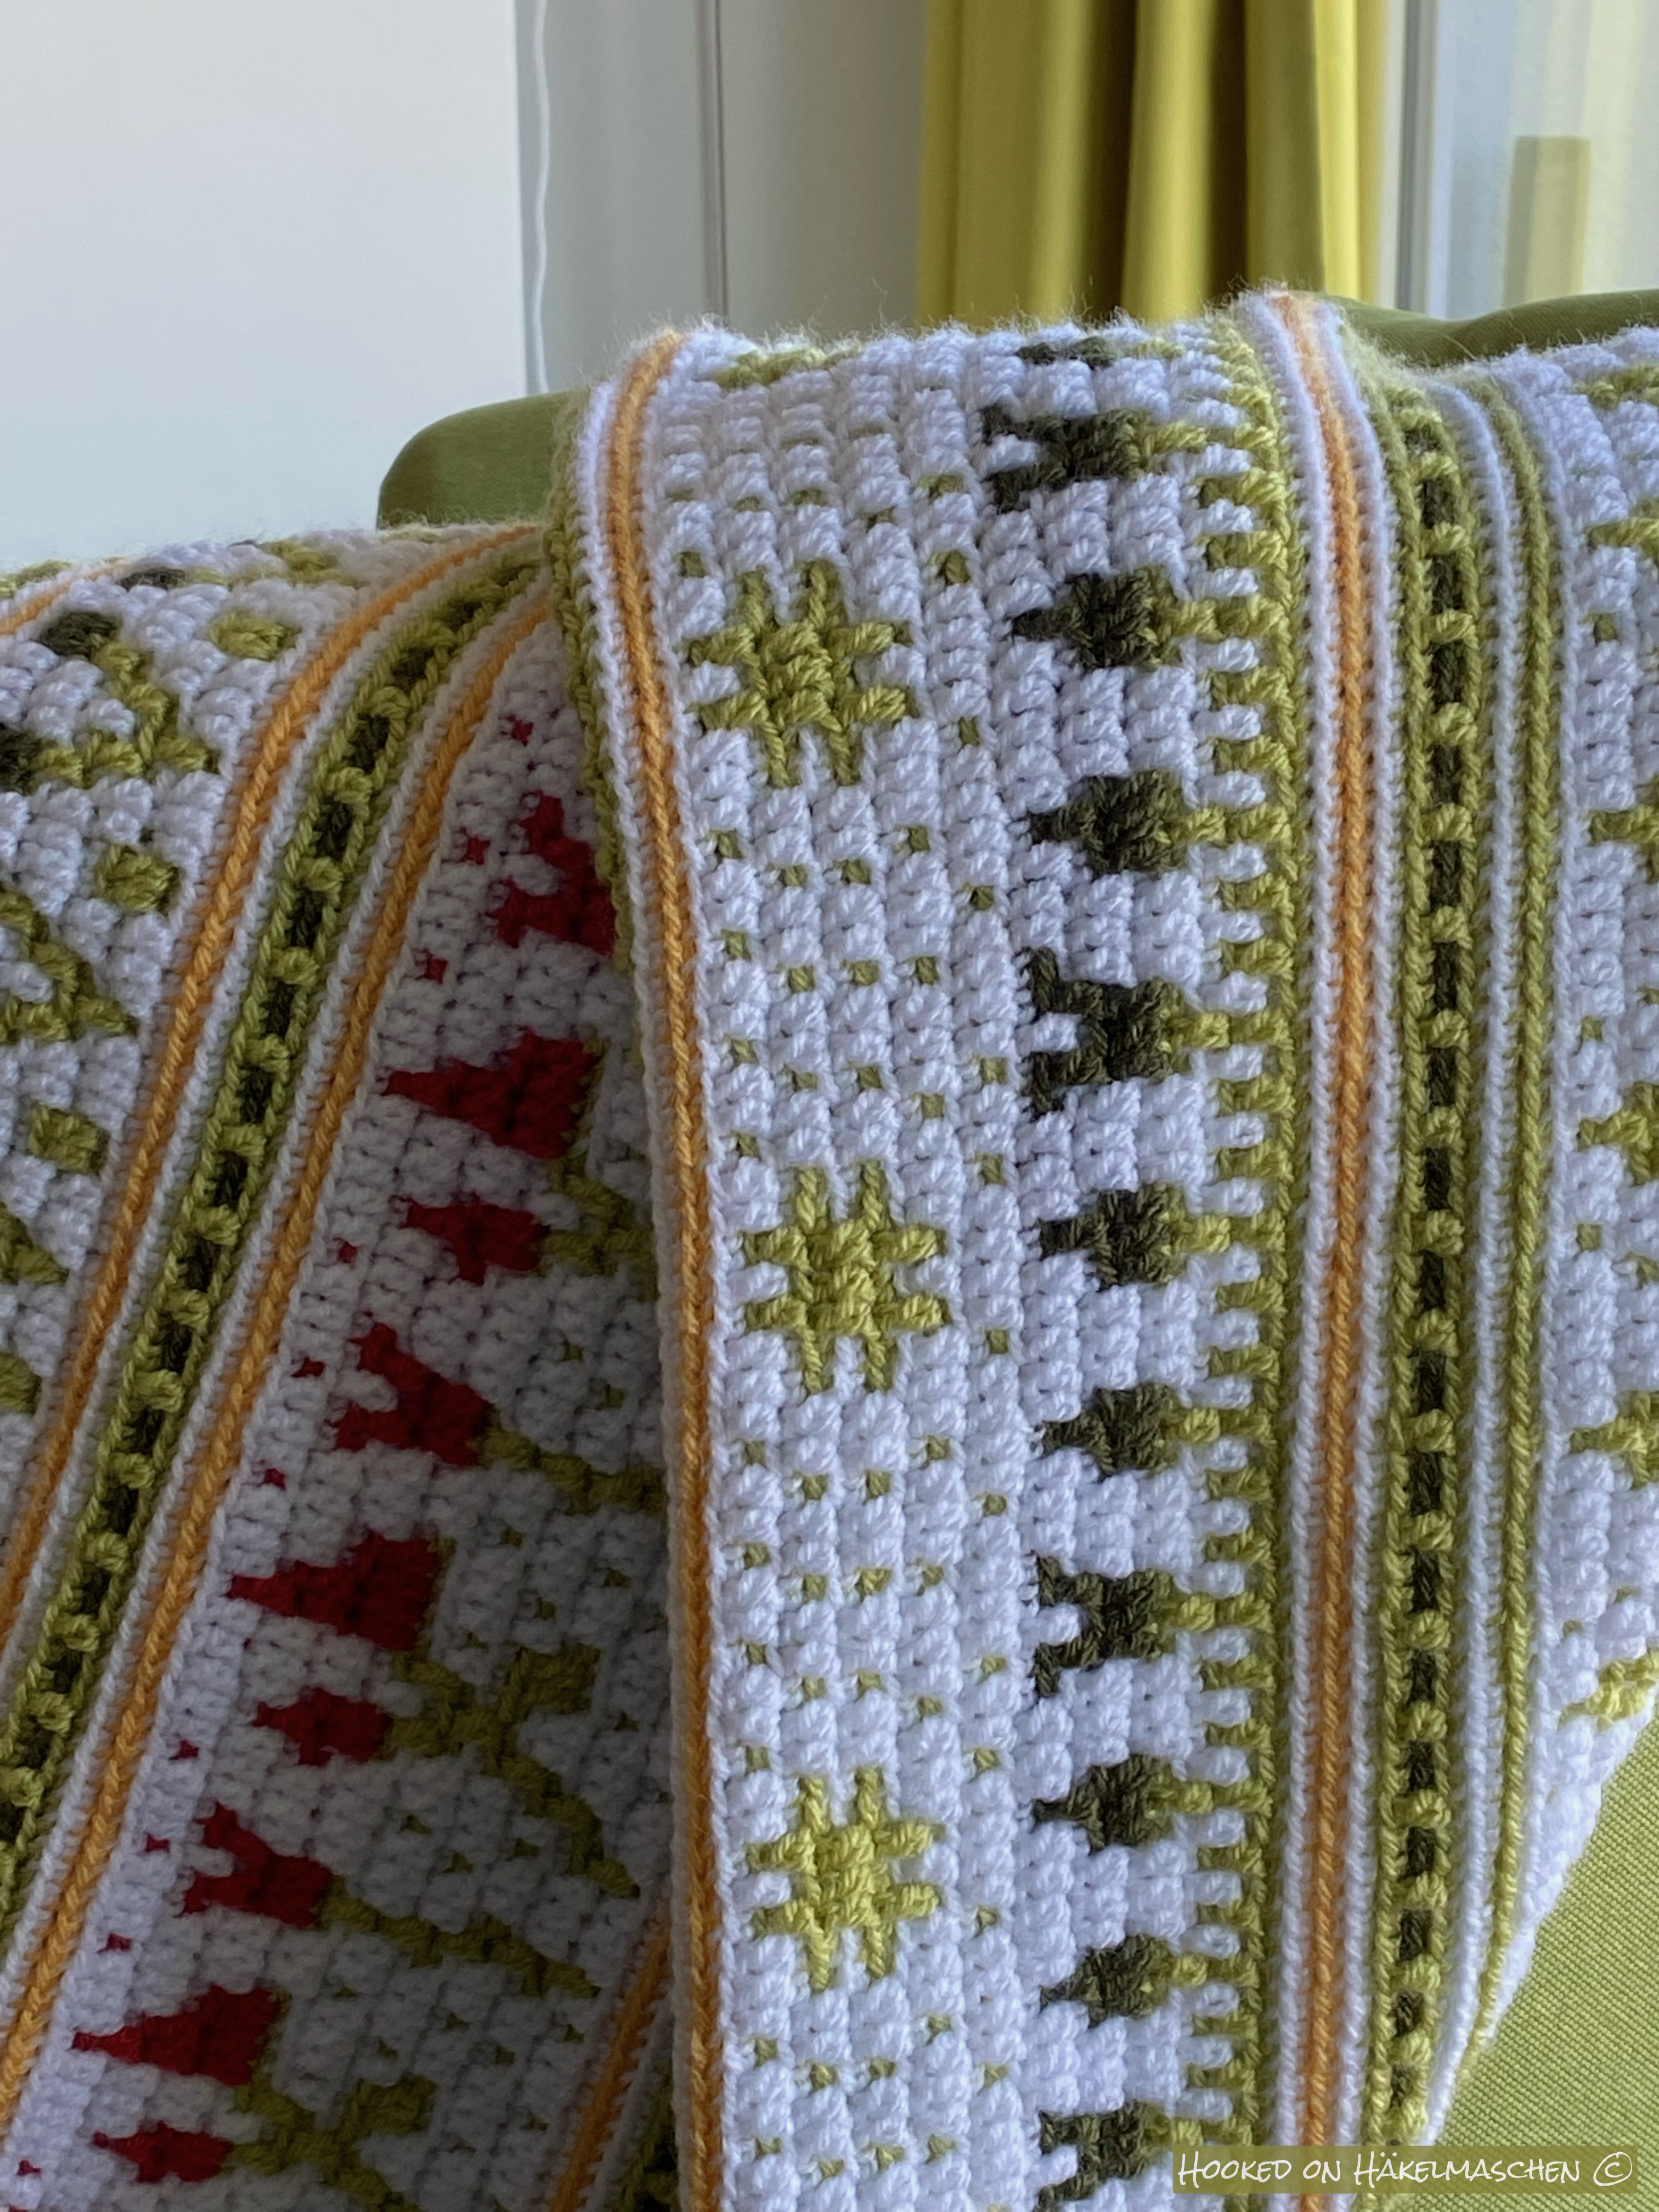
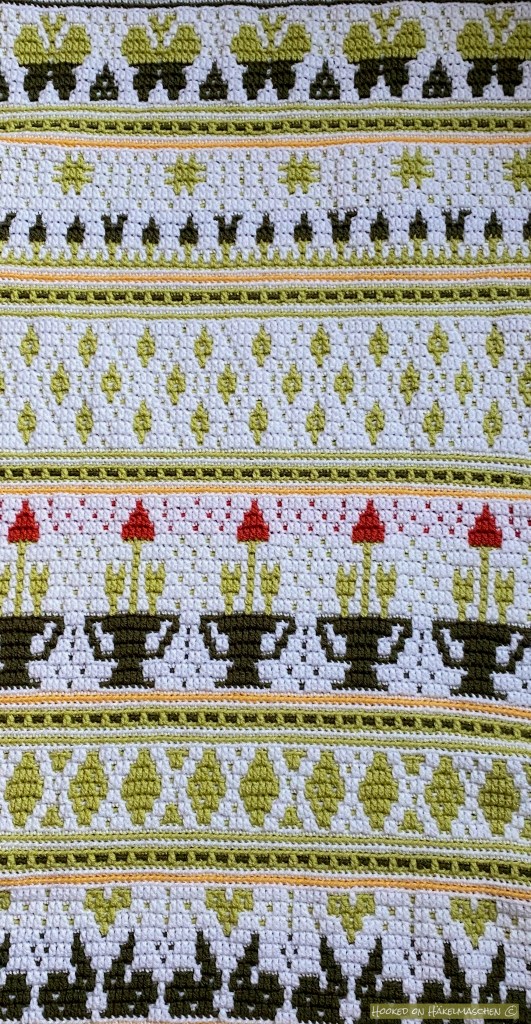
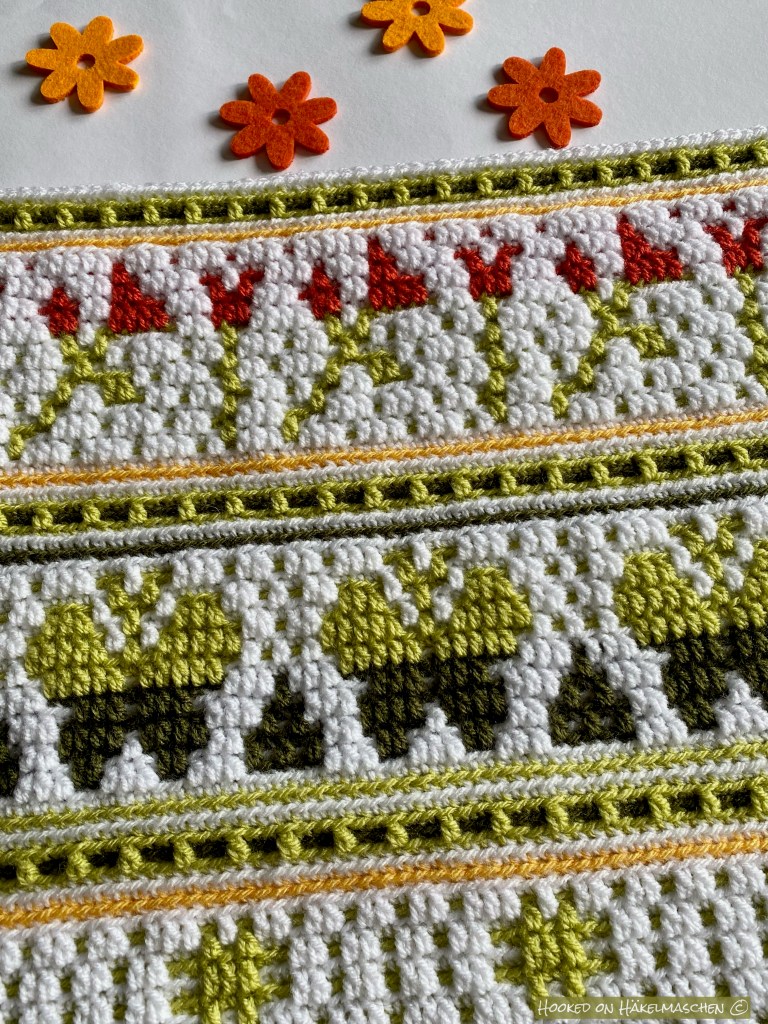
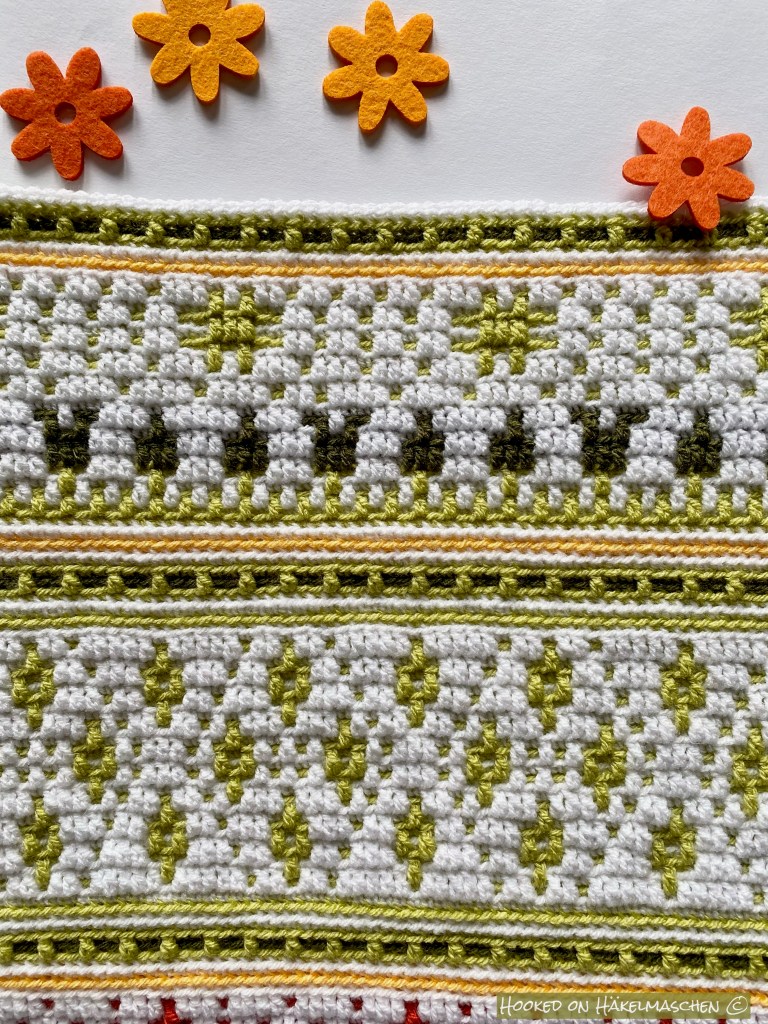
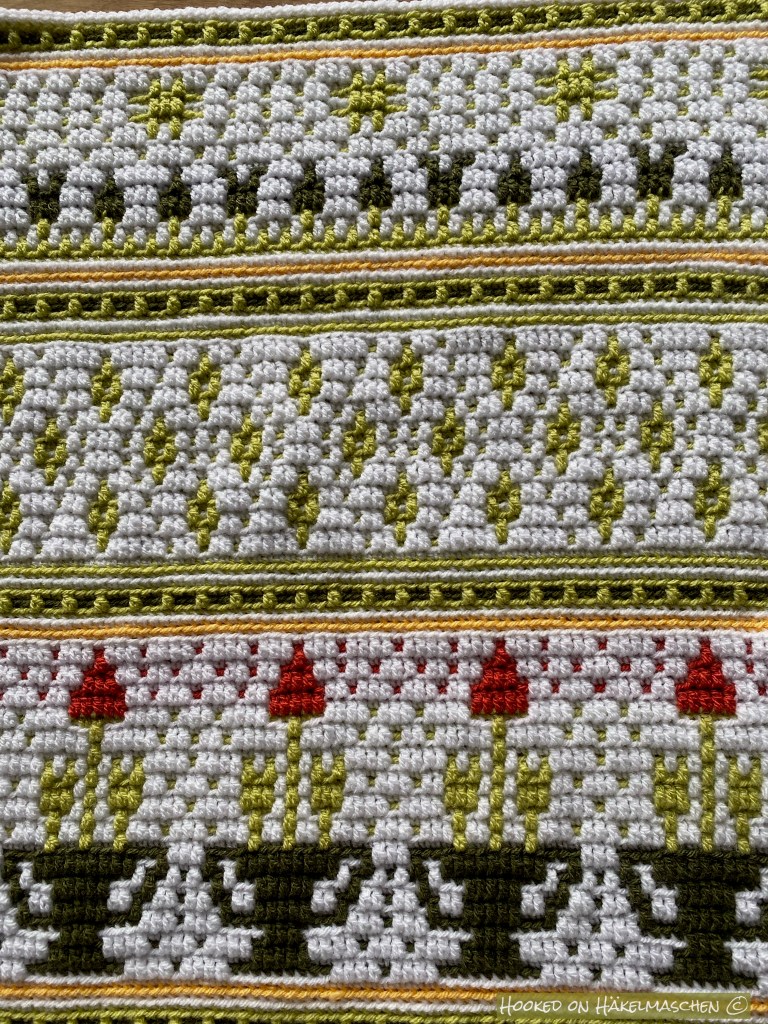
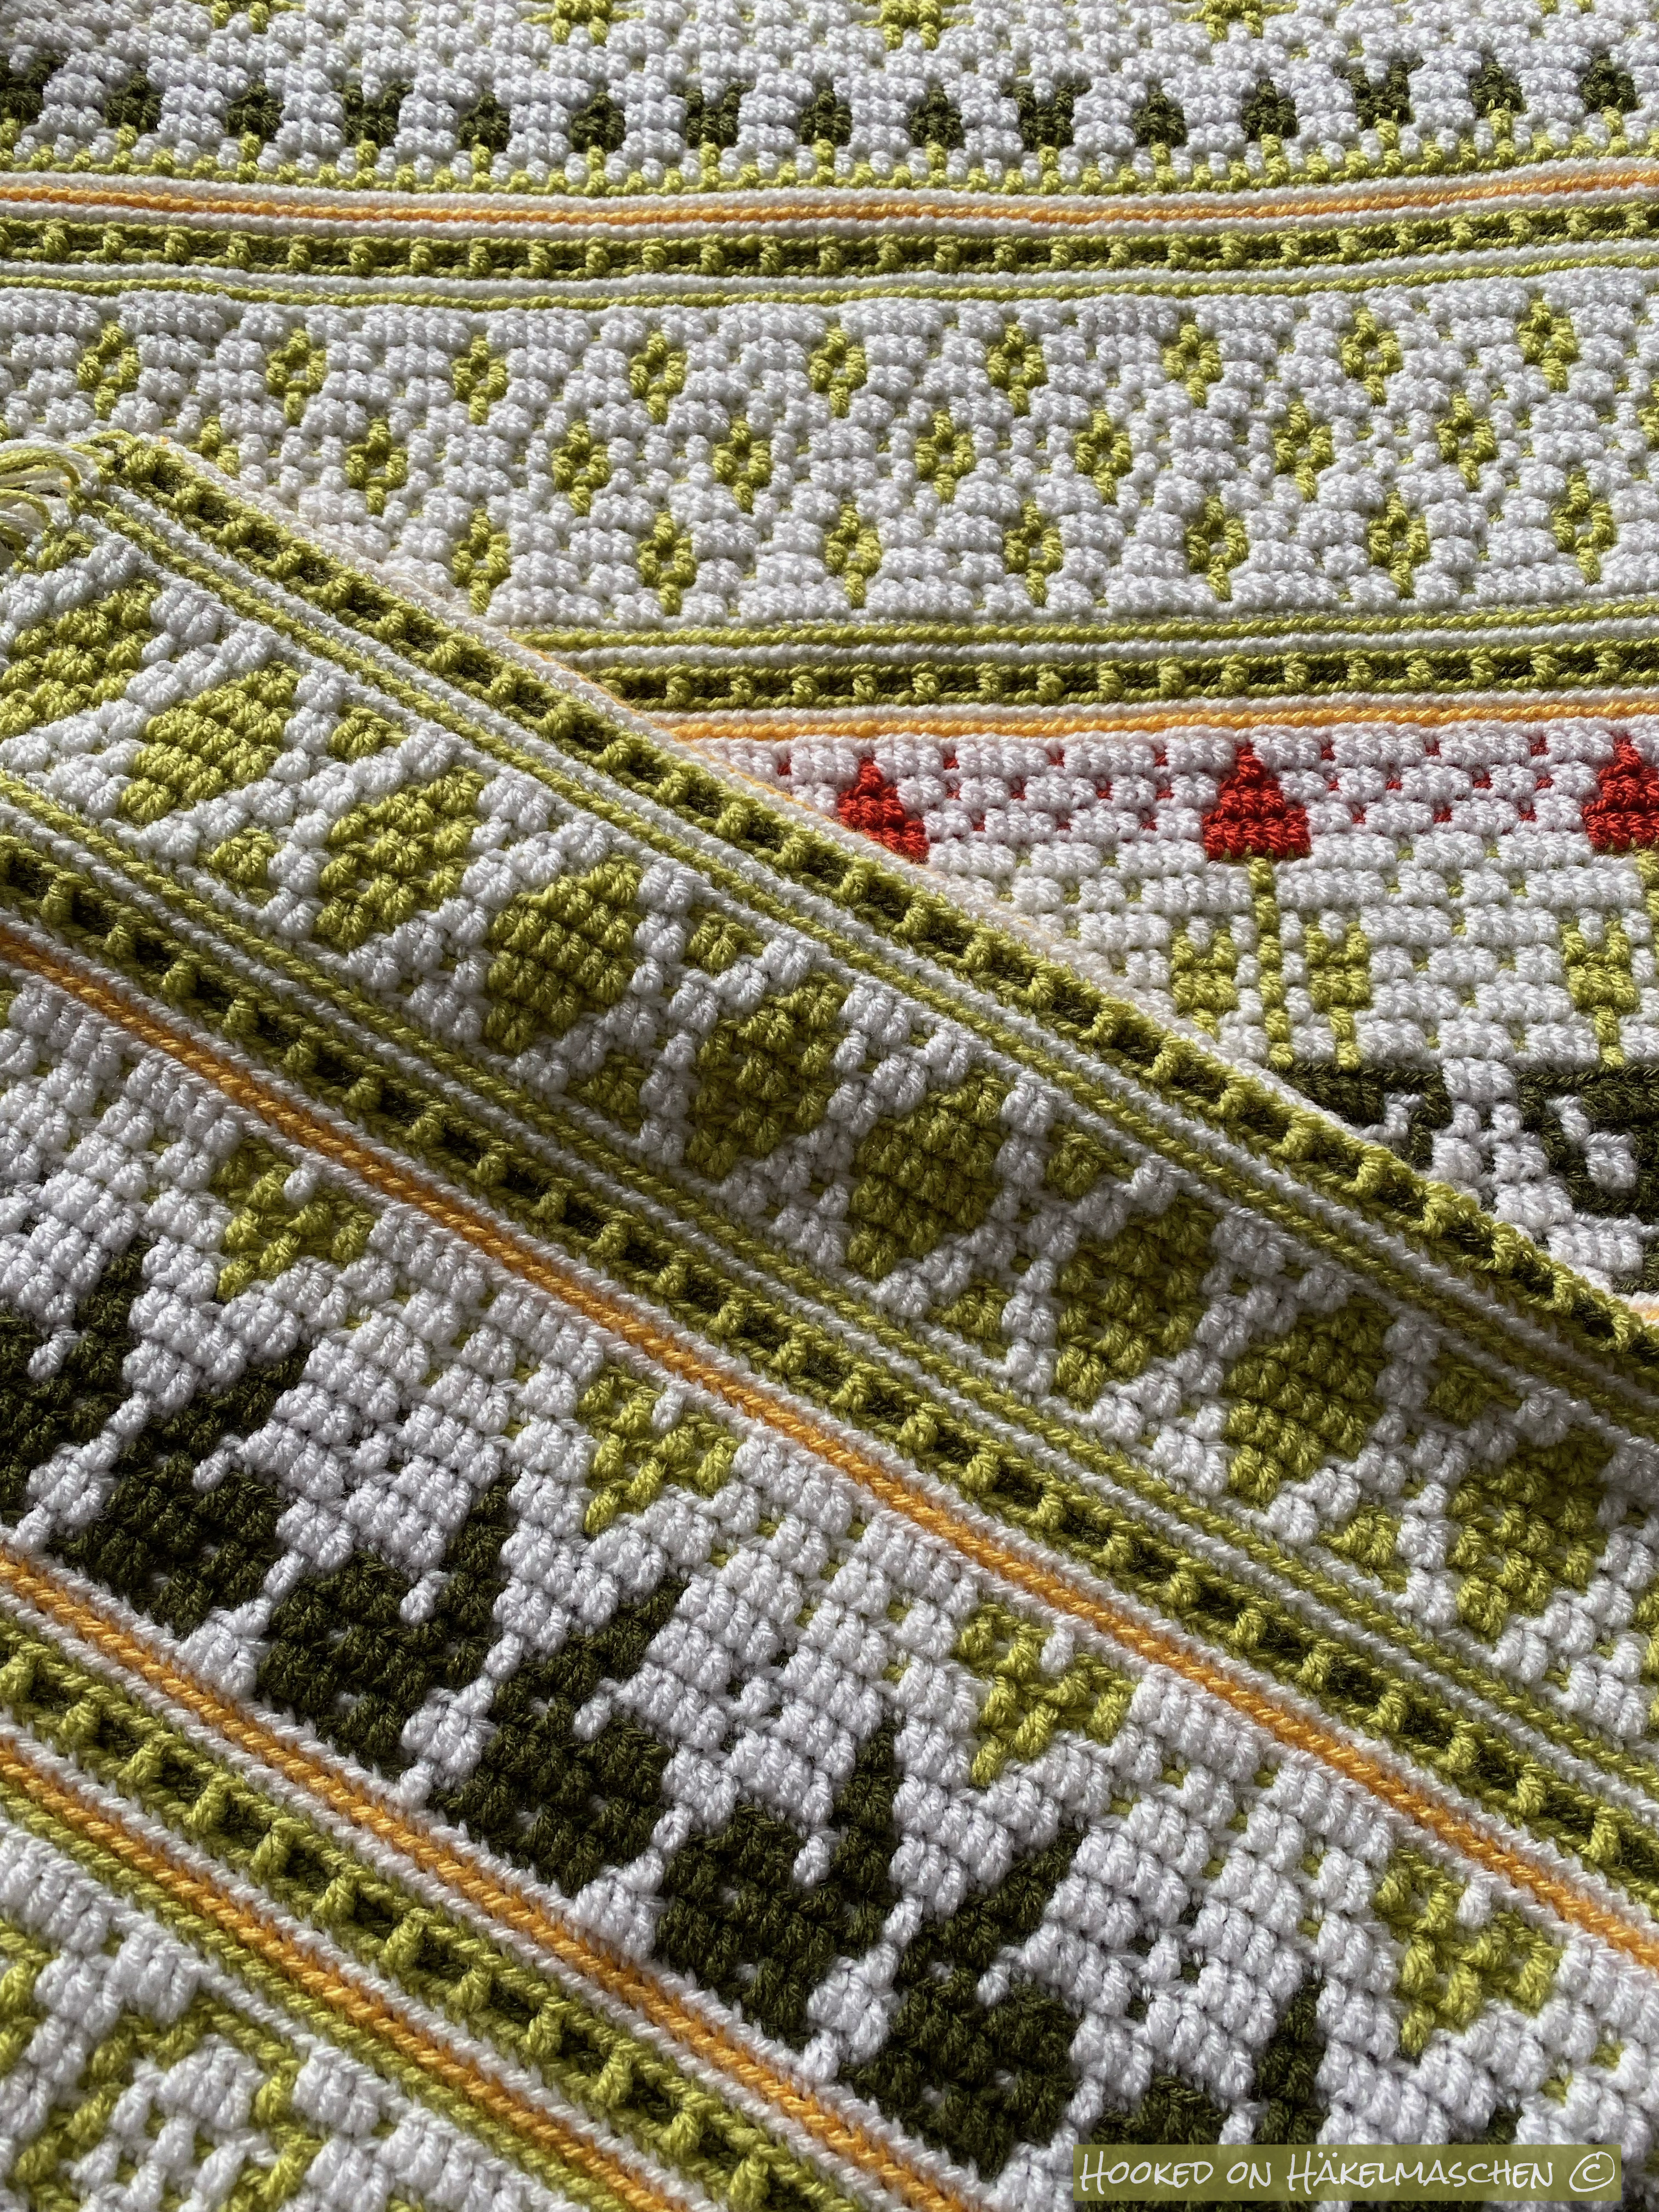
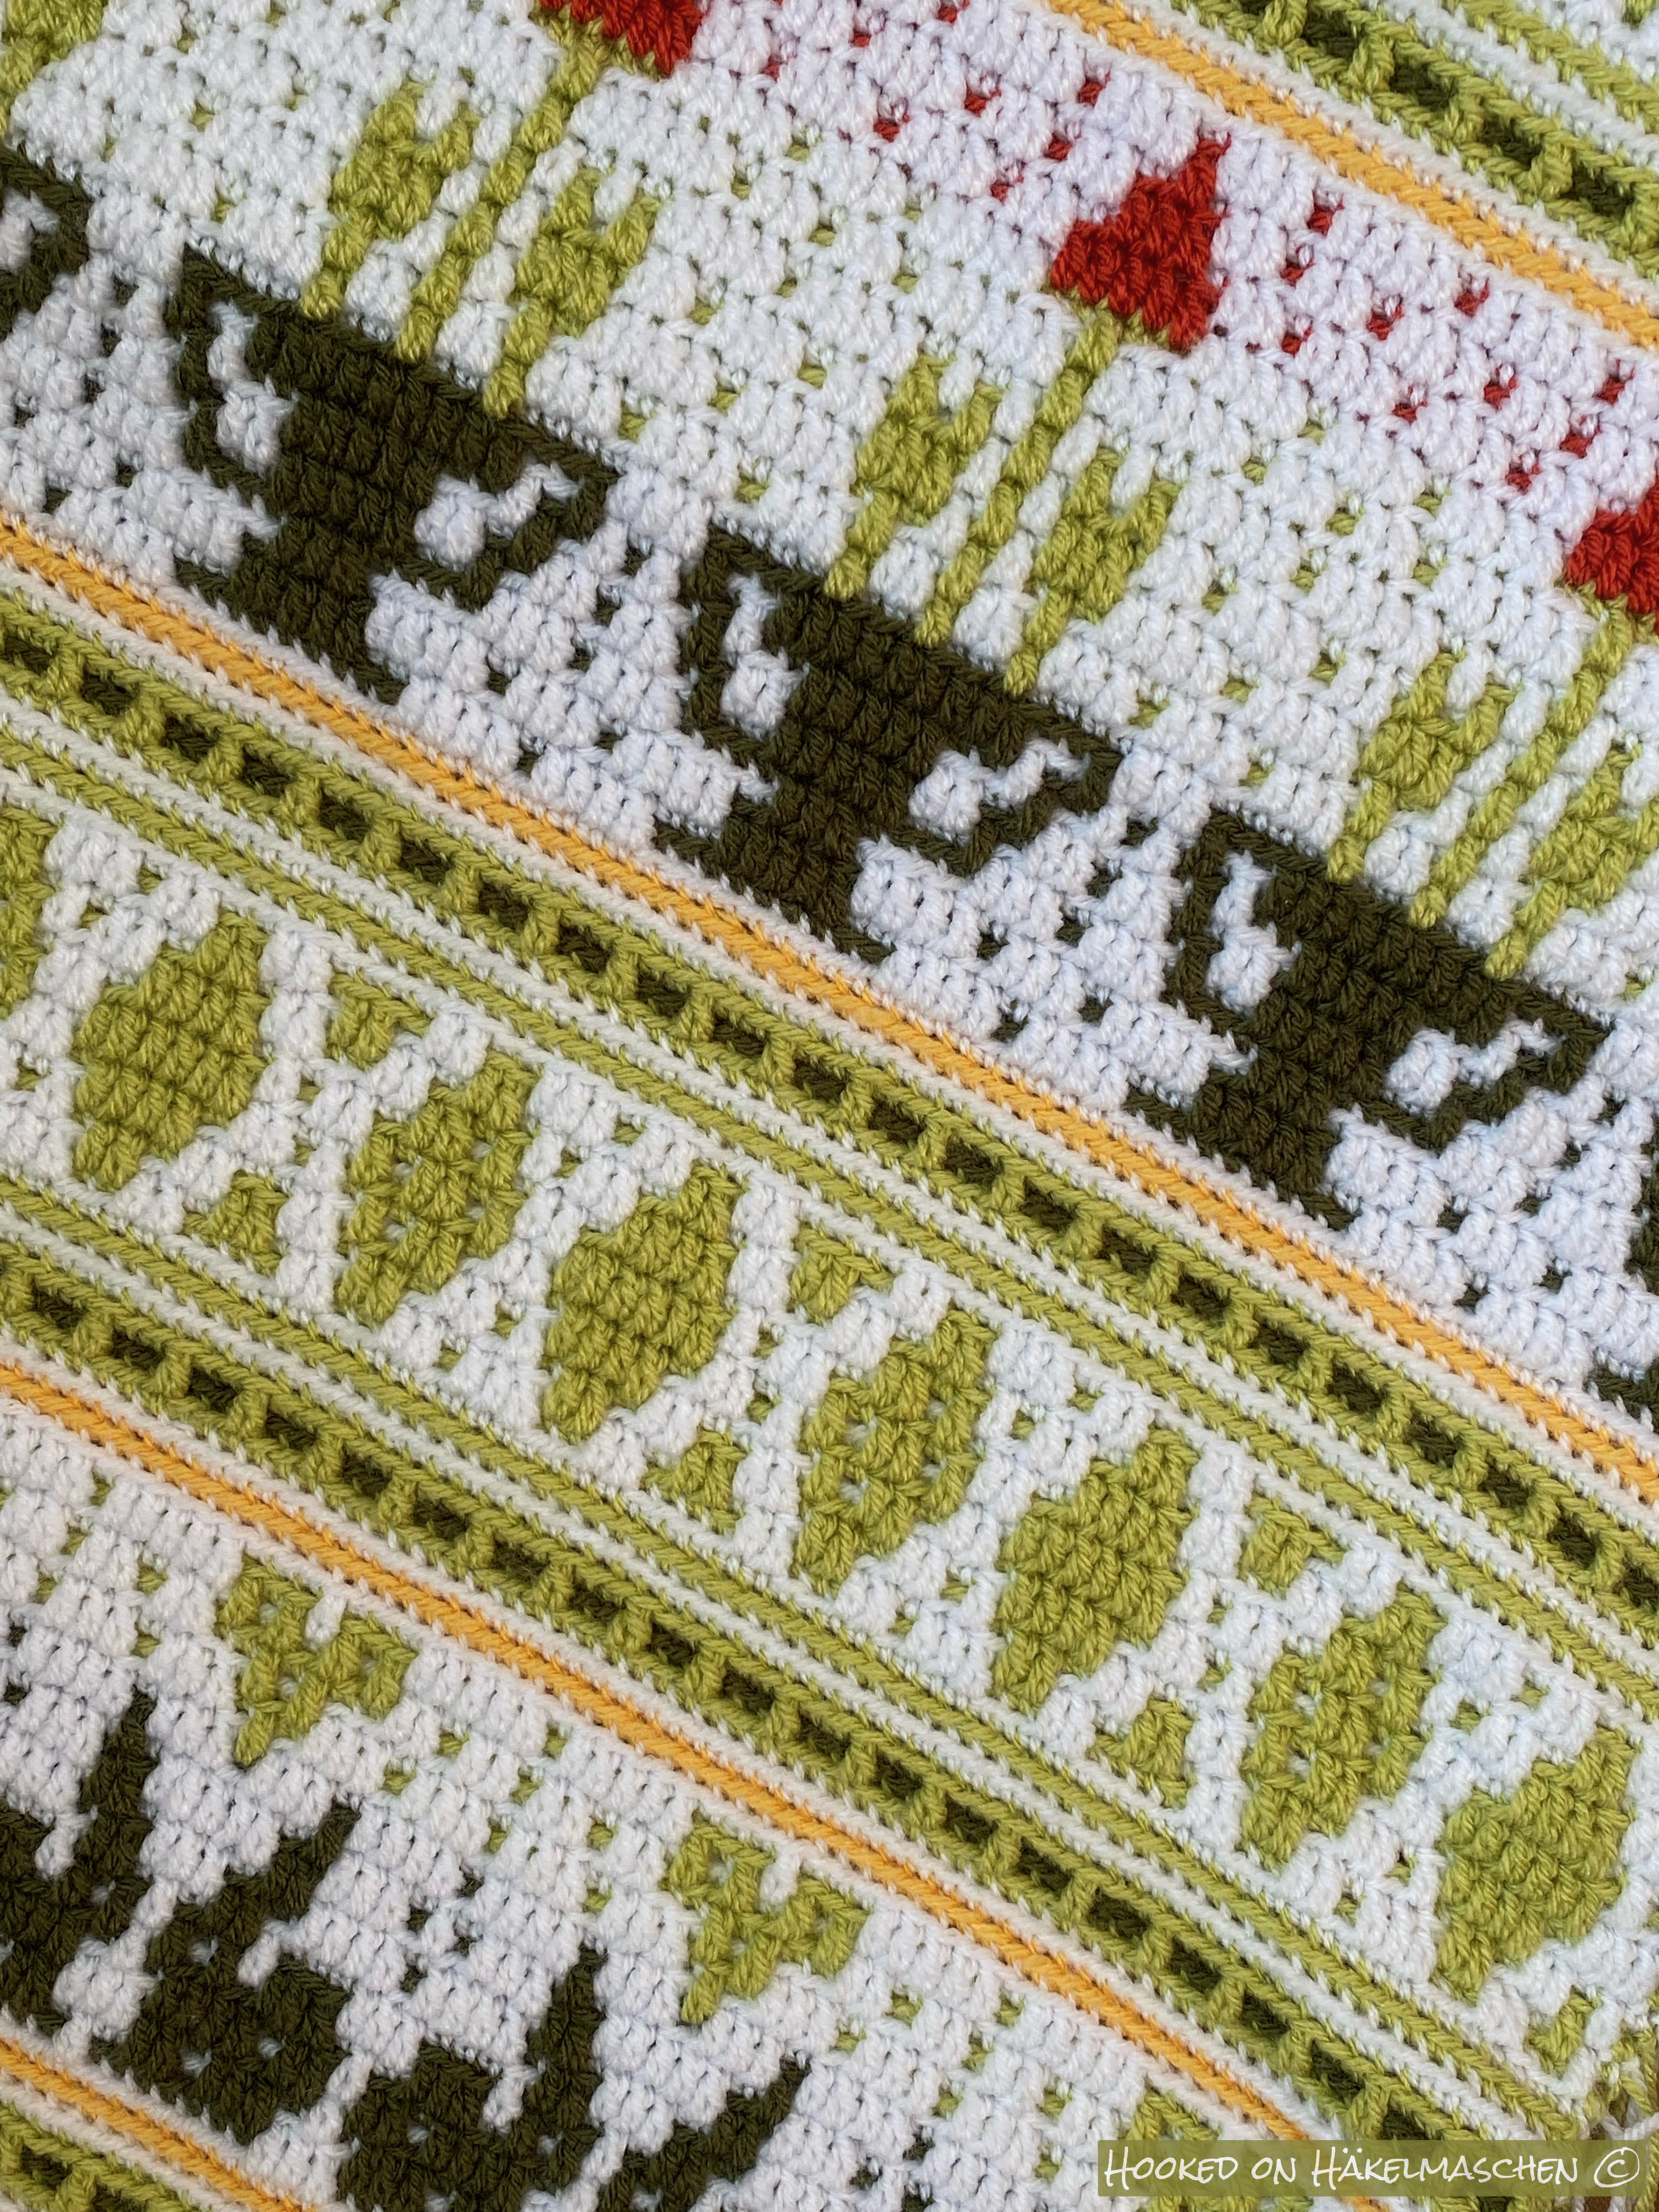
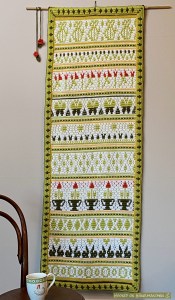
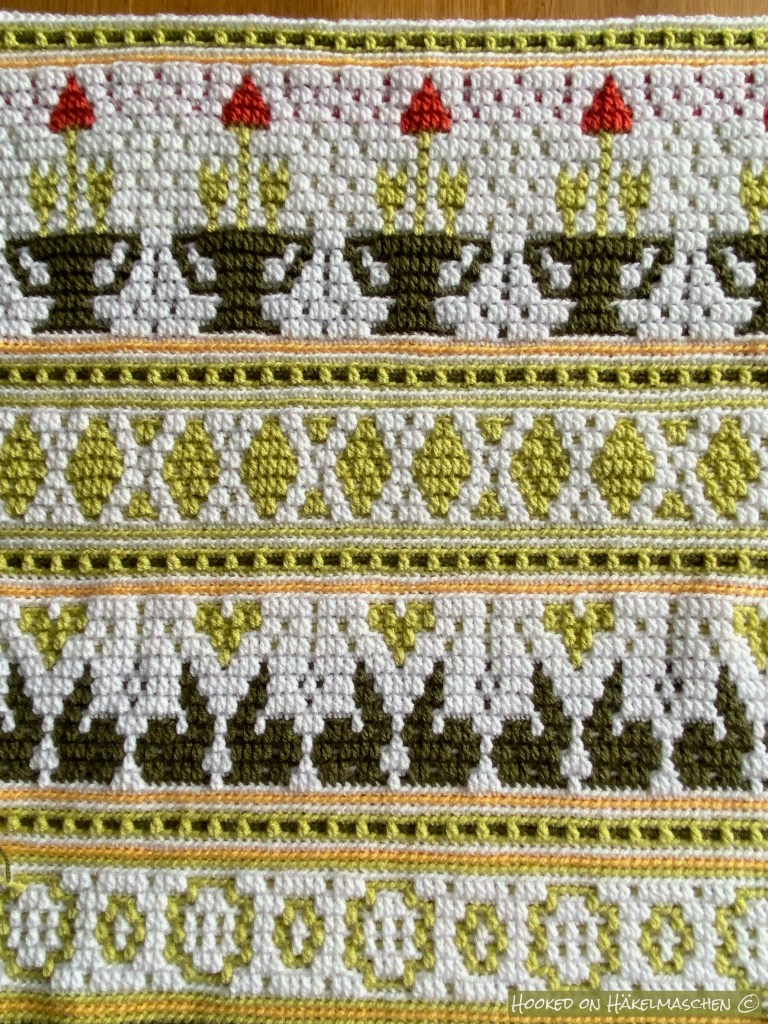
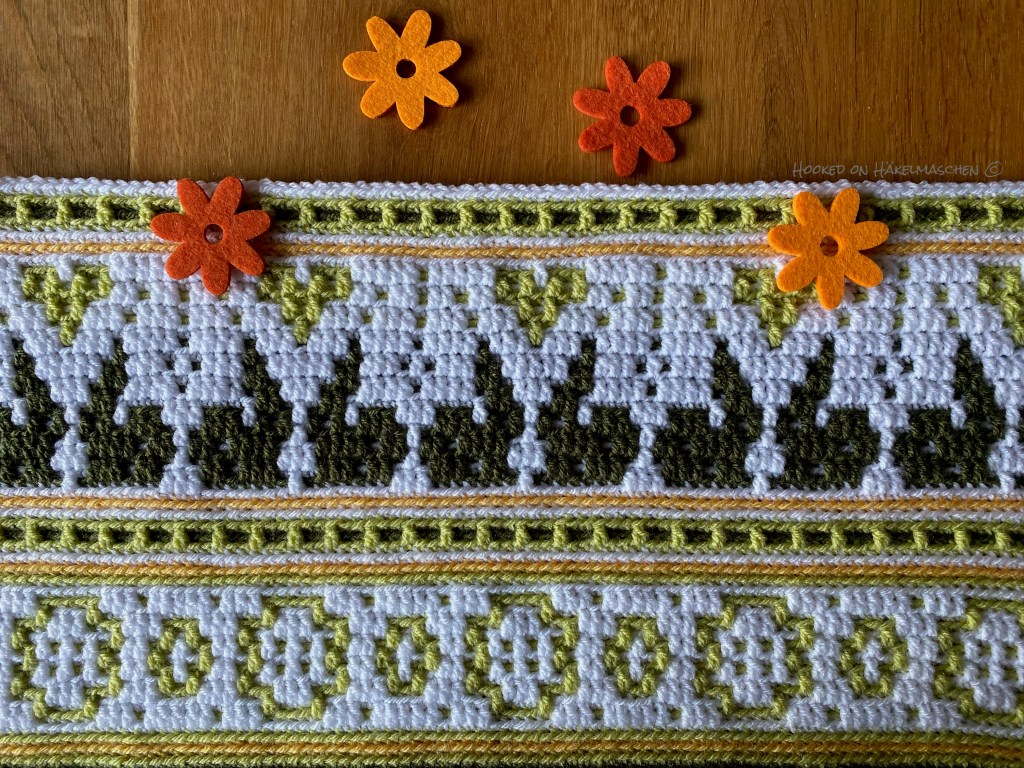
As you know, I’ve made a wall hanging using the ‘Hello Spring’ pattern. Therefore I worked only five pattern repeats.
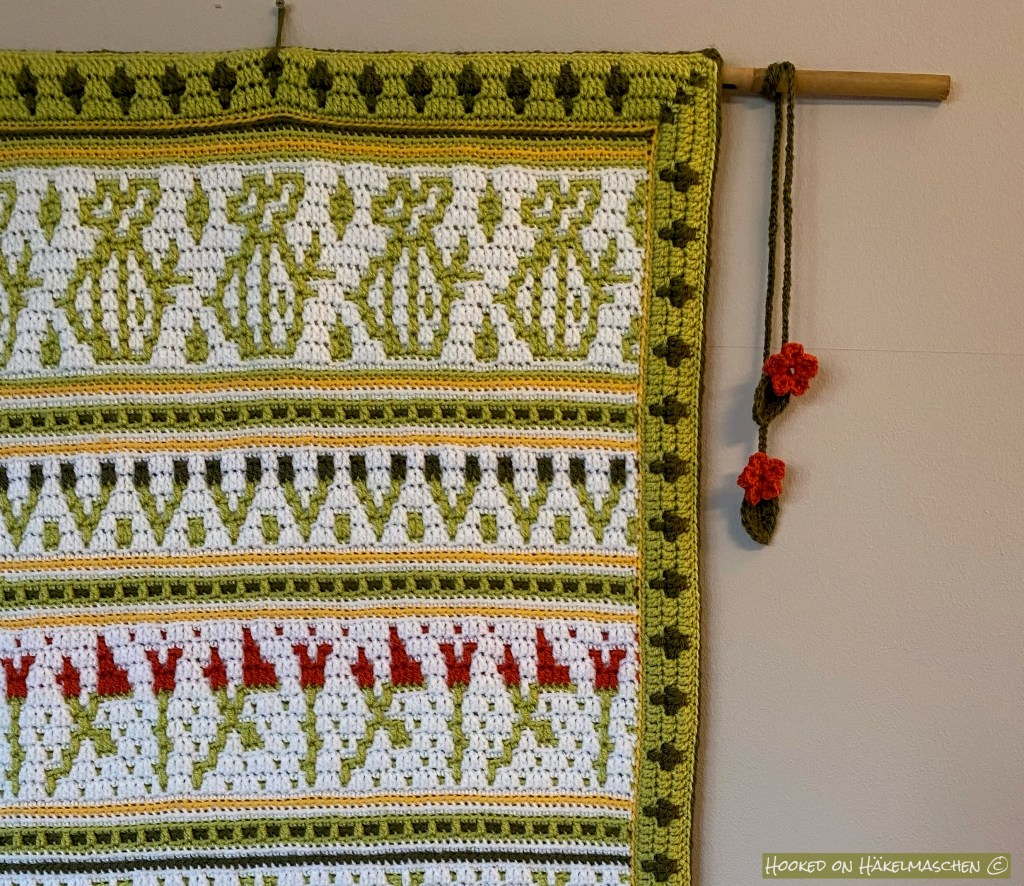
When it came to the border, I had to decide how I wanted to hang my decoration.
I’ve seen some rather complicated-looking constructions for hanging wall decorations, but I’ve never found an explanation of how to make them.
At first, I thought about attaching loops to it, similar to how you do with a quilt. There too, however, I wasn’t sure how best to attach them. Then another idea came to me – a very simple one:
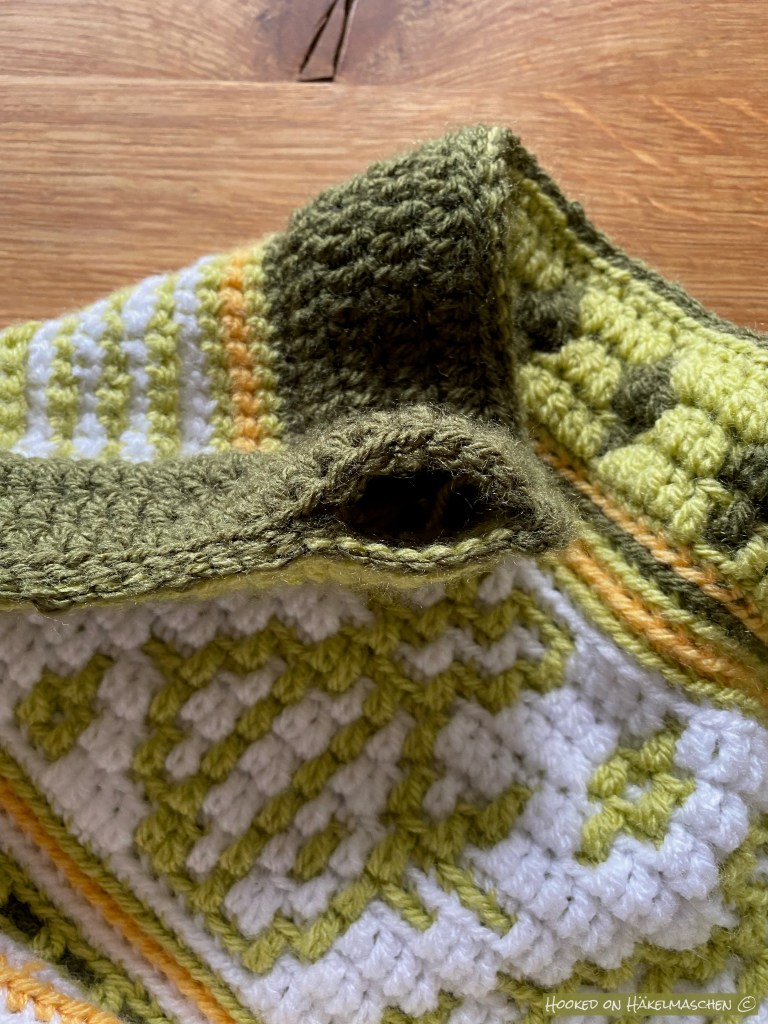
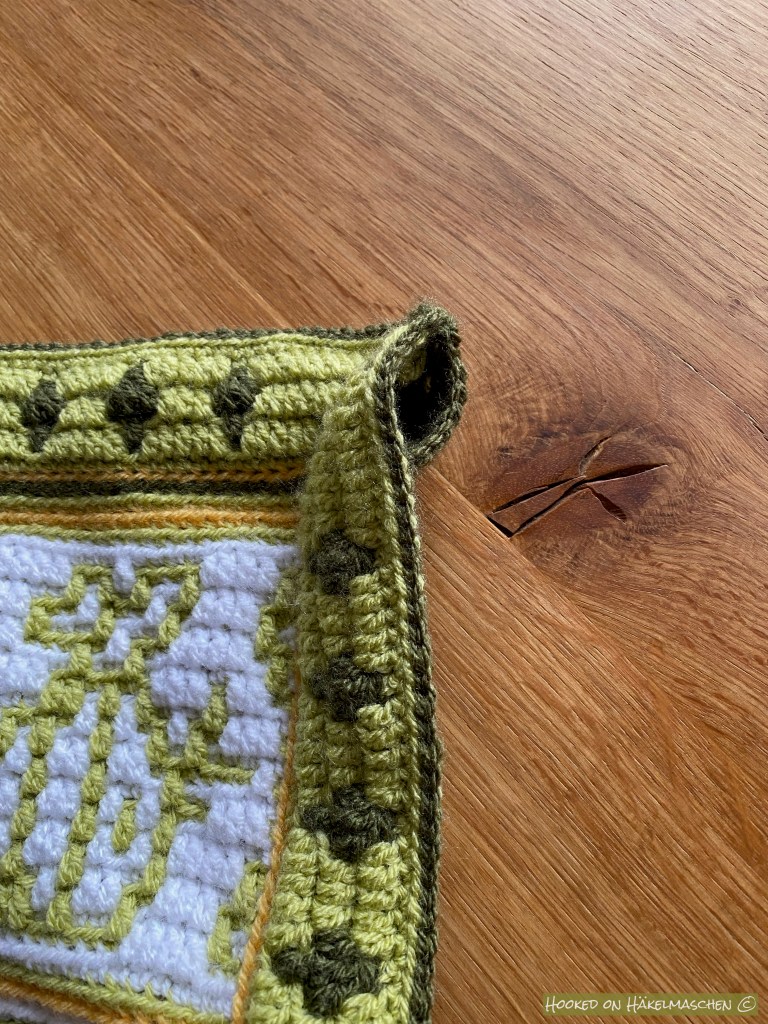
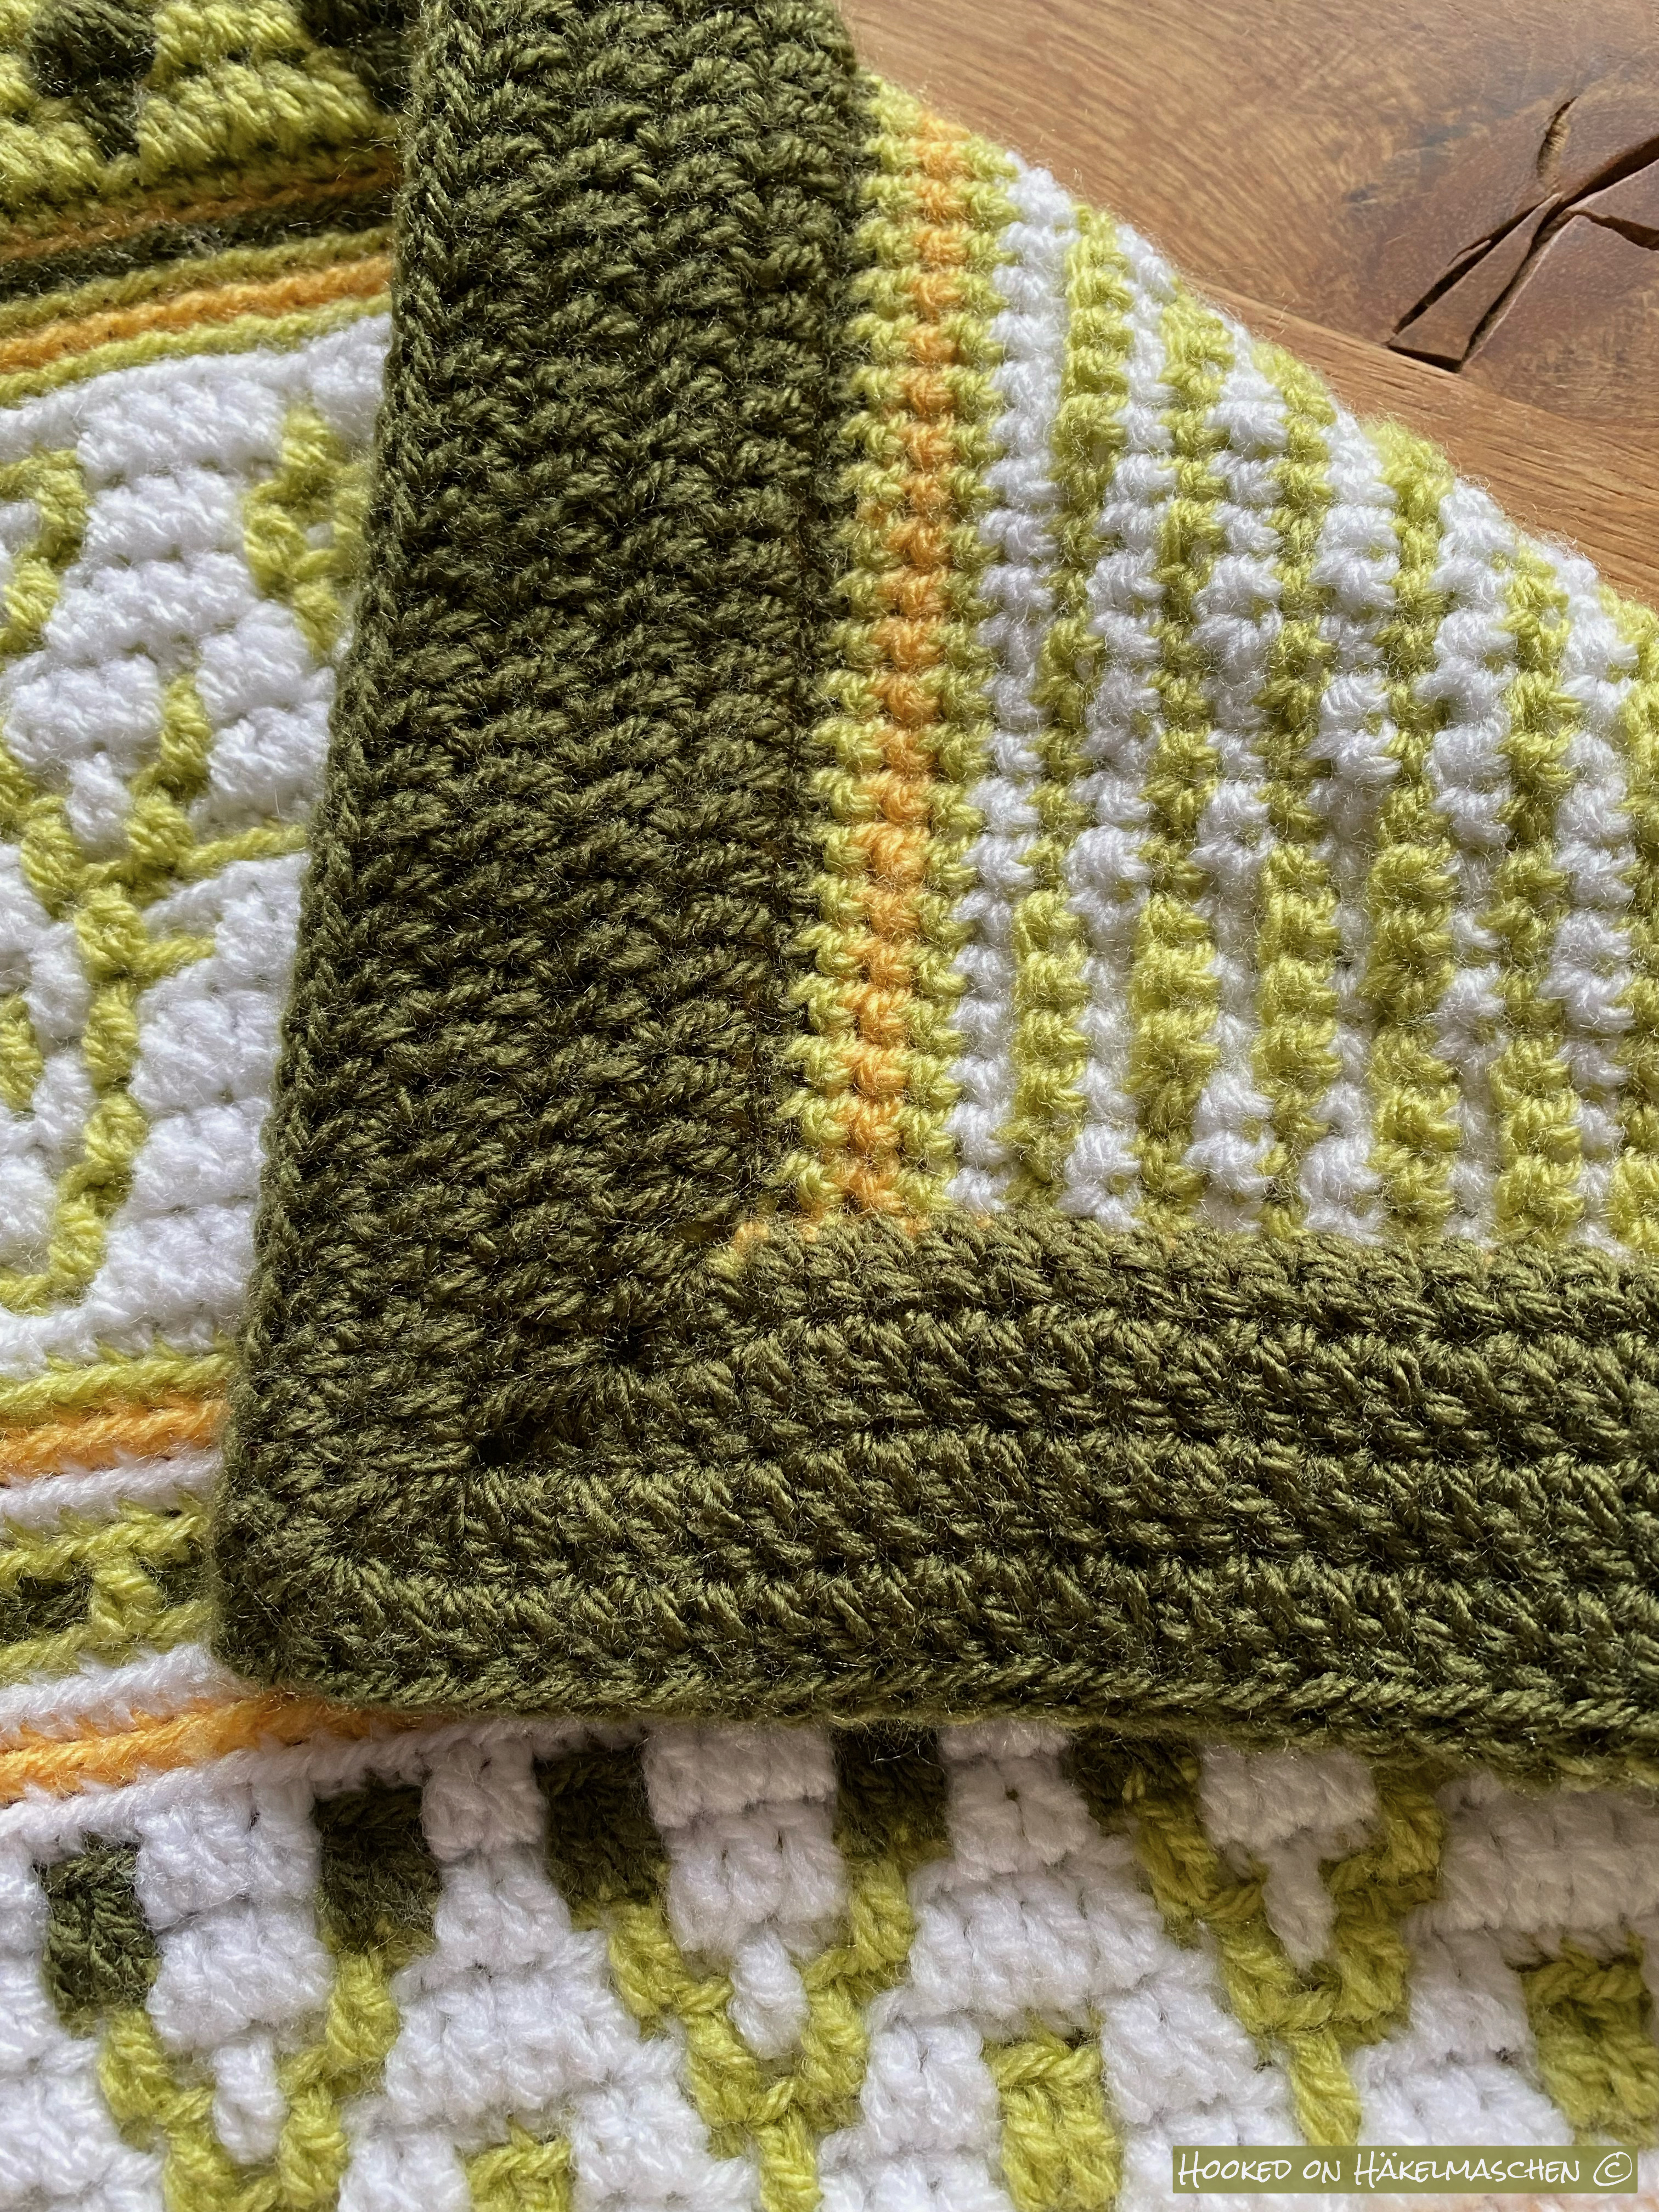
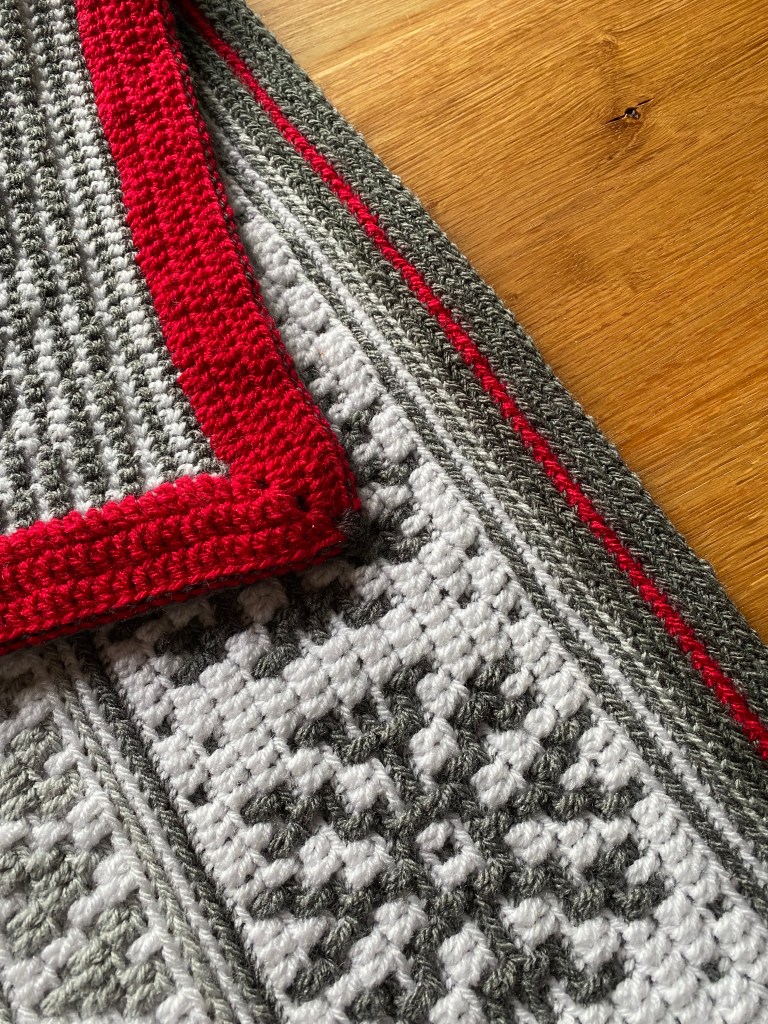
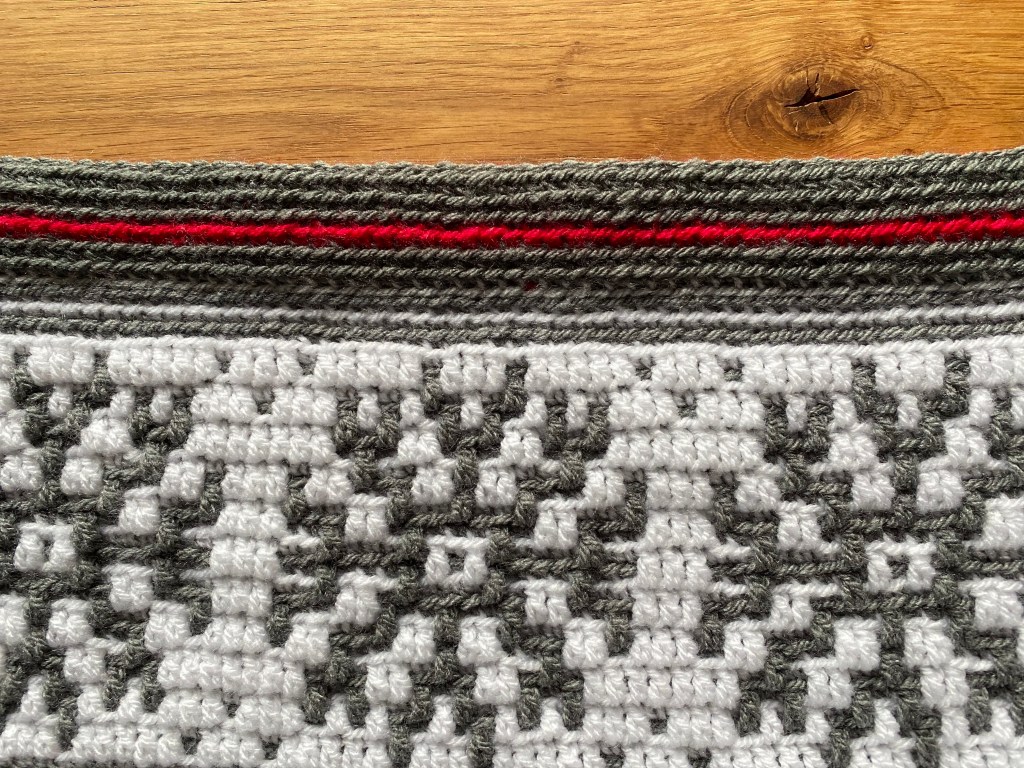
First, I crocheted the border as usual. In the final joining round, I left a gap at the top side edges. For the last 7 stitches on both top sides, I worked the slip stitches only on the front layer, without joining the two layers together. After that the corner was worked as usual. This created a sort of tunnel through which I can slide a rod for hanging.
It works perfectly!
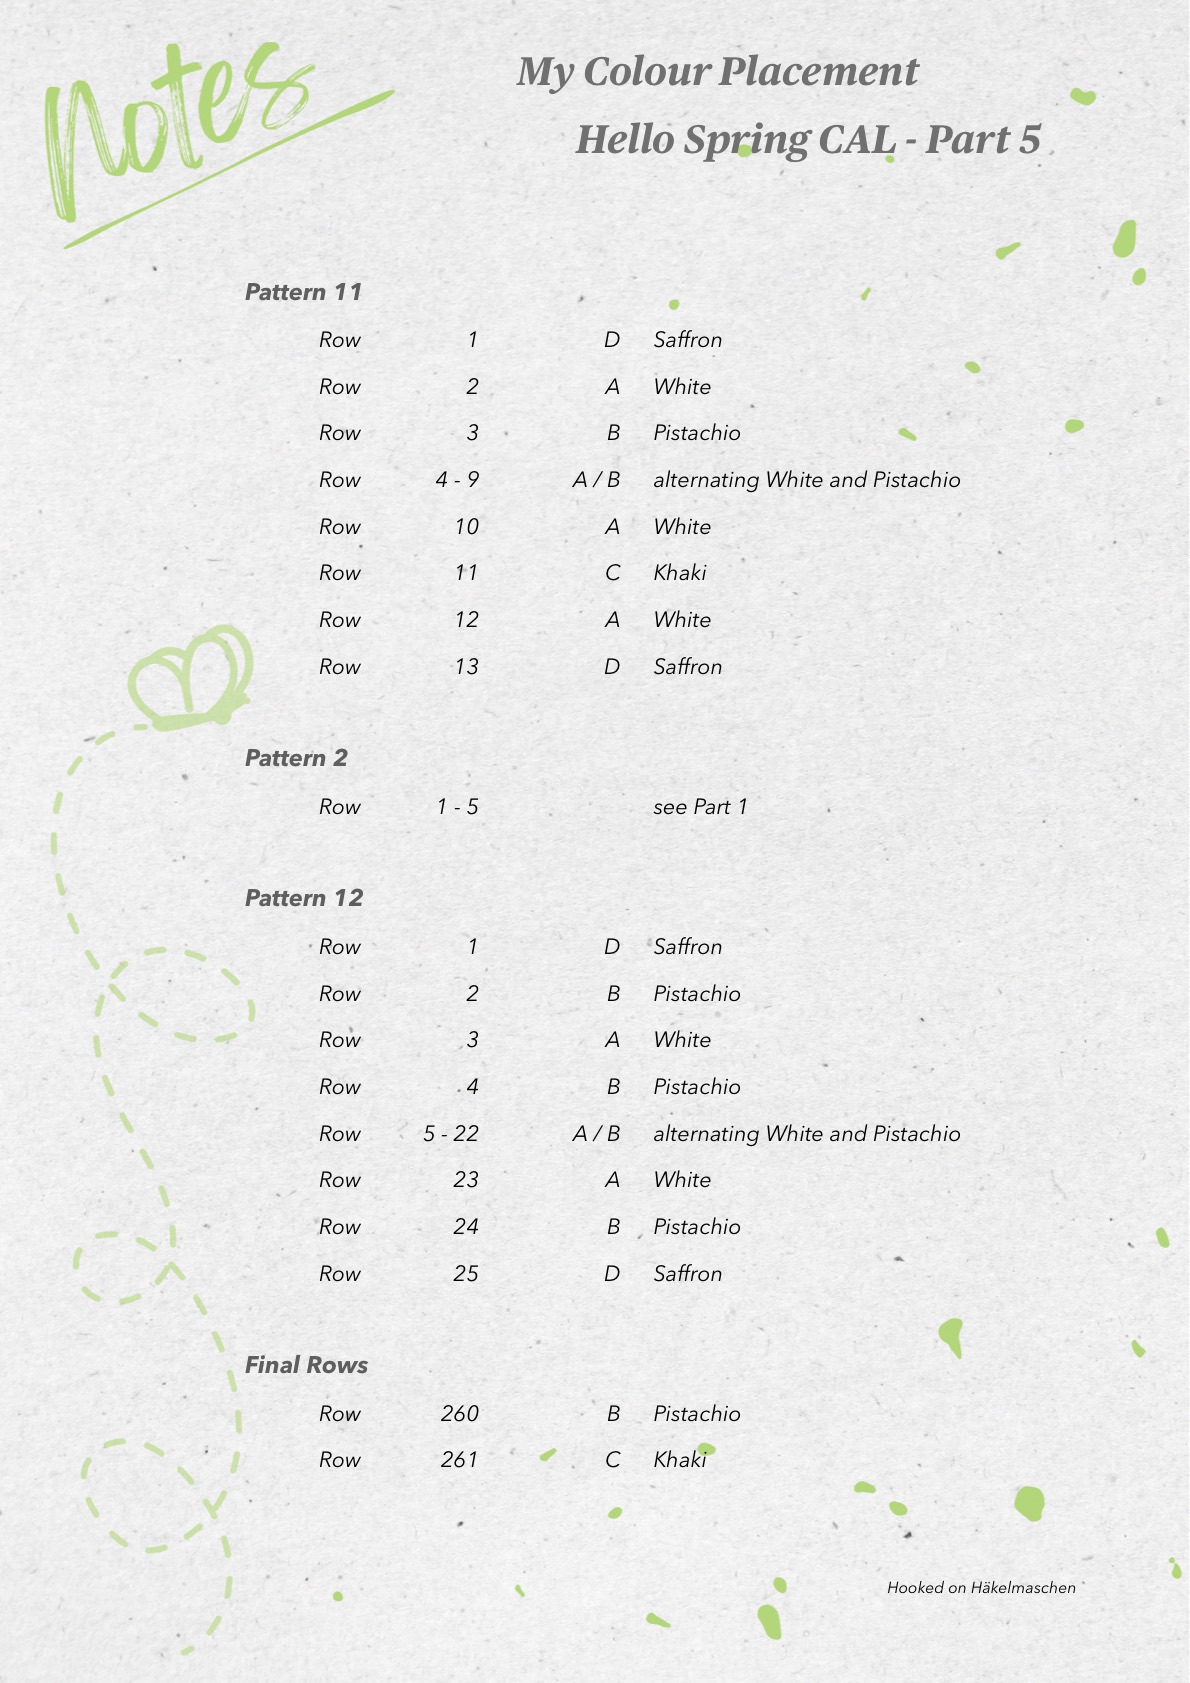
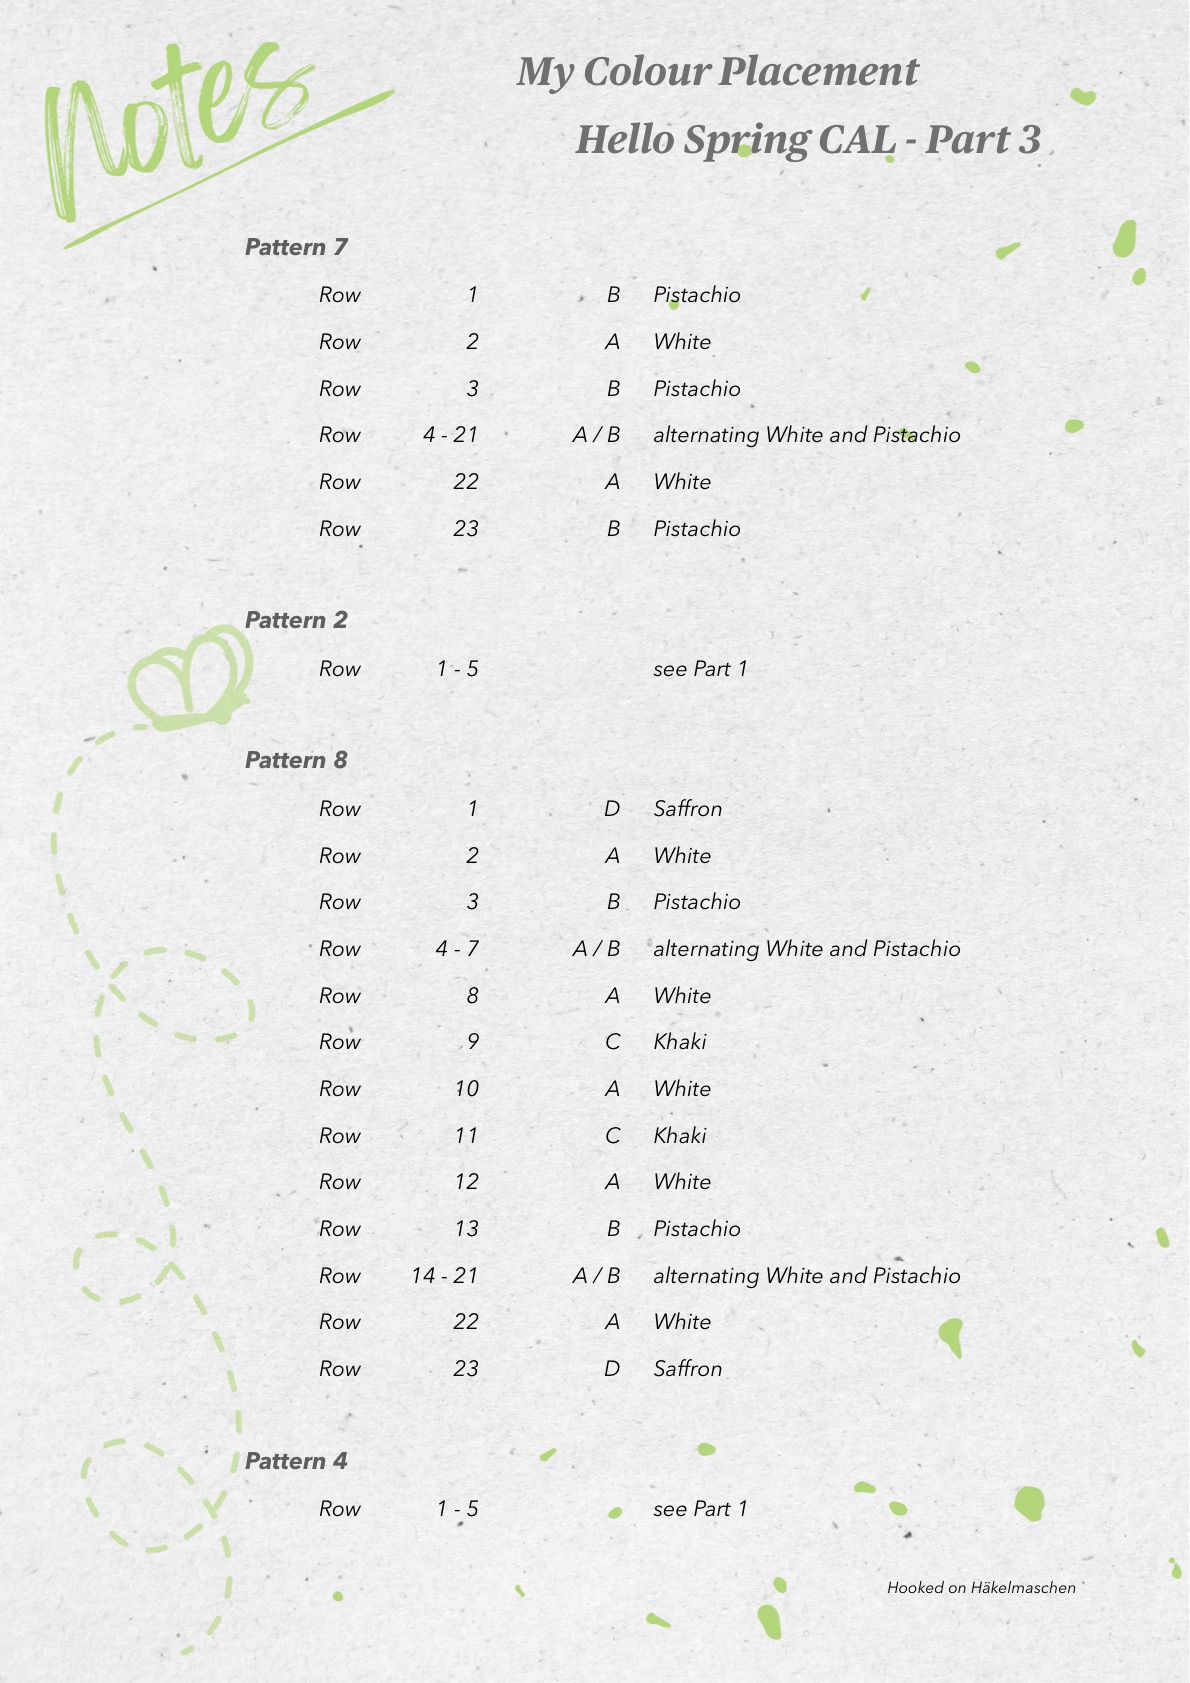
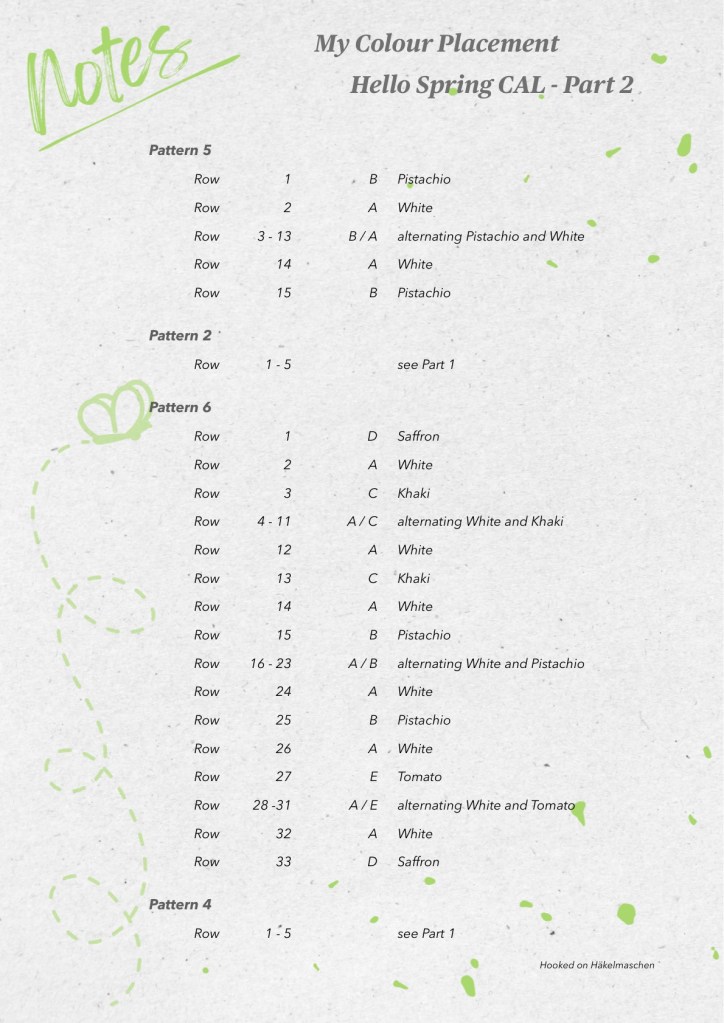
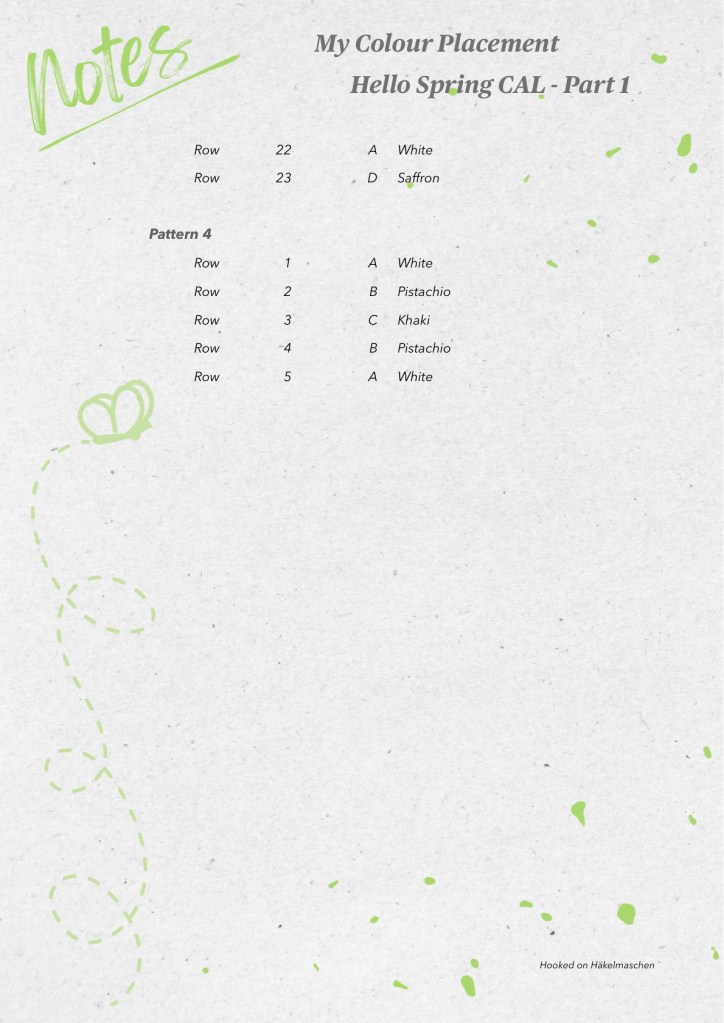
My colour placement Part 6
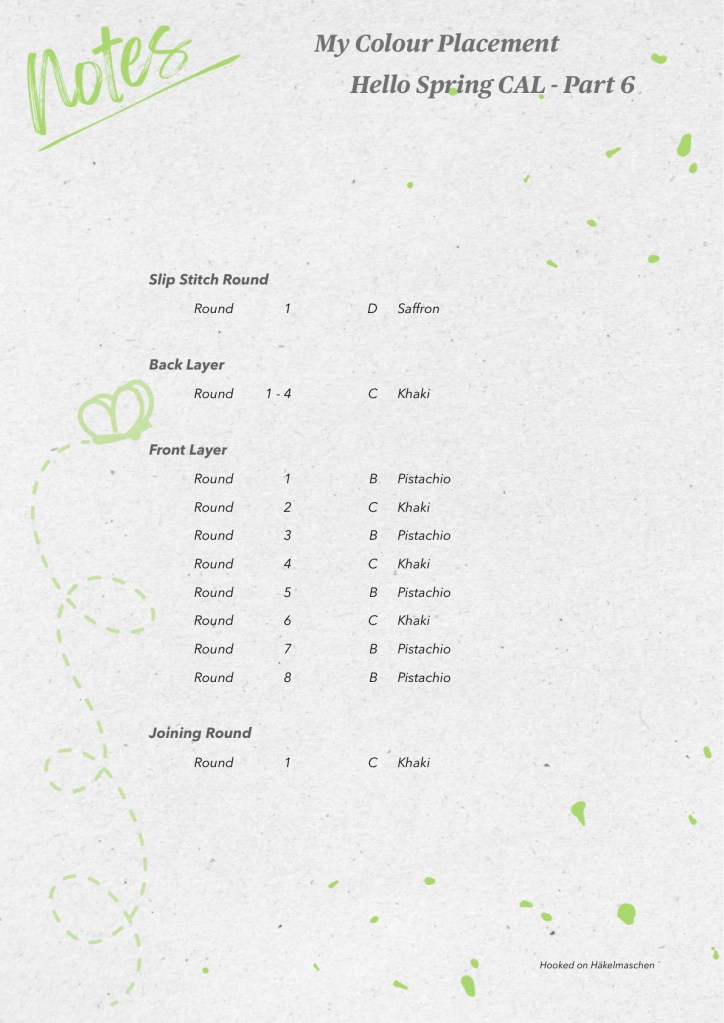
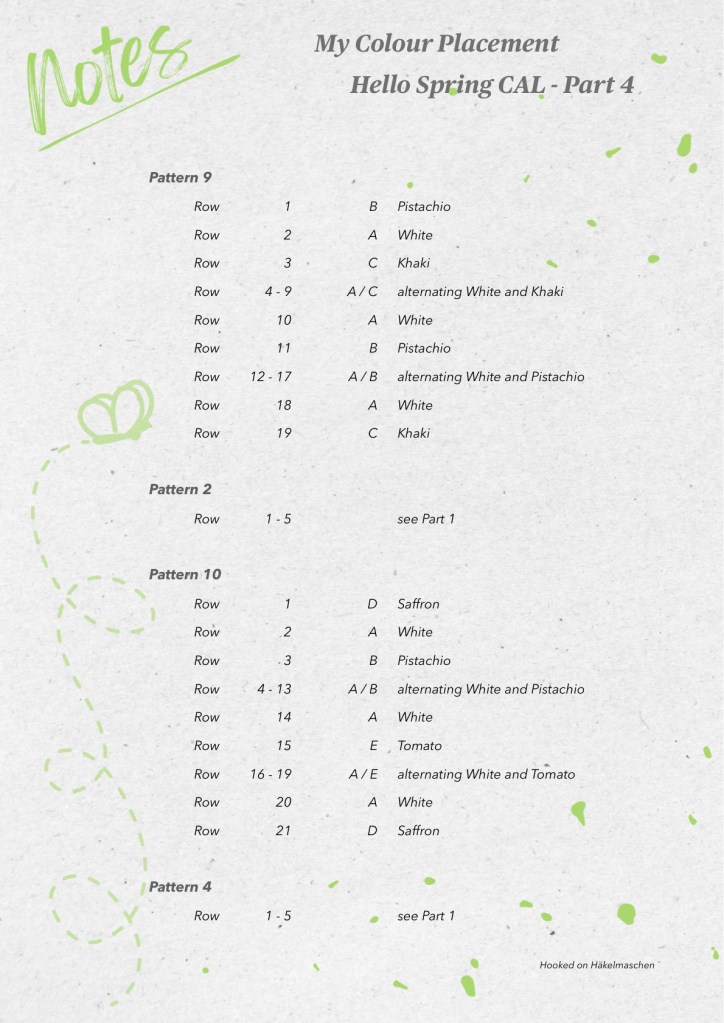
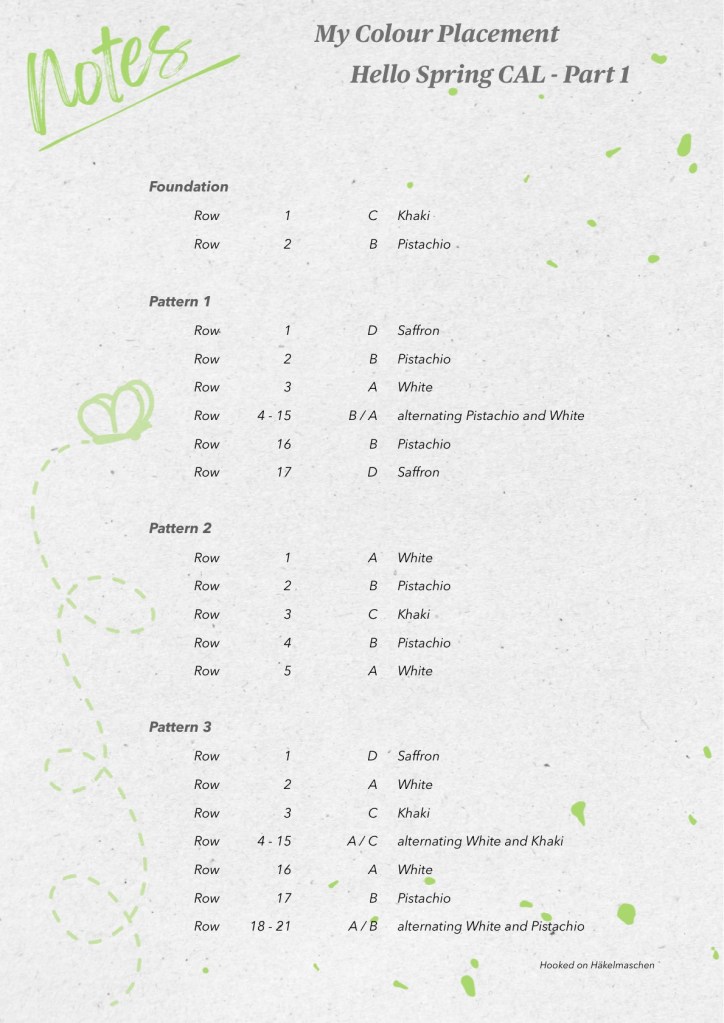
At the end of this post, you’ll find a link to download my complete row-by-row colour placement guide as a PDF file.


Tomorrow I will write a short summary with all details of my test. Stay tuned!


Get the colour placement guide
You’ll find my complete colour placement guide at the end of the Hello Spring CAL post.
Get the pattern
Hello Spring CAL pattern on Ravelry

















 Hooked on Häkelmaschen