Unbelievable! It has been a week since my last post and I am still working on the border of my Dancing Diamonds. But to accuse me I have to say: I currently have a wrist injury and a tendon in my hand is apparently overstretched. So I am only able to crochet a few stitches at a time and my progress is VERY slow. And so this will be a very short post.
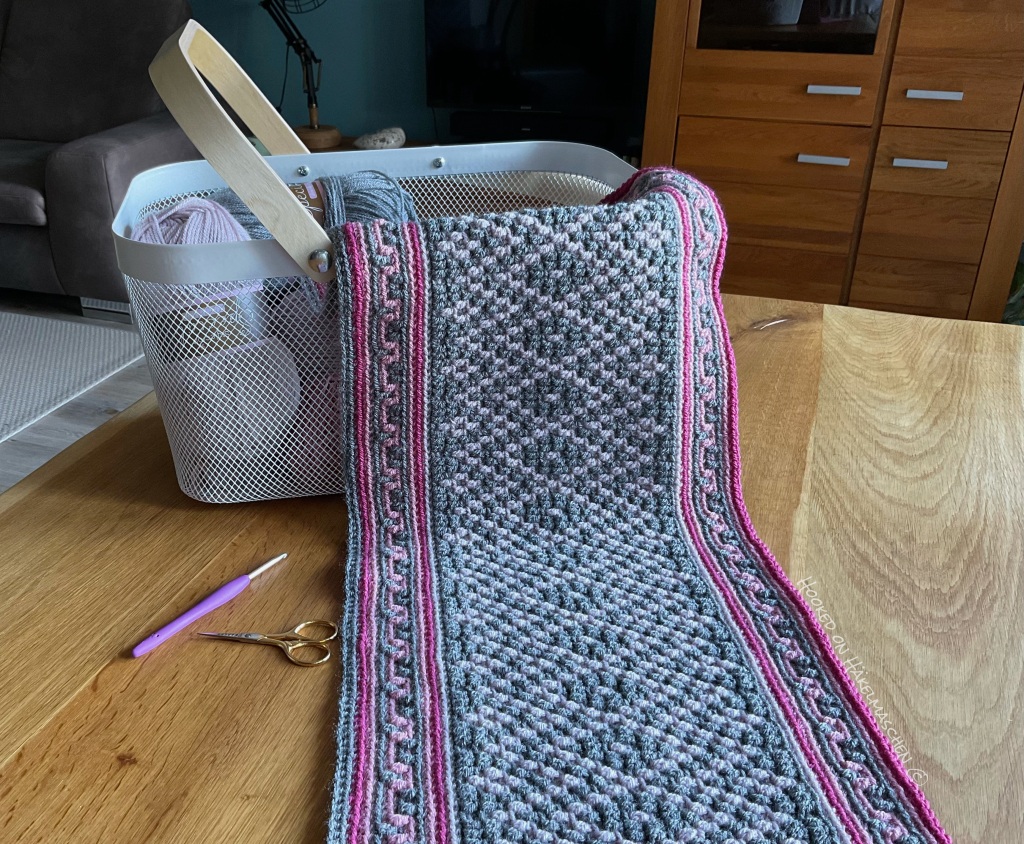
But at least I managed to write down my colour placement for the entire blanket – except the border of course. But I will update everything as soon as I know for sure which colours I will use! Big promise!
First of all, a big SORRY to all of you who follow my blog. Unfortunately, you already got a message about a new post a few hours ago. But what you saw was probably only the beginning of this post … It seems there have been some updates and all the technology has conspired against me today! But I did it and won – em, almost – but here it is …
Today the Dancing Diamonds Cal from Ana Morais Soares / One Skein of Love starts. It runs for 5 weeks and every Thursday – from now until 01. June – a new part will be published. If you haven’t got the pattern so far, it is available in Ana‘s Ravelry shop.
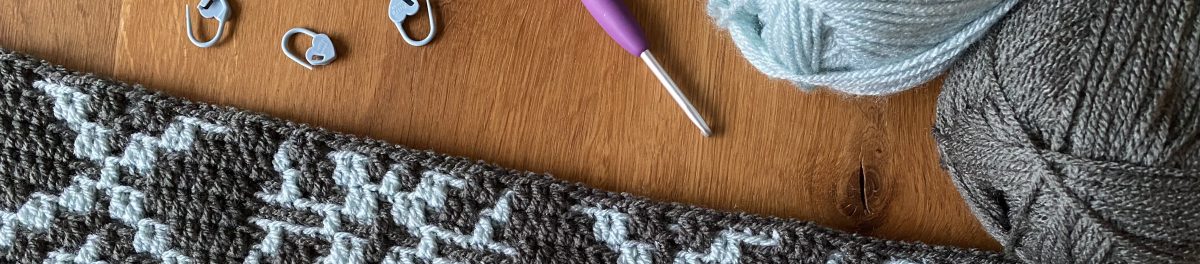
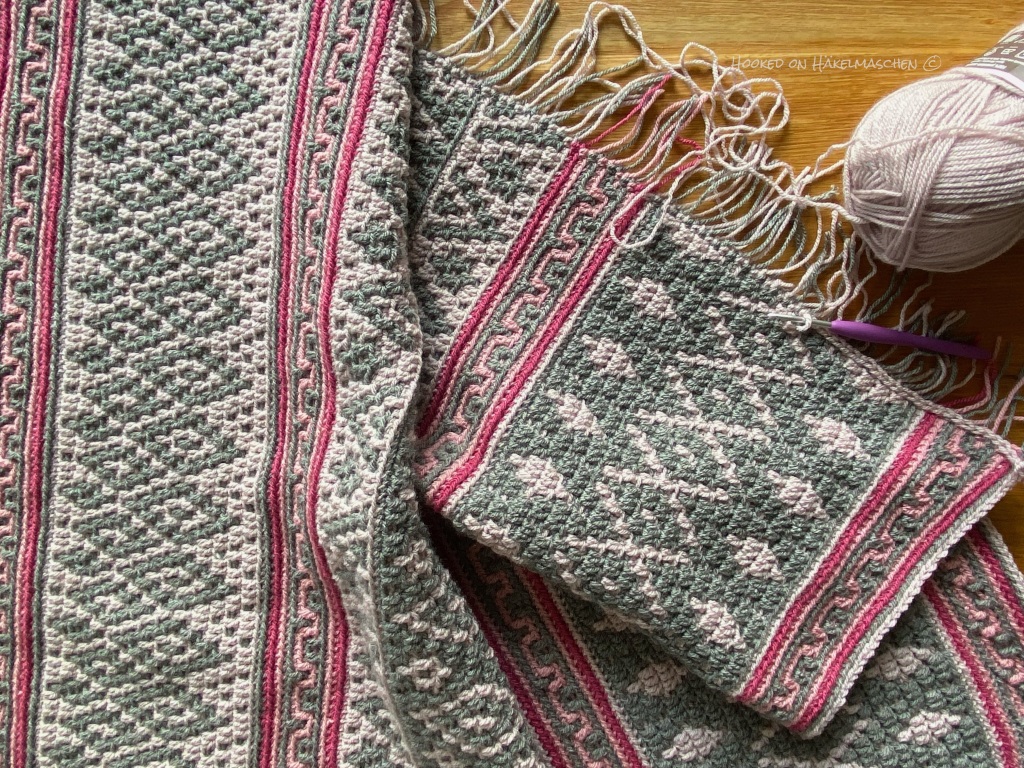
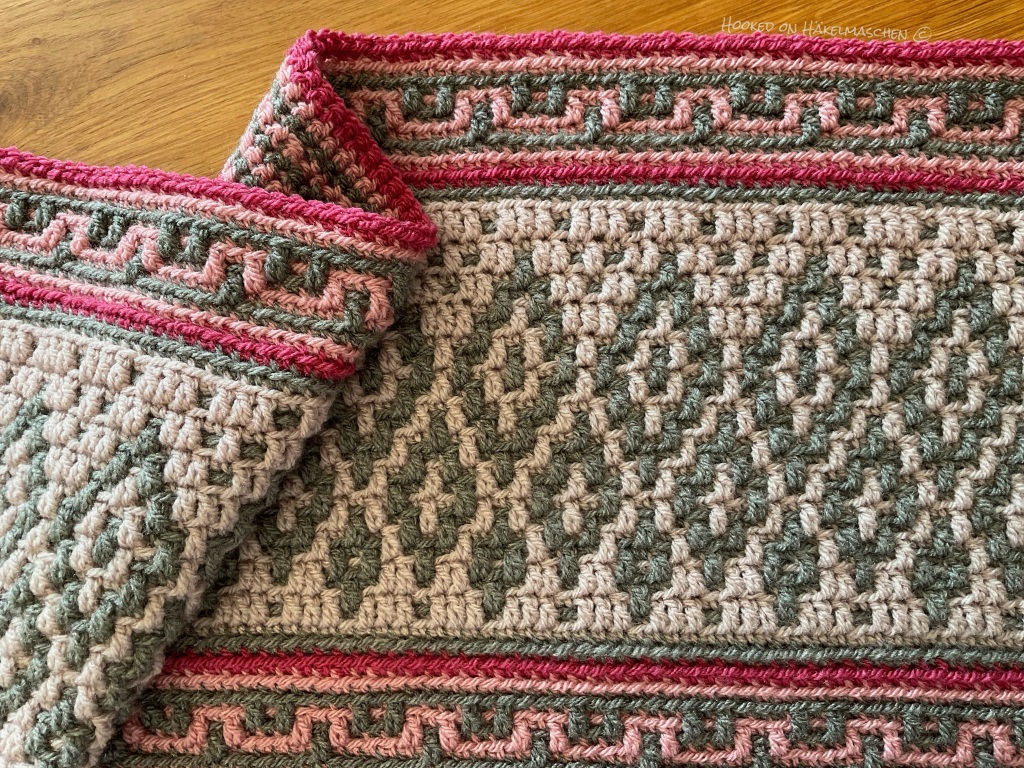
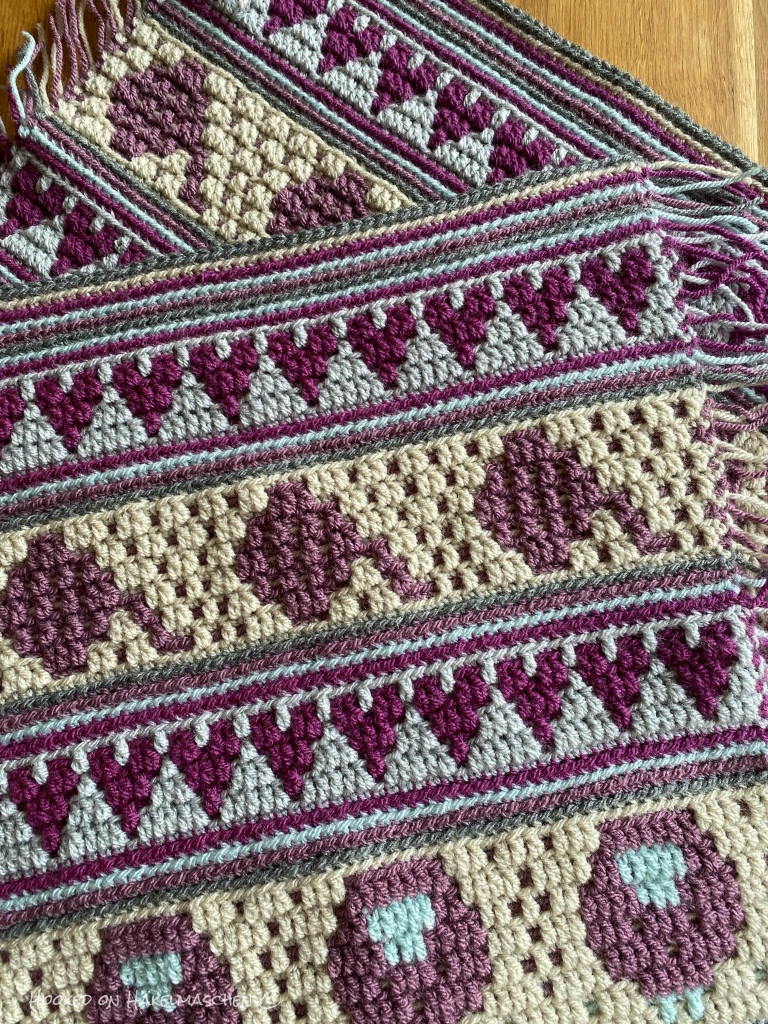
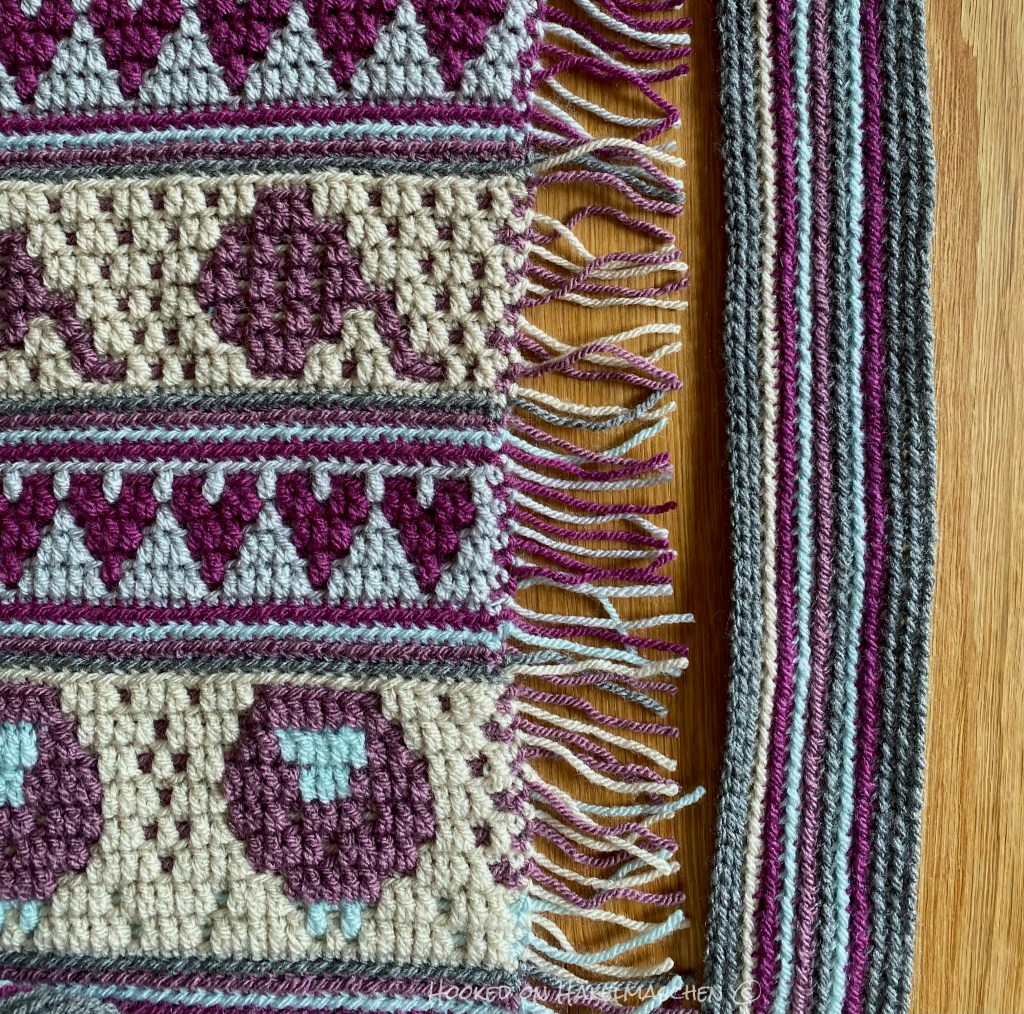
I finally managed to start the border on my test version this week. I didn’t get much further than the photo shows though …
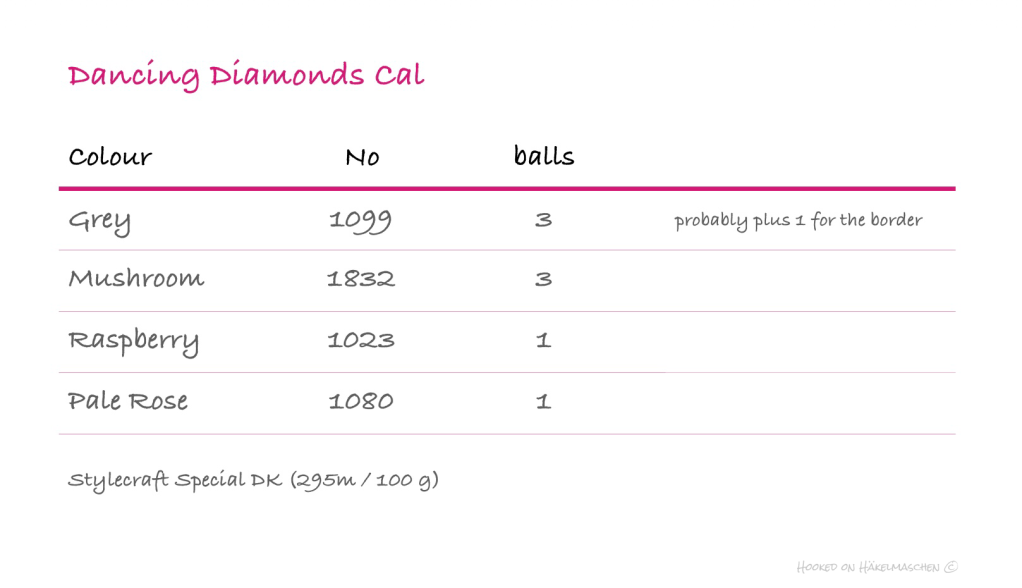
I already showed you the colours I am using in my previous post: Grey, Mushroom, Raspberry and Pale Rose, all Stylecraft Special DK.
For those who are interested in my colour way, so far my yarn amounts are:
My Part 1 of The Dancing Diamonds Cal
And here my colour scheme:
Foundation
C1 – Grey
Pattern 1
throughout the whole blanket: C1 – Grey C2 – Raspberry C3 – Pale Rose
Pattern 2
C1 – Grey C4 – Mushroom
That‘s all for today – I am still struggling with the technique, so I better stop now and try to learn how this update works.
Have you seen that Ana from One Skein of Love is hosting a new Cal?
The Dancing Diamonds Cal.
Photo by Ana Morais Soares / One Skein of Love
It will start on May, 4th and comes in 5 parts. Ana just released the Introduction file with all relevant information. Again it will be a blanket made in Overlay Mosaic Technique. This time there also will be translations into several different languages like Spanish, Dutch, French and German. You can read more about it in Ana’s blog post or on Ravelry.
Besides translating I had the pleasure to test this pattern. Or better, have … So far I am still working on it … for very sad reasons.
Shortly before the test started we lost my mother-in-law. And, after a long life together – they had been married for over 70 years – my father-in-law followed her only 4 weeks later. I miss them sorely! It has made a bit of a mess of my life.
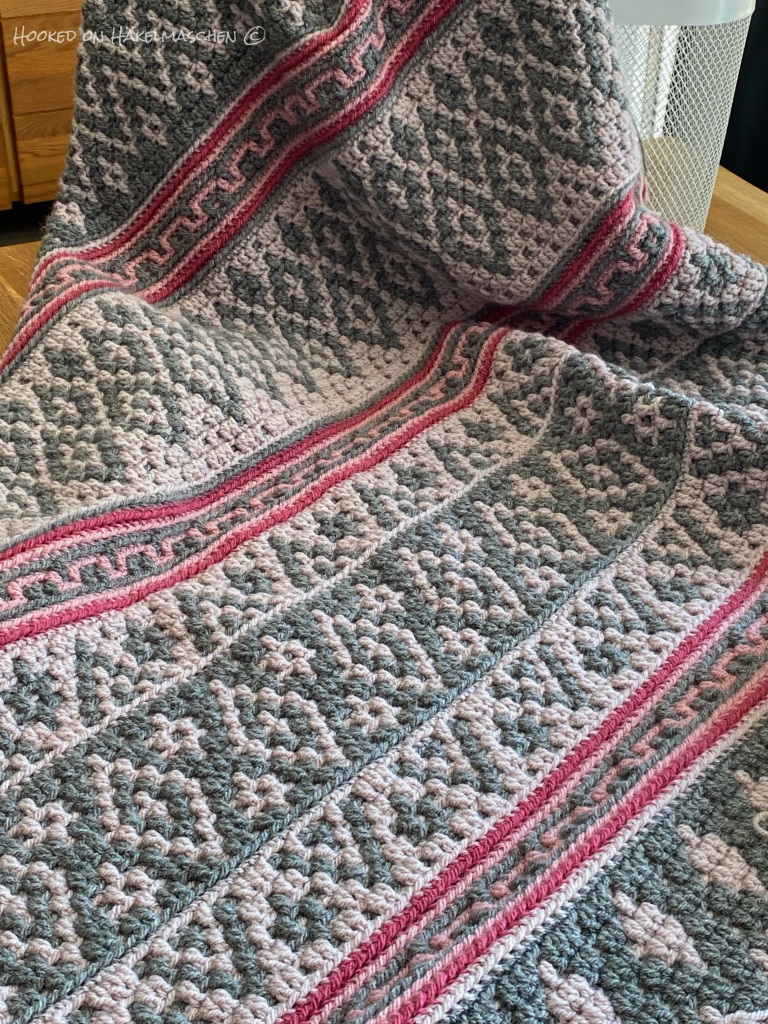
But it also makes this blanket very special for me – I will always associate it with memories of them.
My choice of colour this time really comes from deep within my heart.
Originally I had something completely different in mind. I wanted to make something really colourful – just to cheer me up a bit!
So I spread a mountain of yarn on the dining table: Spice, Saffron, Tomato, Clementine – Vintage Pink, Apricot, Powder Pink, Pale Rose – Plum, Grape, Raspberry, Burgundy, Violet and some neutrals like Cream, Mocha, Buttermilk, Silver and Grey. When I started combining hubby looked over my shoulder and started rearranging everything.… Most of the time it brings good results when we connect our thoughts, this time it led to nothing! He did not agree with my ideas and I did not agree with his. As I started to tidy up with the words < I’ll have to sleep on it > my eyes fell on a ball of Mushroom that I’m using for another project. Somehow four colours stayed in my arms …
I started with these colours the same evening. Not sure if it would work … What shall I say?
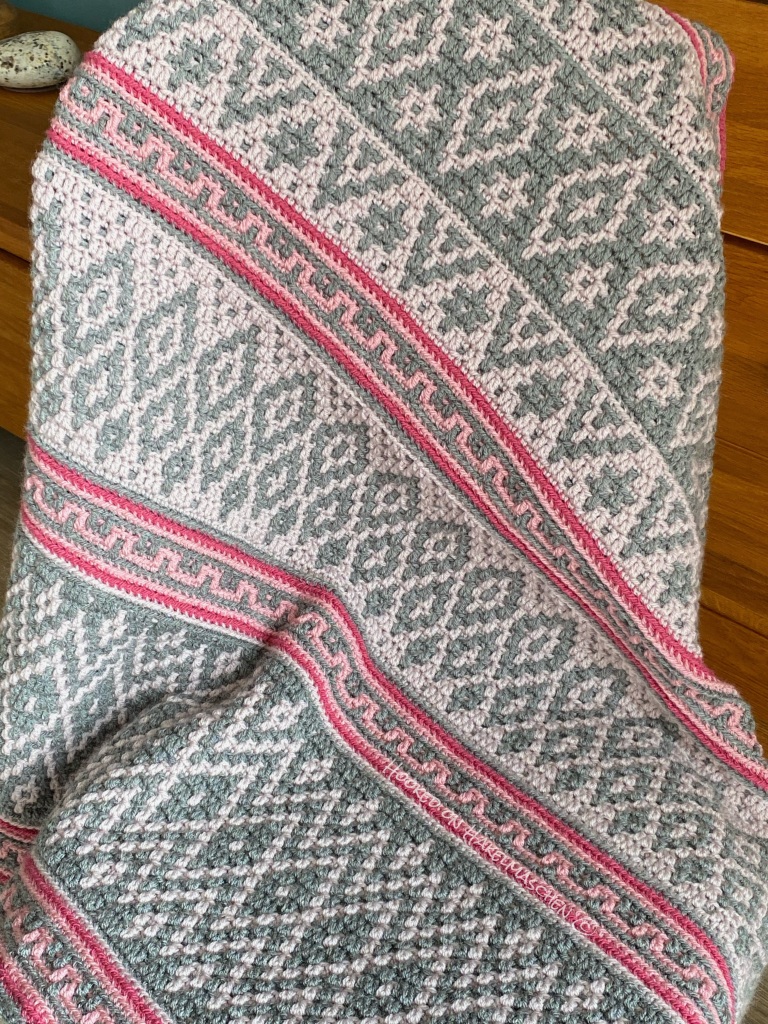
I never thought of combining Grey and Mushroom but I absolutely love the result!
The colours are hard to capture in a photo though.
I am just working on the last part of the blanket and hope to be able to show you more of it when the Cal starts. I don’t think I will be completely finished by then but I’ll do my best
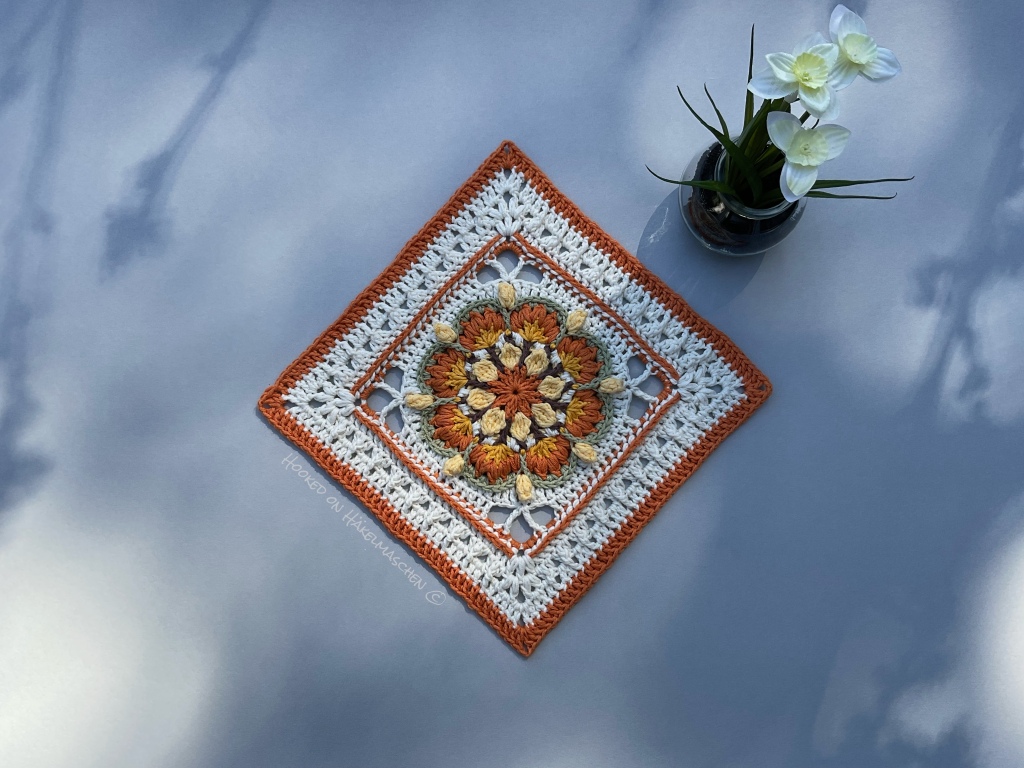
Pam Knighton-Haener from A Yarn of Serendipity just released one of her new designs: Efflorescent Square. I am happy that I was able to test it!
Efflorescence demonstrates the growth and beauty of nature’s flower bloom and the personal growth and splendor of human love.
Pam
My test piece is made with Drops Safran. It is a sport weight cotton yarn (#2) with a yardage of 160 m per 50 g.
It was the first time I’ve used this yarn and I am very happy with this choice. It is a soft yarn and nice to work with. I definitely will get some more colours. It also will be a good match with my Hobbii Rainbow Cotton 8/4! As recommended on the yarn label I used a 3 mm hook. But it should also work with my 2,75 mm hook that I usually use with Hobbii Rainbow Cotton 8/4.
I didn’t follow one of Pam’s colour ways this time, but created my own. Therefor I have listed the colours for each round below.
Here are the details of my version:
Pattern
Efflorescent Square Available on Ravelry (link below)
Designer
Pam Knighton-Haener from A Yarn of Serendipity
Technique
Traditional crochet
Yarn and Hook
Drops Safran Clover Soft Touch, 3 mm
Colours
A – 28, Orange B – 10, Vanilla Cream C – 23, Dark Taupe D – 18, Off White E – 11, Sunshine F – 65, Pistachio
Colours per round
Round 1 – A, Orange Round 2 – B, Vanilla Cream Round 3 – C, Dark Taupe Round 4 – D, Off White Round 5 – E, Sunshine Round 6 – A, Orange Round 7 – F, Pistachio Round 8 – B, Vanilla Cream Round 9 – D, Off White Round 10 – D, Off White Round 11 – A, Orange Round 12 – D, Off White Round 13 – D, Off White Round 14 – D, Off White Round 15 – A, Orange
Radiance is the newest pattern from Ana from One Skein of Love. She released it last week and I was just able to finish my test version and take some pictures.
The original pattern is for a blanket made in Overlay Mosaic technique. Ana’s blanket is about 100 cm x 134 cm. With a repeat of only 24 stitches the size of the blanket is easy to adjust. As usual her pattern has written instructions in US terms, a chart and a lot of row by row pictures. Ana used one solid colour and a colour changing yarn. You can have a look at her design in her Ravelry store, and of course you can get the pattern there too.
I turned my test version in a cushion cover.
It is worked over 3 pattern repeats in width and 4 repeats in height.
For the border I first added a row of slip stitches on the long sides of the panel. Then folded it in the half (so that there are 2 repeats from the height in front and two in back) and sewed the sides together.
I added a border on both sides, hiding all yarn ends and the my sewing. The border is made of 6 rounds single crochet in back loop.The opening at the bottom is – em, will be – closed with a zipper.
I used some left overs from my Midnight Snowflakes blanket – Scheepjes Color Crafter in the colour Rotterdam and Stylecraft Special DK in Duck Egg.
One of my crochet tests from 2022 I haven’t shown you yet: Wooly Friends.
I tested this lovely pattern already in April last year. Actually it is a pattern for a baby blanket. It was featured (with UK terms) in issue 125 of Simply Crochet Magazine. Ana now published the pattern herself and it is available in US and UK terms in her Ravelry store.
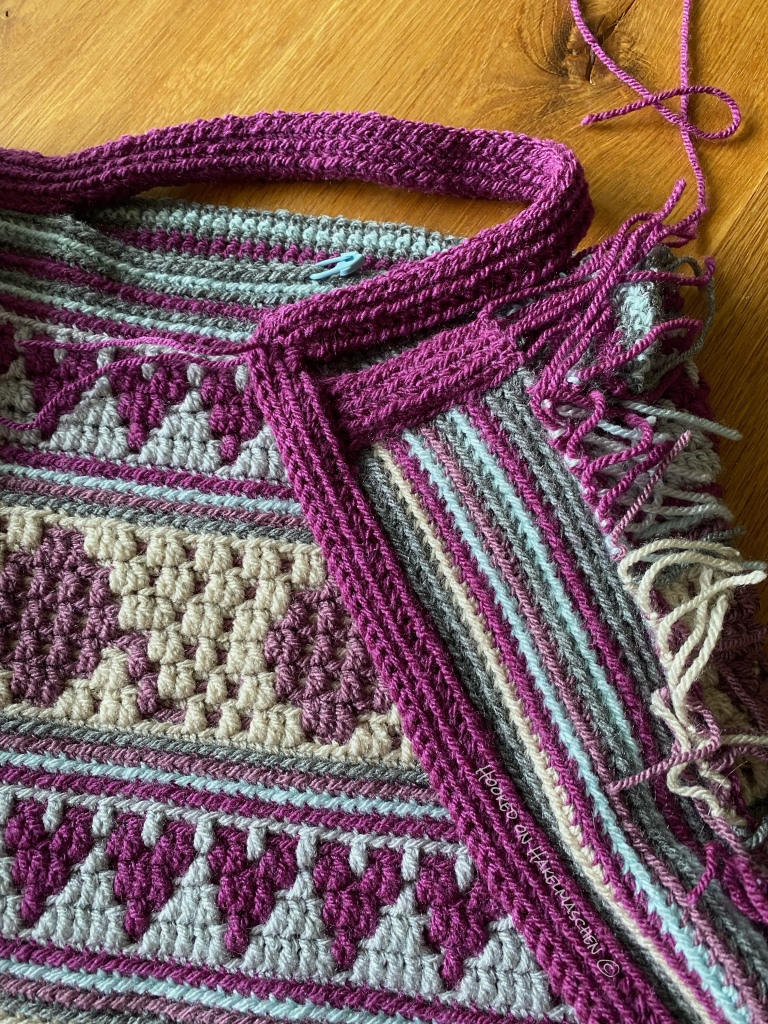
Through testing, I have meanwhile collected a lot of blankets – although I have already given many away. That’s why I often think about what else to make out of a pattern. With this one I had immediately a bag in mind for all my different projects – but with only a vague idea of how to do it. In the end it took almost 3 months (including holidays and other tests) to get it done, but I am more than happy with the result!
How my bag came to life
Yarn and colours used
Stylecraft Special DK (100g = 295 m) in the following colours
I started the bag with two identical panels, worked over 4 repeats.
Pattern Sequence for the panels
Foundation Row
Pattern 1
Pattern 2
Pattern 1
Pattern 3
Pattern 1
Final row of the pattern
plus 4 additional rows, just single crochet worked in back loop
Colour placement
Foundation Row
C1 – Grey
Pattern 1
C2 – Duck Egg
C3 – Plum
C4 – Silver
Pattern 2
C1 – Grape
C2 – Parchment
C5 – Grey
C6 – Duck Egg
Pattern 3
C1 – Grey
C2 – Parchment
C5 – Grape
Final Row(pattern)
C1 – Grey
Additional Rows
Plum
Grey
Duck Egg
Grey
My panels were about 40 cm in width and 42 cm in height.
At this point I first thought about joining the two panels (with all the tails inside) and lining the bag. But then I decided to give it a little more storage space for yarn. So I made an additional smaller panel that now serves as bottom and sides of the bag.
I worked this additional panel over 235 stitches in single crochet. Like in mosaic technique: each row starting and ending with a border stitch, all the other stitches worked in back loop only, cutting the yarn after each row. The tails on both sides are hidden in a small double border: front and back layer made with 3 rows of back loop single crochet. The final bottom/side panel is a little (4 stitches in total) shorter than than the main panels.
Colour sequence for the additional panel
Grey (Foundation)
Grey
Plum
Duck Egg
Grey
Grape
Duck Egg
Plum
Parchment
Grey
Grey
Joining
I finally joined the panels with the slip stitches for the double border, just working through both layers- bottom/side panel and main panel – at once. I have to confess: this was not my favorite part as it took a lot of patience and a lot of time to catch the correct stitches at the same time!
On the upper edge I skipped the middle 39 stitches with a chain to make the handles.
Double Borders
Front and back layers of the borders were made with 3 rows of back loop single crochet, three single crochets worked in one stitch for the corners (note: it‘s always good to use a stitch marker to mark the middle stitch). At the upper edges the double border was just continued over the chains to form the handles. All slip stitches and borders were made in Plum.
As I said, I am more than happy with the bag. After it was finally finished, I immediately started using it. Since then it has not been empty for a single day!
Have you already seen the new pattern by Ana Morais Soares from One Skein of Love?
Oh Xmas Tree is a lovely overlay Mosaic pattern designed as cushion cover. The pattern is available in Ana’s Ravelry shop.
The panel fits beautifully with the Wintry Forest pattern.
Using DK yarn it will be about 40 x 40 cm (16 in). You can either sew it onto a cushion cover, like Ana did, make a wall hanging out of it, a placemat or whatever else comes to your mind. It works up quickly and is great to use up some leftover yarns.
I made my test version with Cabaret from Stylecraft yarns combined with Stylecraft Special DK in Cream. Cabaret was one from my extensive single-ball-of-yarn-collection. I ordered it years ago to check quality and colour but never found a project to use it. I am afraid it’s discontinued meanwhile. The colour was Forest Glade – changing in different green shades with a silver metal thread running with it. Unfortunately, you can’t really see the glitter in the photos.
I’m not sure yet what I’m going to do with my panel. I was thinking of sewing it onto a fabric bag. Let’s see if I can find something suitable.
The picture above shows Ana’s work – photo credit goes to her. Below you can see my test version.
Are you already busy with your Christmas preparations?
We are currently in the process of insulating the staircase in our house. One of the last major works – hopefully. Originally, we just wanted to insulate the ceiling and the outer wall. But in the middle of it all, we thought that since we had already started, we could also renovate the rest of the walls and the hallway. We have never liked the plaster… Looks like it will take a little longer now …
Besides I have redesigned this blog – you have probably already noticed that : D. It took me some time to decide about the layout and everything. And I am still working on some pages and revising some posts. Needless to say that my crochet time is very limited at the moment.
But maybe you are still looking for a little something to crochet? A few things I have done in the last few years are
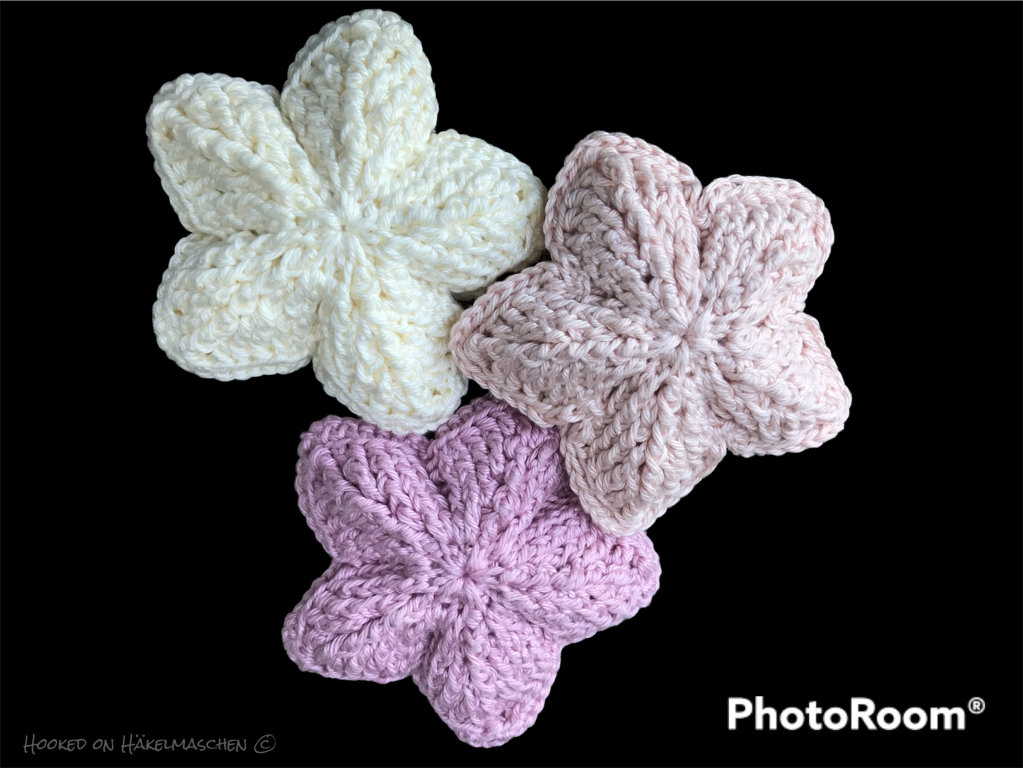
Snowflakes and Stars
Some lovely little stars or snowflakes by Renata Saj. Easy and quick to make. And all are available for free in her Ravelry shop. I made
You may have seen these beautiful stars on my old homepage. At the moment I am still looking at how I can integrate them there again, because it was my very first test – back in 2019. Oh dear, I was so nervous at that time! But all went well! I didn‘t make them as Christmas decorations but I think you can use them very well for that! I am still in love with this pattern although it takes some focus and concentration to make them! I made mine with a sport weight (#2) yarn but you can also use a thicker yarn to make them a little bigger.
The pattern is from Goolgool and available in Galit‘s Ravelry store
I am just trying a new app with which you can isolate objects (just in case you wonder about the logo). Not bad!
Today part 2 of Ana‘s Wintry Forest Cal was released. I hope you enjoy following along.
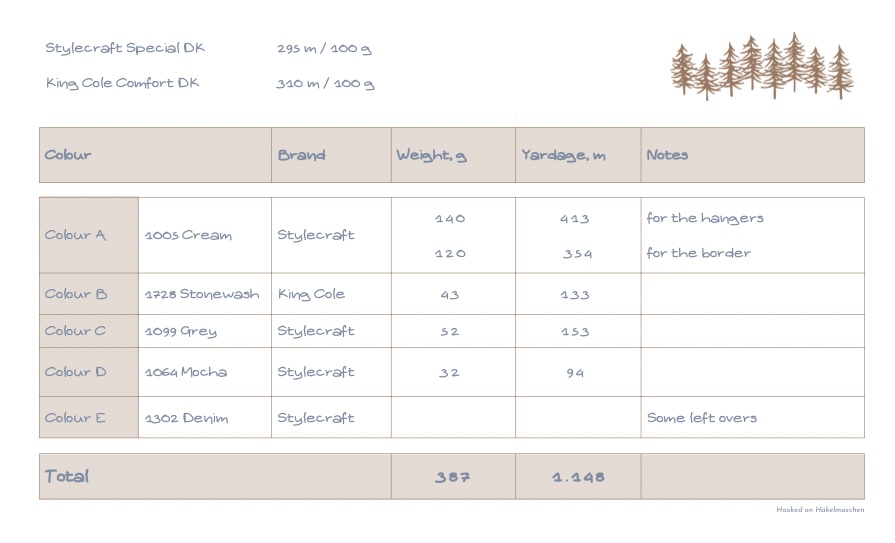
In the meantime I have summarised the details of my colour placement in a pdf document. There you will find the colours I used for the individual patterns. Besides I listed the additions I have made to create the three panels.
Today part 1 of Ana’s Wintry Forest Cal was released. Lots of fun to all who follow the Cal.
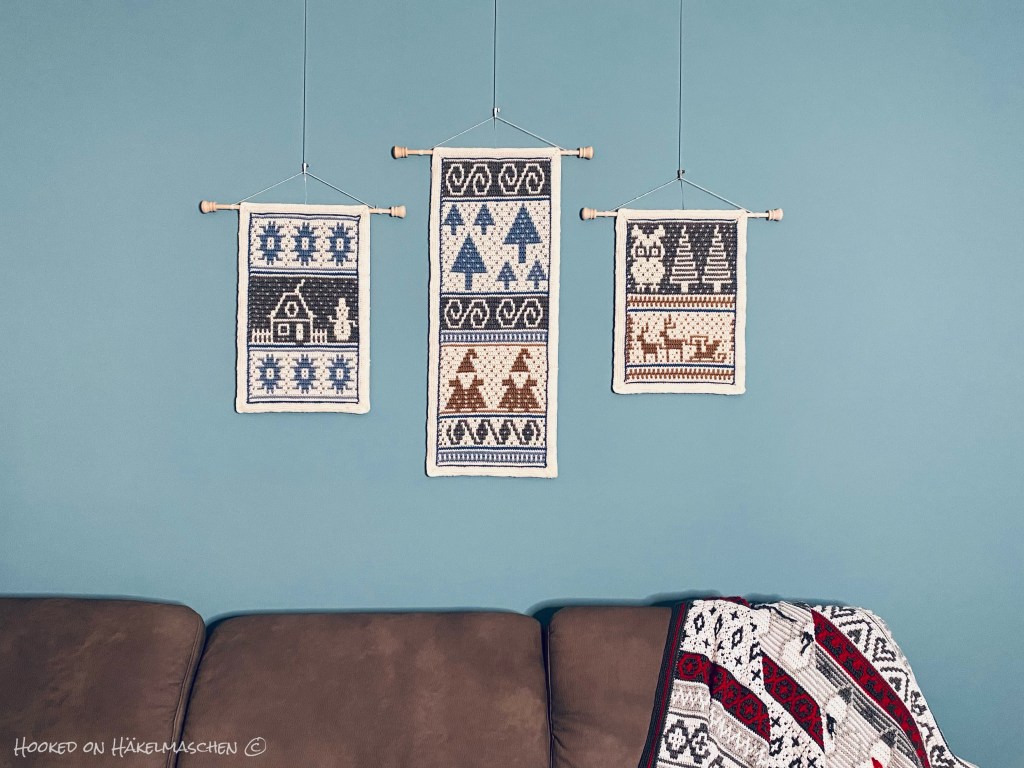
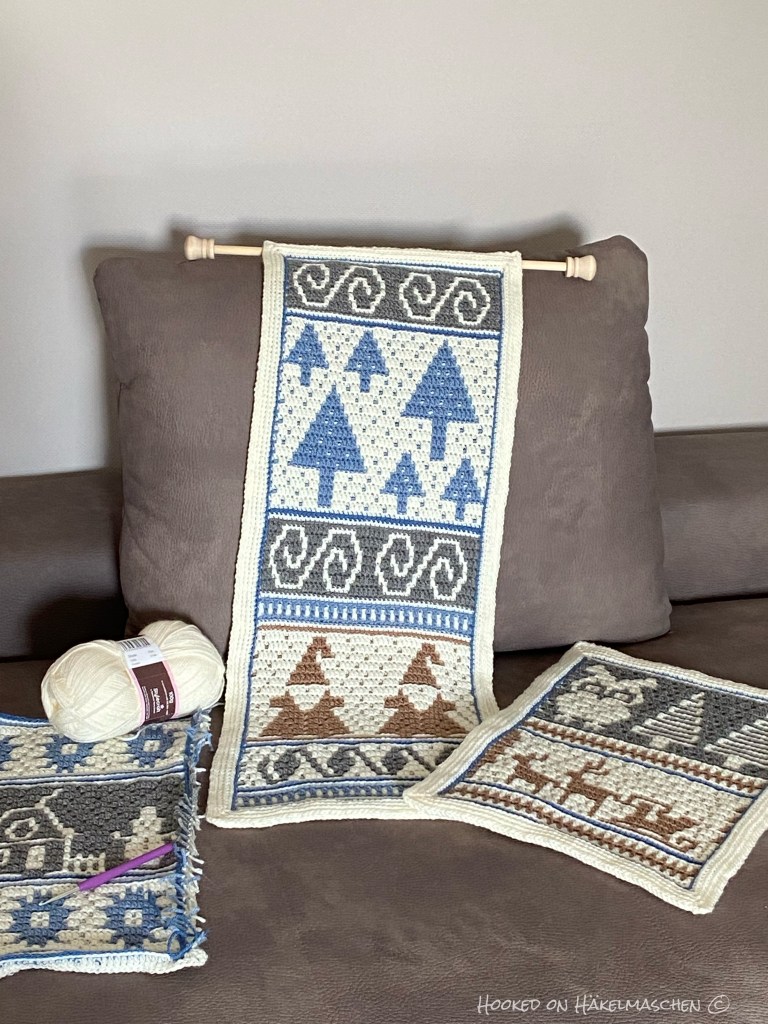
My wall hangers are finally decorated in our living room and I love them, love them, love them.
For those who are interested here some details:
My Colours
Even though I’ve already shown the colours in a previous post, here they are again:
I used
Cream, Mocha, Grey and a little bit of Denim – all from Stylecraft Special DK and Stonewash from King Cole Comfort DK (that‘s the lovely blue on the upper left)
and worked with a 4 mm hook.
You will find detailed information about the colours I used for each row / pattern in my next post as download.















 Hooked on Häkelmaschen