Updated on July 9, 2026
Have you seen Ana‘s1 new CAL yet?
Magic Winter Mosaic starts on Friday, 17 November 2023. The introduction file containing all the key information is already available on Ravelry.
I had the pleasure of testing this wonderful pattern and also translating it into German.
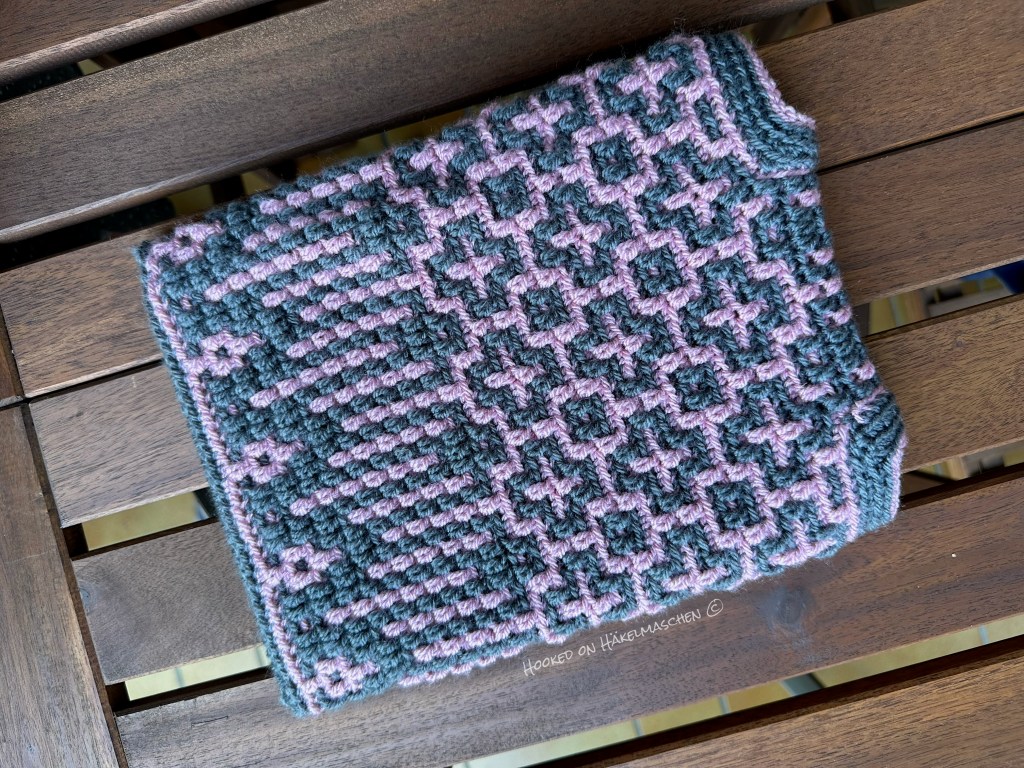
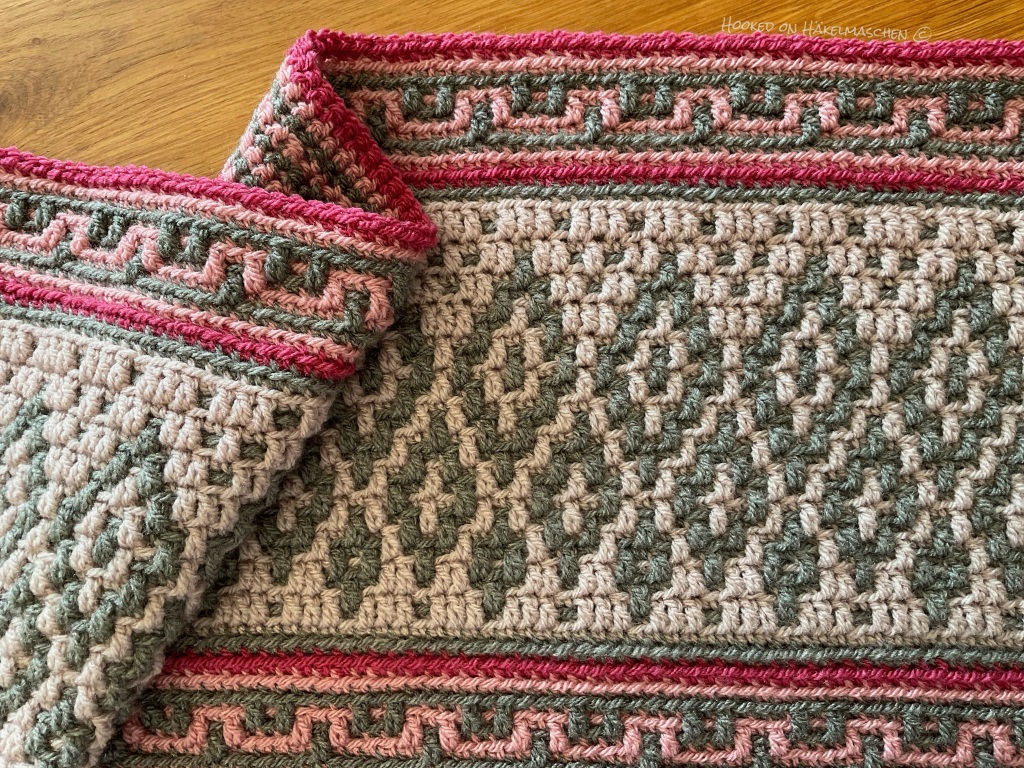
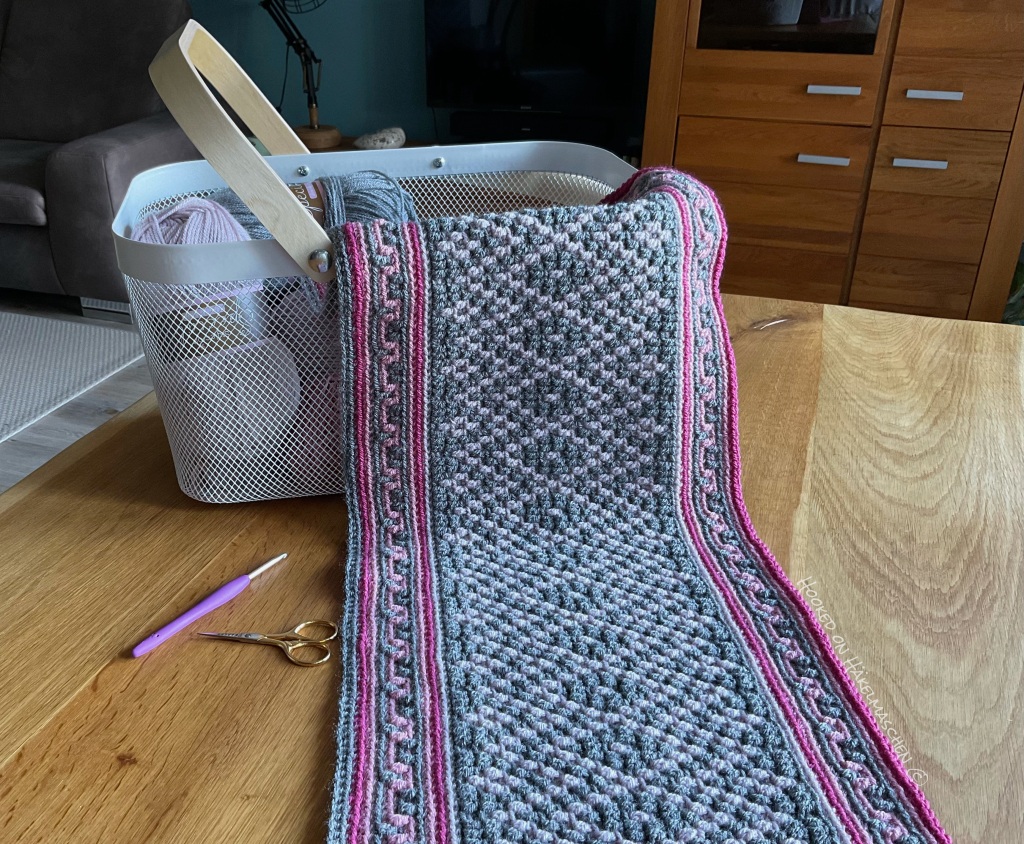
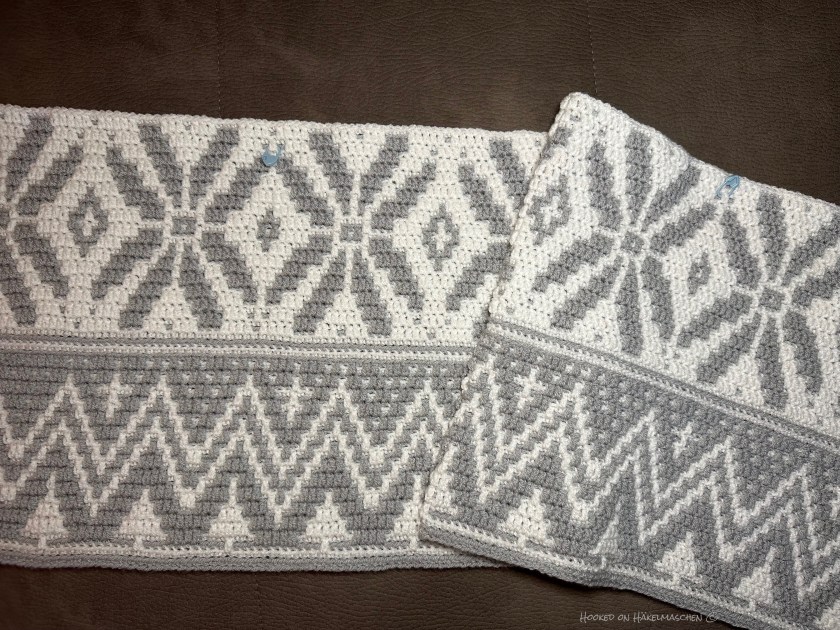
The Magic Winter blanket is made using the overlay mosaic technique. And it also features a small section created using the tapestry mosaic technique. Of course, the instructions explain how to work both techniques.
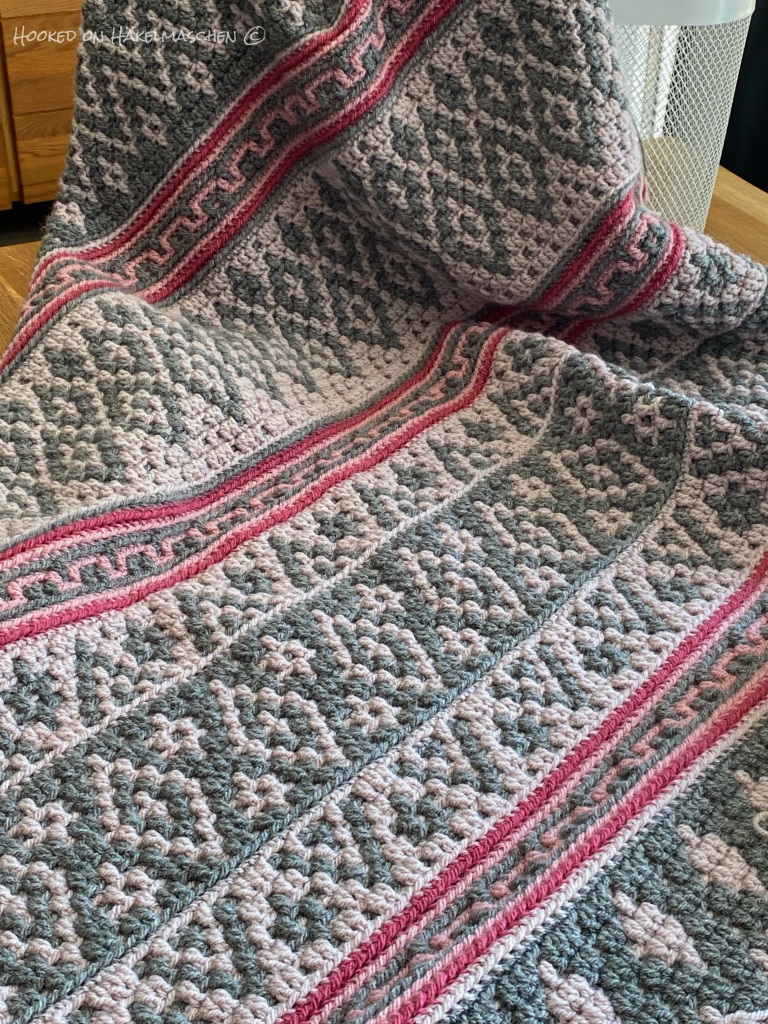
When Ana showed me her new design for the first time, I immediately pictured a clear, cold and frosty winter’s morning, with the sun rising in a rosy glow.
“Look, the angels in heaven are baking,” my grandmother would always say on mornings like these when I was little.
Right then, I knew I wanted my blanket to capture that very moment: the quiet beauty of a frosty winter morning as the first rays of the rising sun turn the sky soft pink.
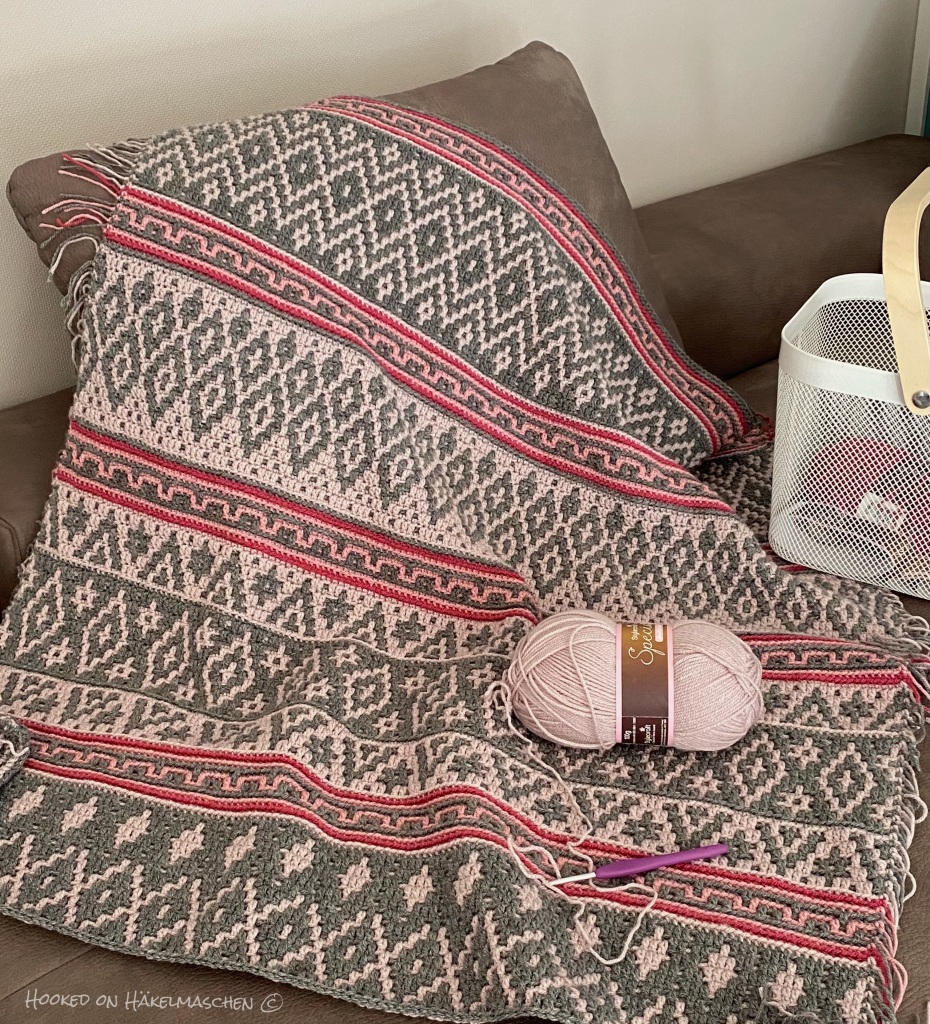
With that image firmly in my mind, the colour palette almost chose itself. White, Silver and Vintage Peach captured exactly the quiet beauty I remembered from those frosty winter mornings.
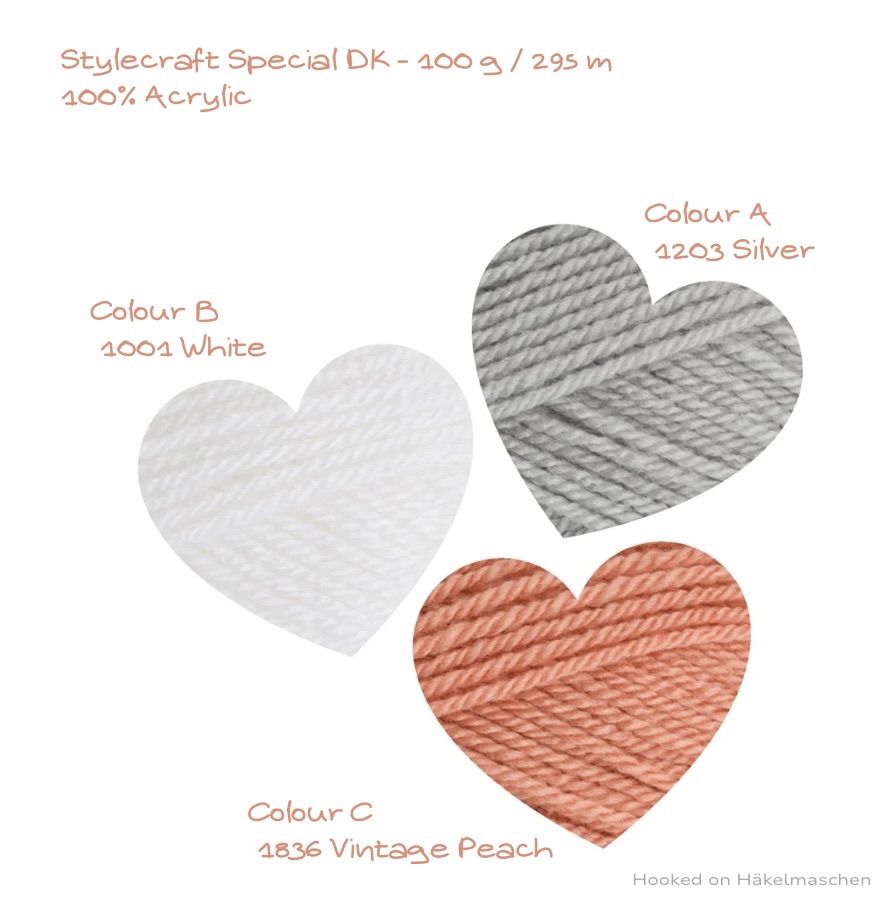
For me, white symbolises the cold, the snow, the frost – perhaps even the icicles hanging from the roofs. Silver, with its slightly bluish undertone, reflects the cool, diffuse light just before sunrise. And Vintage Peach brings the first warm, rosy glow of the rising sun.
The angels are baking…
I’m still very happy with how these colours capture the atmosphere I had in mind.
My work in progress
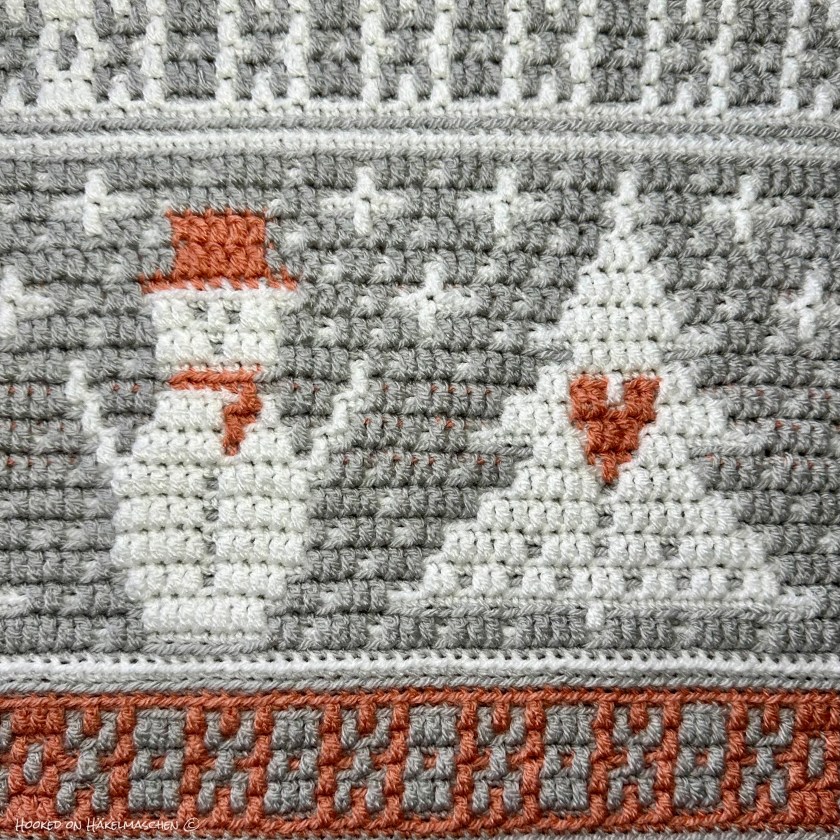
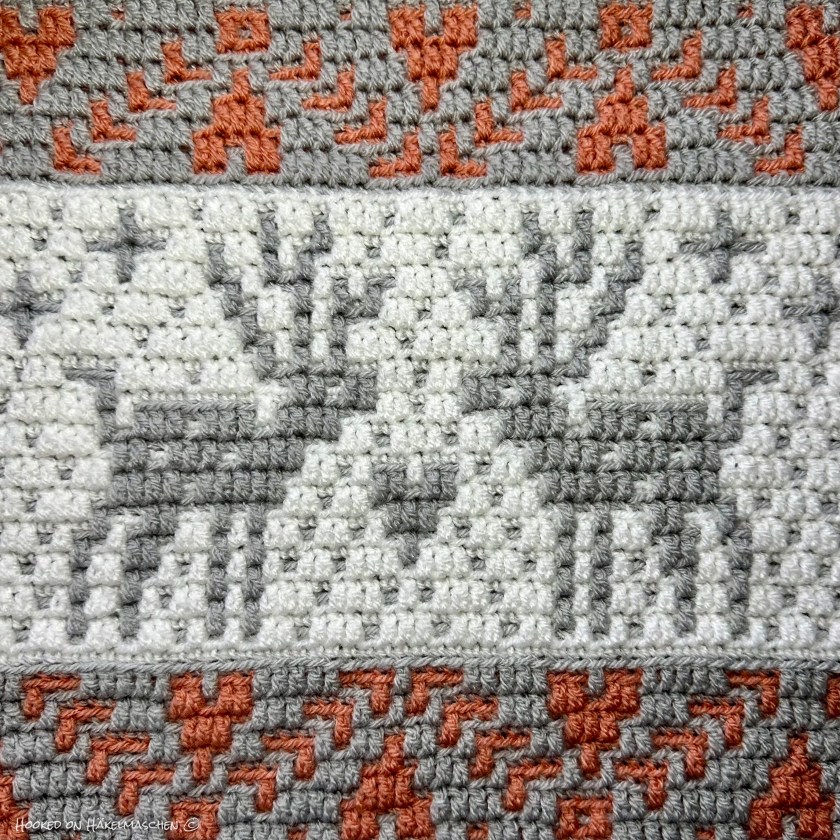


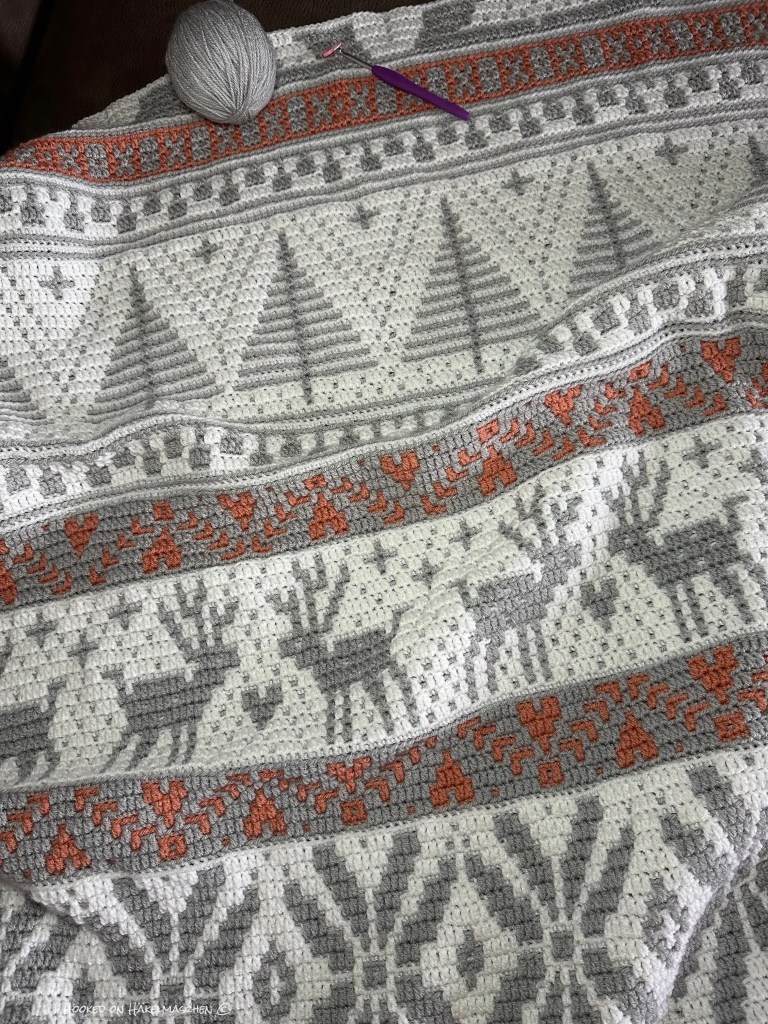
My colour placement
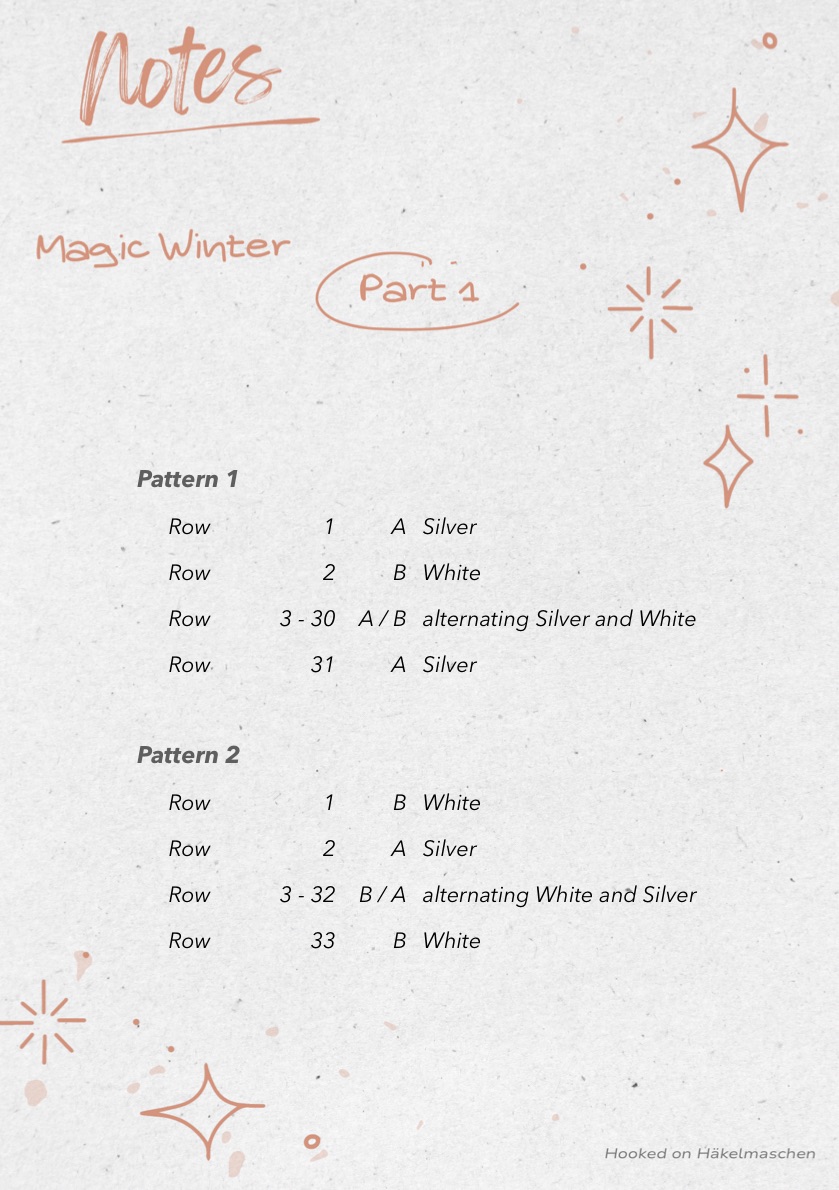
If you’re interested in my colour scheme, I’ve already noted down the colours I’ve used for each individual row in Part 1 of the CAL.
My complete colour placement guide is available as download in the follow-up post. There you’ll also find the detailed yarn amounts I used.
Get the pattern
Get the Magic Winter Mosaic pattern on Ravelry
Related posts about Magic Winter Mosaic
Magic Winter Mosaic CAL – The finished blanket

- Ana Morais Soares / One Skein of Love ↩︎