You might be wondering why it’s been so quiet here – so here’s what’s been going on. I’m still dealing with some health issues. As I mentioned last year, one of my eyes has been troubling me. About four months ago, my vision suddenly worsened, and my ophthalmologist diagnosed an oedema – a kind of swelling inside the eye.
I’m now receiving injections as part of the treatment (right into the eye – definitely not my favourite experience!). After each treatment, I have to give my eye several days of rest, which means no reading, no sports, no bending over, and so on. Needless to say, this limits what I can do with my crochet projects.
Still, I’m feeling hopeful! Subjectively, the treatment seems to be helping, but focusing on anything for too long remains a challenge. So I’m taking things slowly and sticking mostly to smaller projects for now. And yay – slowly but happily – I finally finished a set of coasters!
What’s more, this project taught me something completely new: short rows in crochet. Until now, I had only known short rows from knitting – where I‘ve often used them for shaping sock heels.
Despite the differences between knitting and crochet, the idea behind short rows is pretty much the same in both: as the name suggests, only part of a row is worked, which helps you create specific shapes. But before this project, I had never tried them in crochet at all.
Gift Coasters
Last December, I bought an eBook from Tatsiana of Lilla Bjorn Crochet, who hosted a mystery make-along with four delightful patterns: Gift Coaster, Gift Bauble, Gift Mandala Garland, and Pixel Coaster & Purse. Even though the MAL has ended, the patterns remain available on Ravelry – either individually or bundled as an eBook.
Although I got the eBook in December, it wasn’t until now that I finally had the time and energy to start one of the projects. I chose to begin with the Gift Coaster, which happens to use short rows.
I am absolutely fascinated by the effects you can achieve with short rows and working in the back loops.
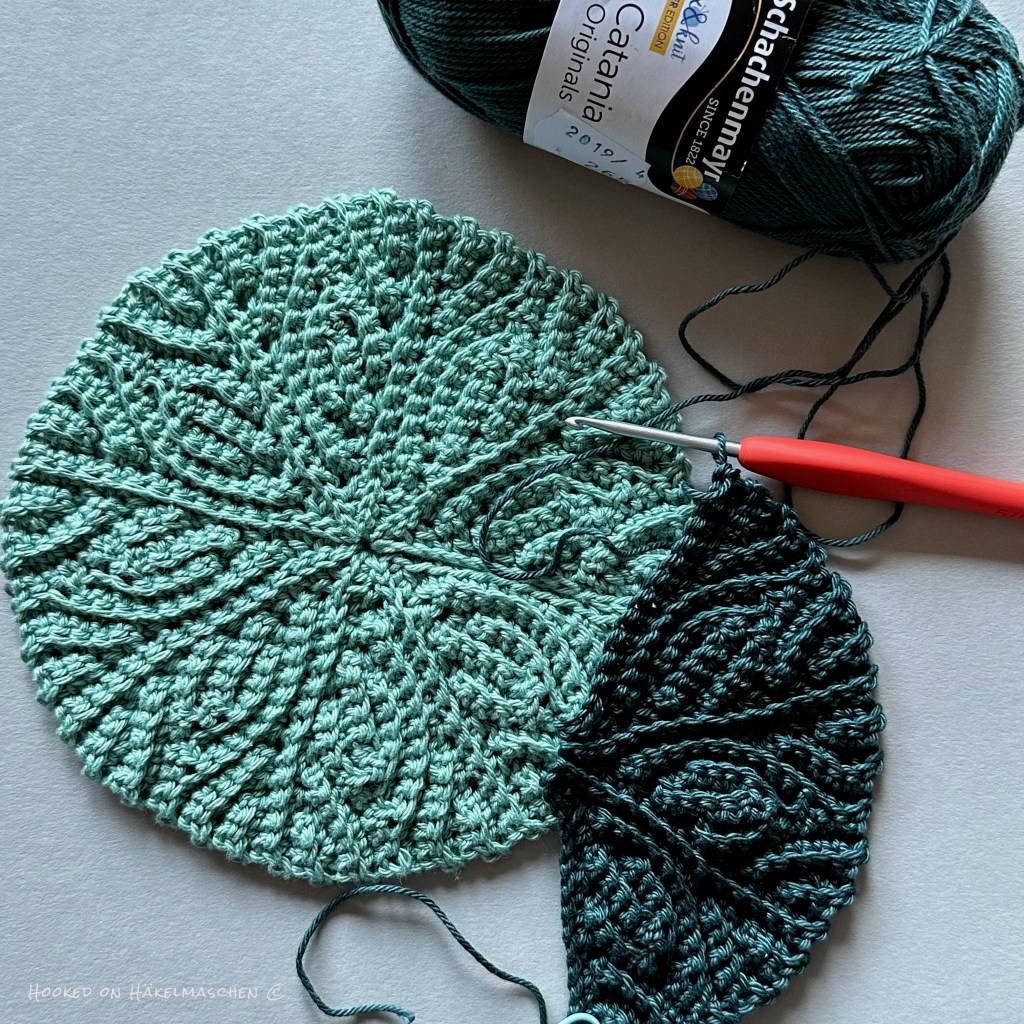
The coaster consists of eight sections, crocheted one after the other to form a circle. The instructions are very detailed, and the PDF even includes a photo tutorial showing exactly where to place the stitches at the transition from short to full rows.
If you prefer visual and spoken guidance, there’s also a link to a video tutorial. Personally, I normally don’t like watching videos. But I found this one very helpful, especially the section about the joining at the end to finish the coaster.
My version of the Gift Coaster
For my samples, I used Schachenmayr Catania yarn with a 3 mm hook. Catania is 100 % mercerized cotton with 125 m / 137 yds per 50 g. It is classified as a #2 Fine / Sport weight yarn.
My colours were 0244 Agave and 00507 Salbei (Sage) – a combination I absolutely love.

Salbei was from a limited edition back in 2022, so I’m not even sure if it’s still available!
My coasters finished at about 15 cm in diameter, just as they should.
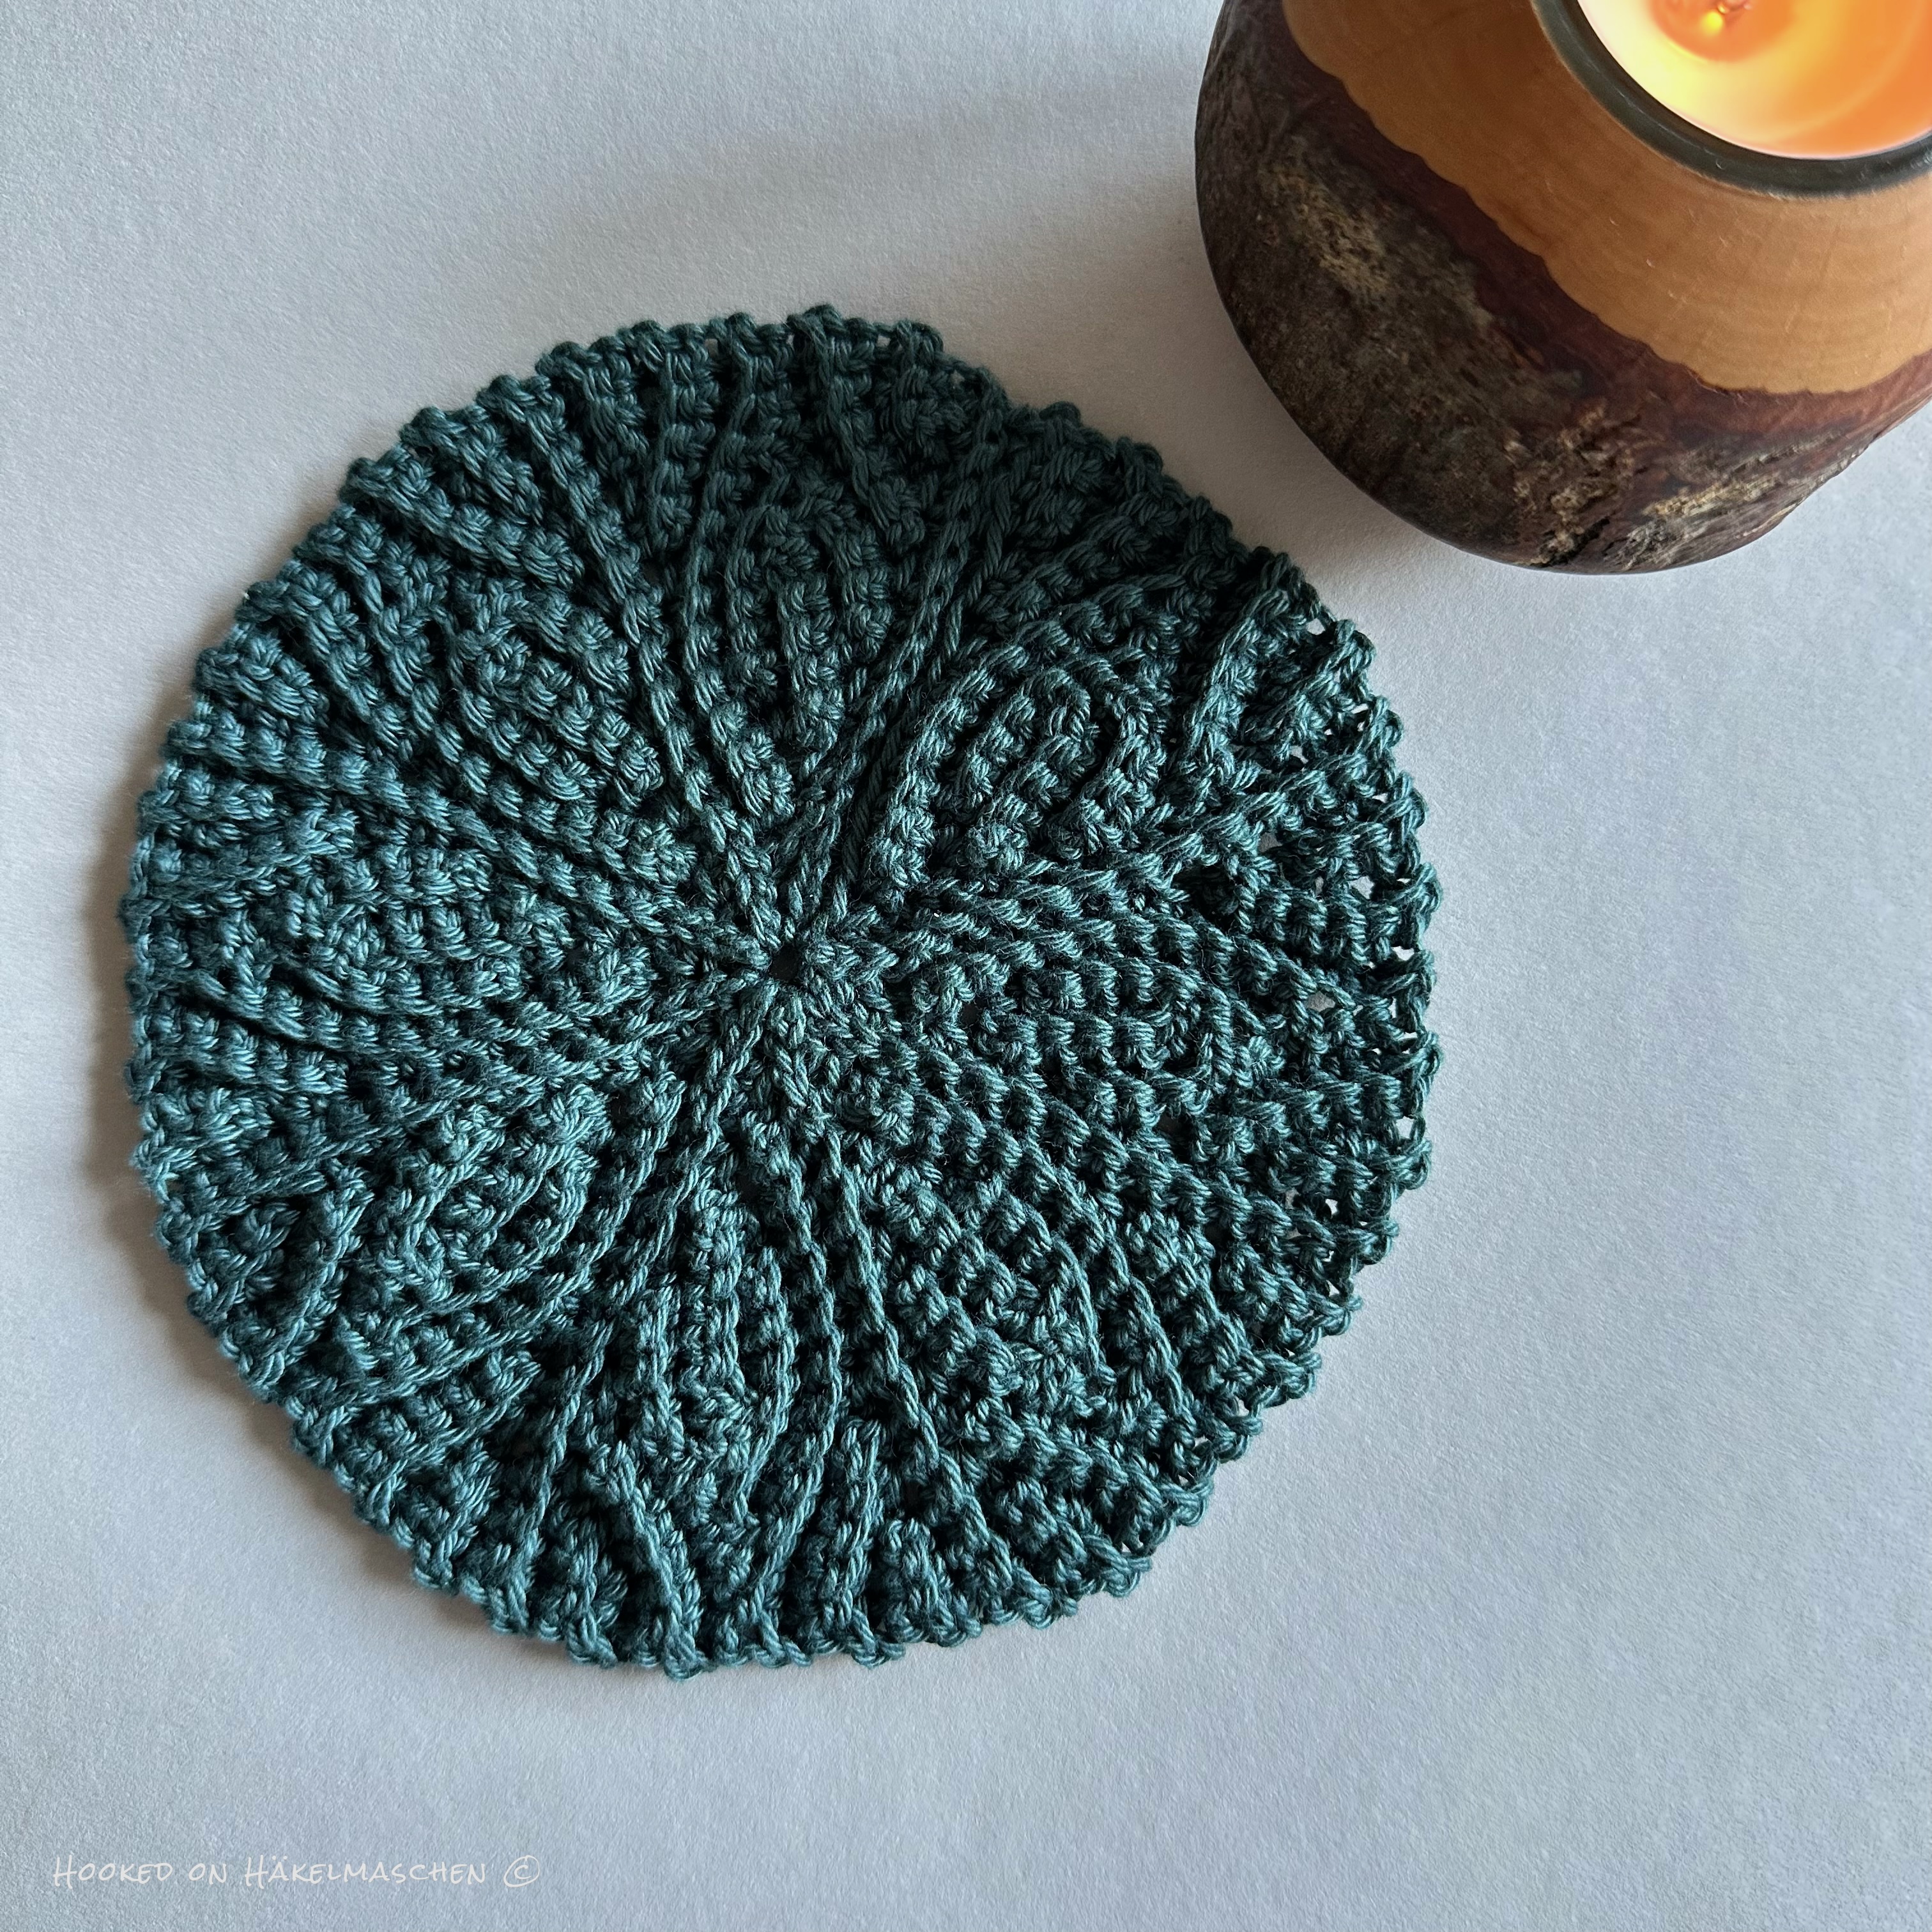

I’m completely happy with how they turned out!