Last updated on January 25, 2026
I’ve finally written down the pattern for my second Tunisian crochet phone pouch.
This pattern is slightly more challenging than Cozy #1 because it uses two colours. Nevertheless, it is a simple pattern that even beginners can easily master.
Pattern details
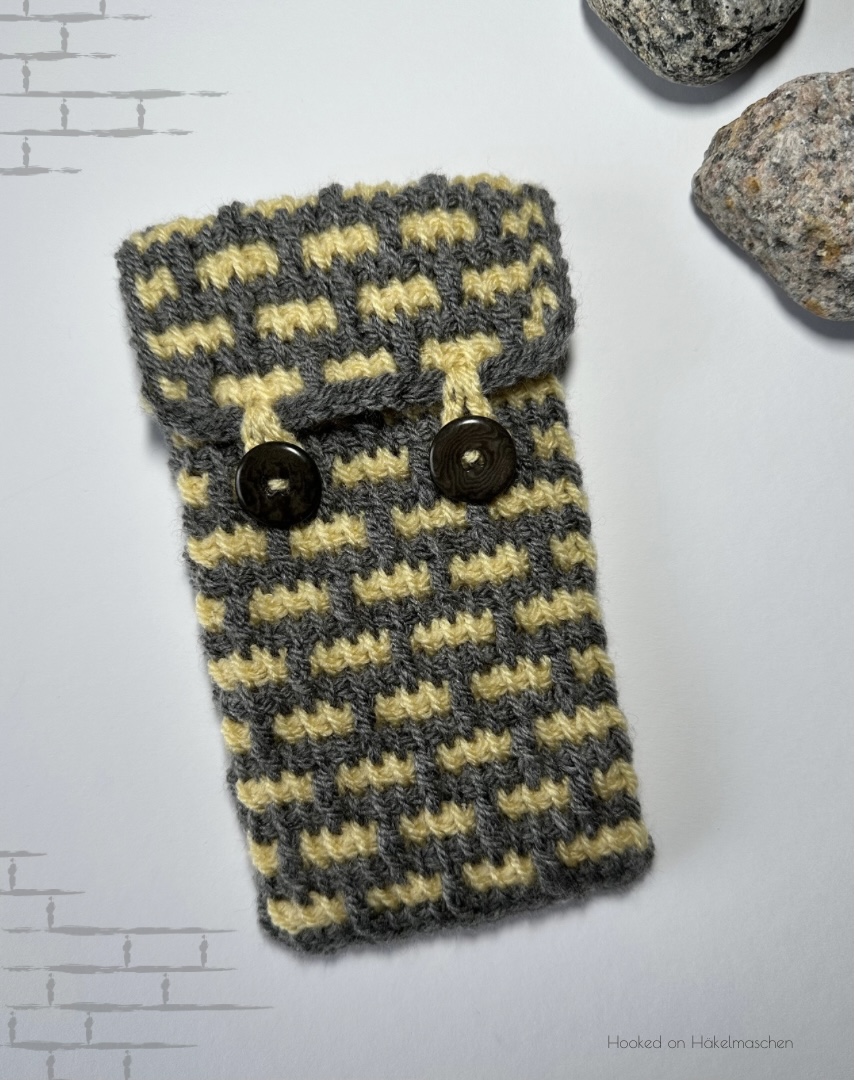
The cozy is designed for an iPhone 14 Pro and measures approximately 9.5 x 17 cm.
Stitch pattern
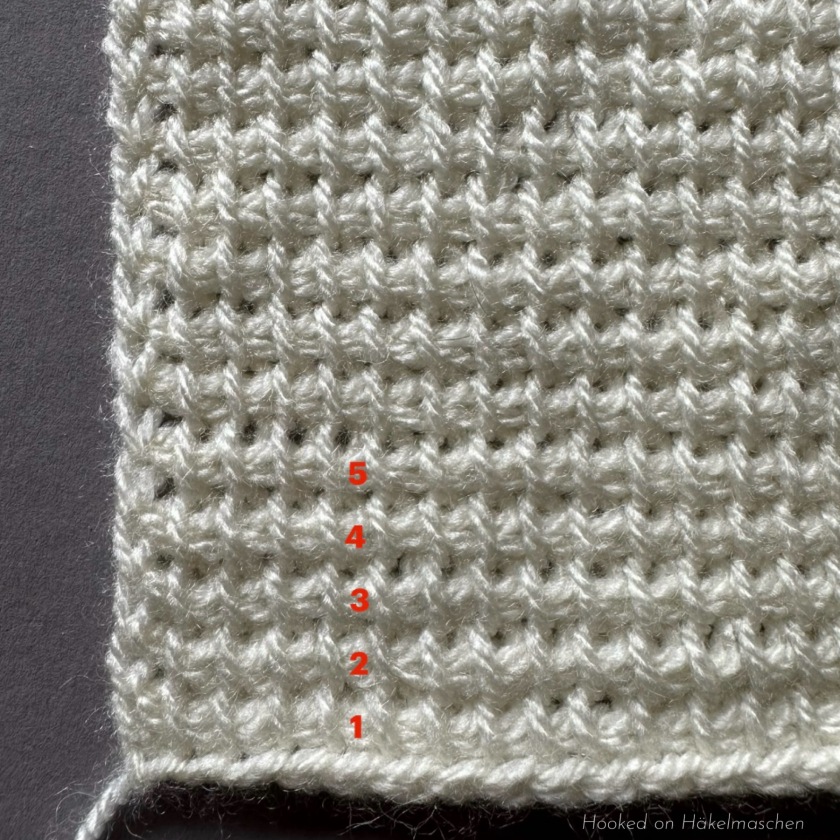
The pattern is based on a common Tunisian stitch pattern known as Brick stitch or Grid stitch.
It is usually worked in two colours to enhance the visual effect, but it can also be made in a single colour, which really highlights the structure.
The pattern uses a combination of Tunisian simple stitch and Tunisian front post double crochet stitch. The Tunisian front post double crochet stitch is worked similarly to a front post stitch in regular crochet and is also used in Tunisian mosaic crochet.
Both, the Tunisian front post double crochet stitch and the colour change are explained in the PDF-pattern.
Sizing
The pattern has a four-row repeat and works in multiples of 4 stitches plus 1. The size can be easily adjusted by adding or subtracting stitches or repeats as needed.
Shaping
The cozy is worked in one piece, including the flap. So, there’ s only minimal sewing required.

Only the bottom and sides need to be joined.
Of course, it is also possible to work the pouch without the flap. In that case, simply continue working the instructions for binding off (row 23 in the PDF-pattern) until the end of the row.
Finishing
After binding off, the flap of my cozy rolled up a little. Smoothing it with my fingers and adding a small border solved this issue.
To close the flap, I sewed on two buttons. This is optional, but I think it adds a nice finishing touch.

Yarn and colours
I used Stylecraft Special DK yarn and a 4.5 mm Tunisian crochet hook.
In total, I used just over 20 g of yarn. The pattern is therefore perfect for using up leftovers!
My colours are Grey and Buttermilk. I love the way they go together! They even remind me a little of honeycombs when combined with this stitch pattern.
Other colour combinations or yarn types work just as well. Just make sure to use somewhat contrasting colours, and remember that different yarn weights will affect the size of your cozy..
Ressources
Download the Tunisian Phone Cozy II pattern PDF for free.
Refresh your knowledge of Tunisian crochet basics on this page.
I hope you like the little bag – have fun crocheting 💕