Happy Circles II – A Quick Update

Actually, I wanted to have finished my Happy Circles cushion cover a long time ago! But sometimes life turns out differently than you might think. 

Everything had started out so nicely …

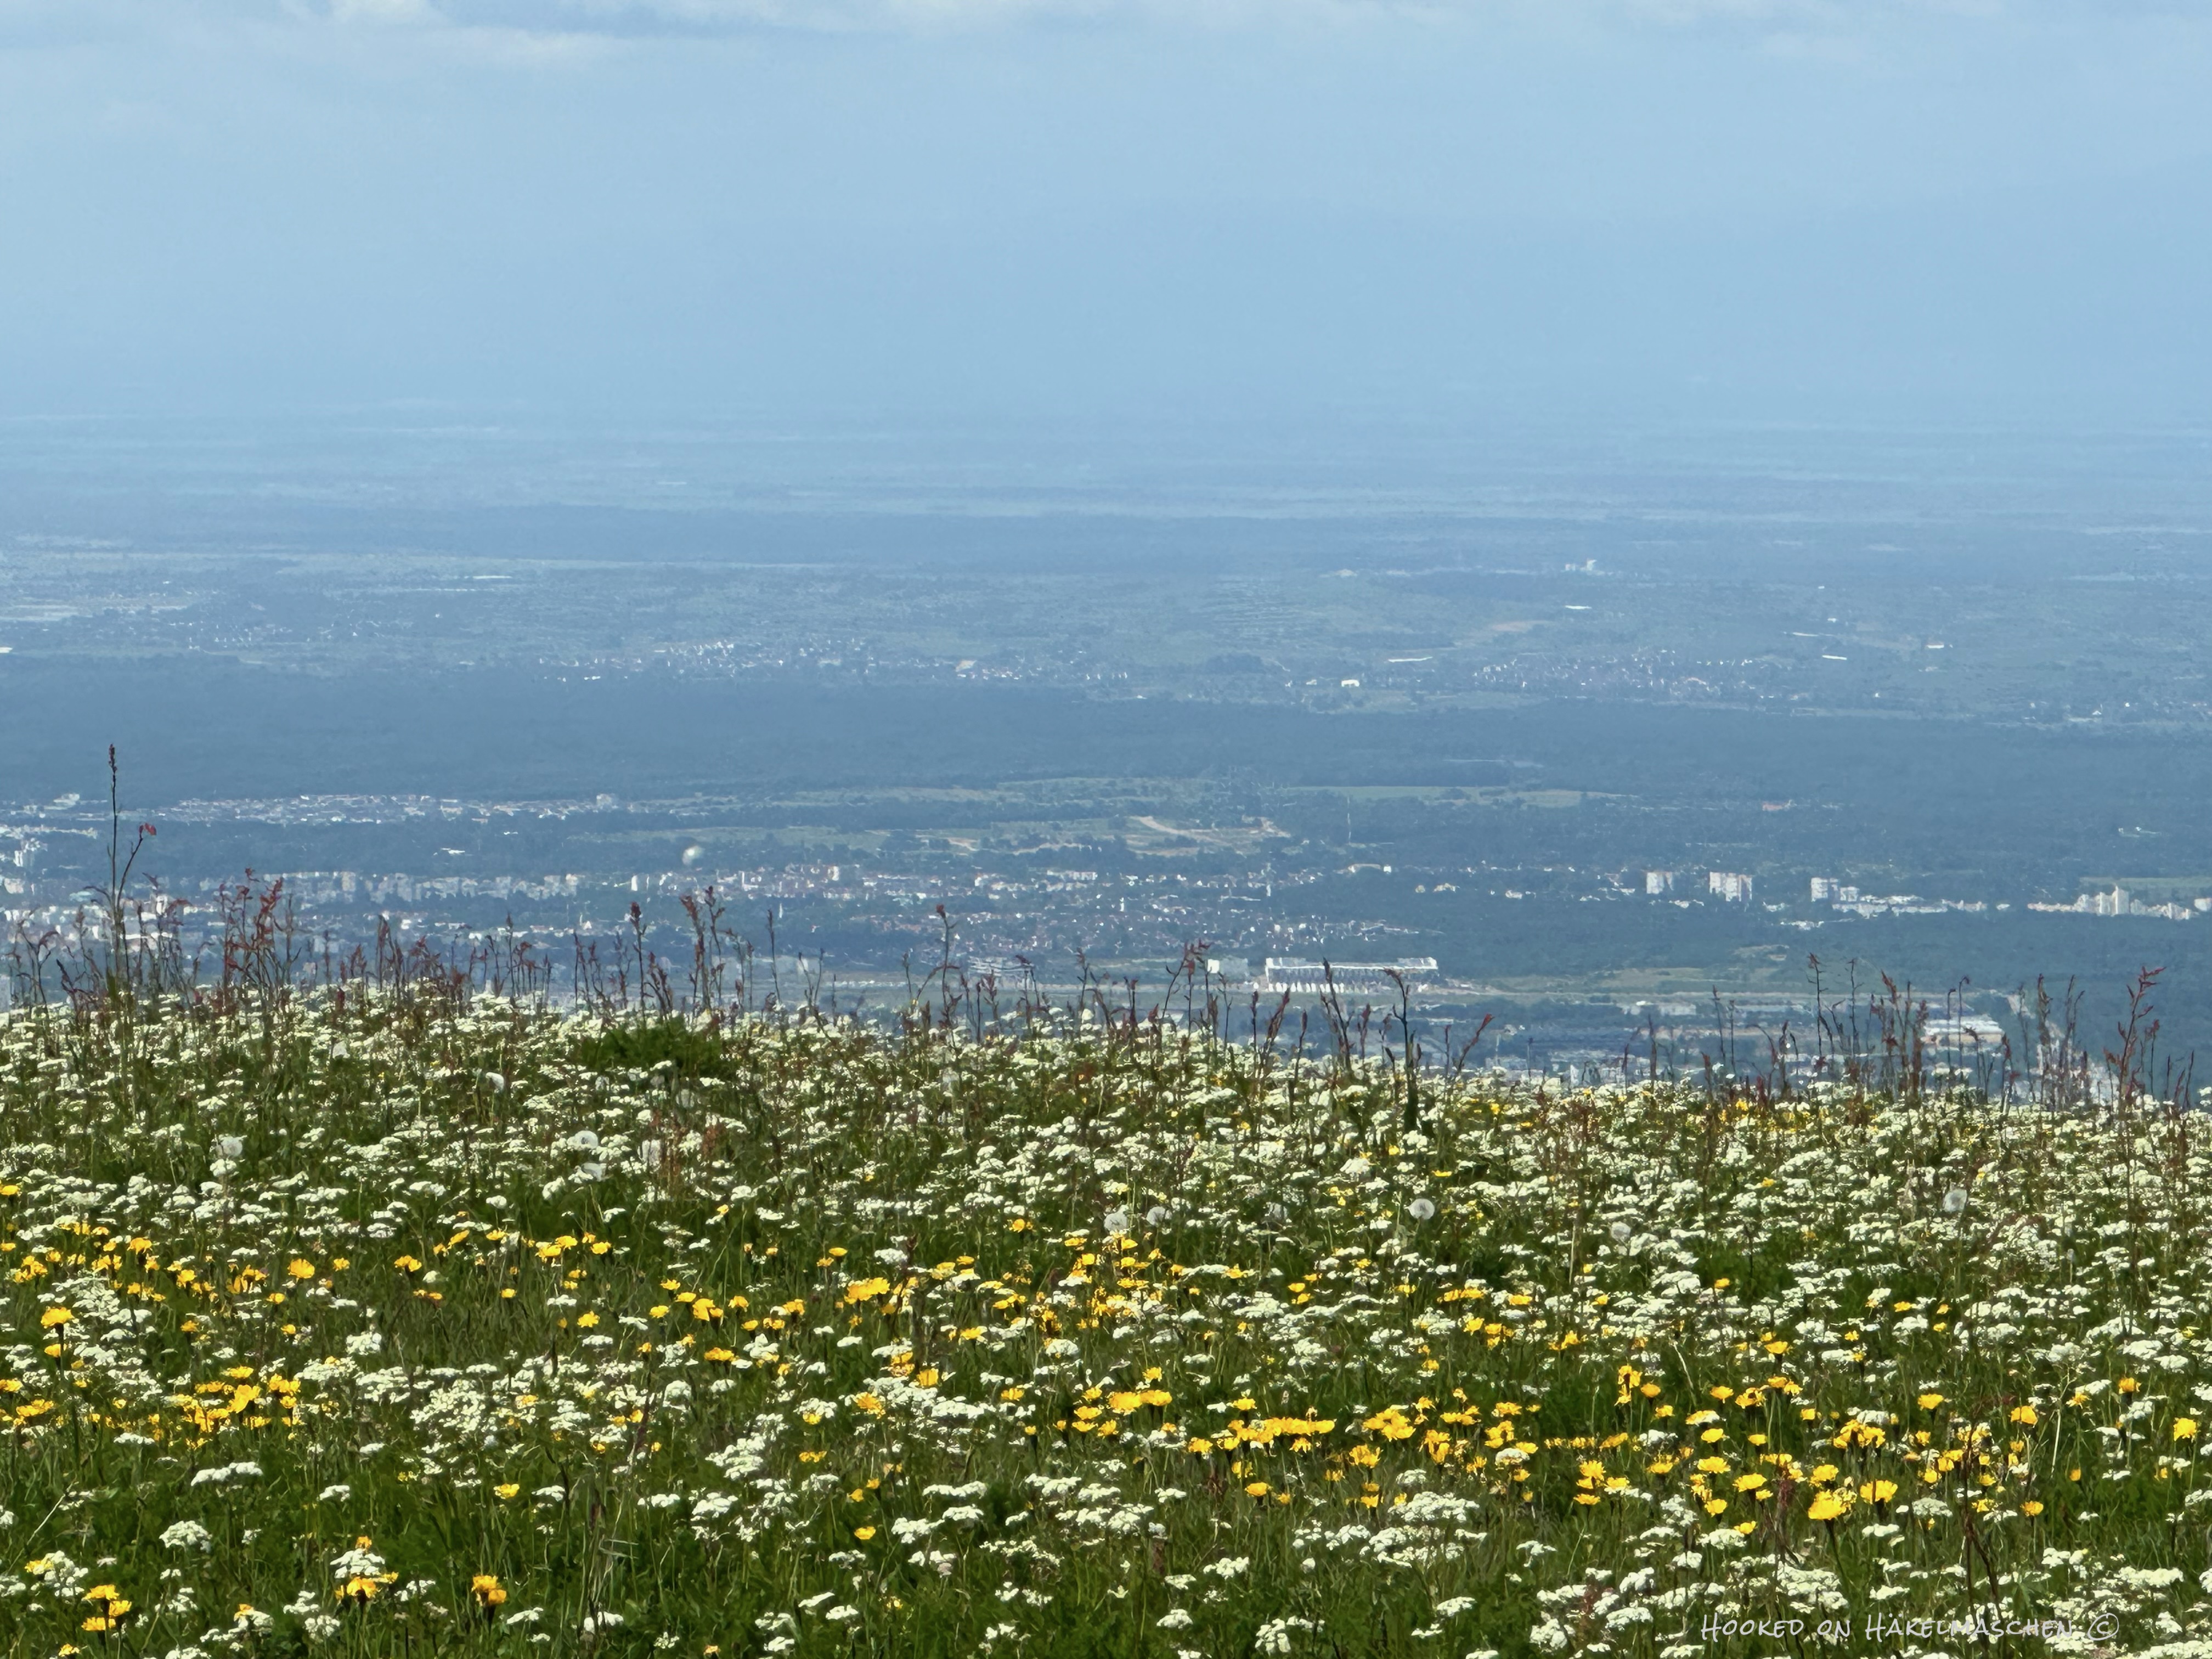
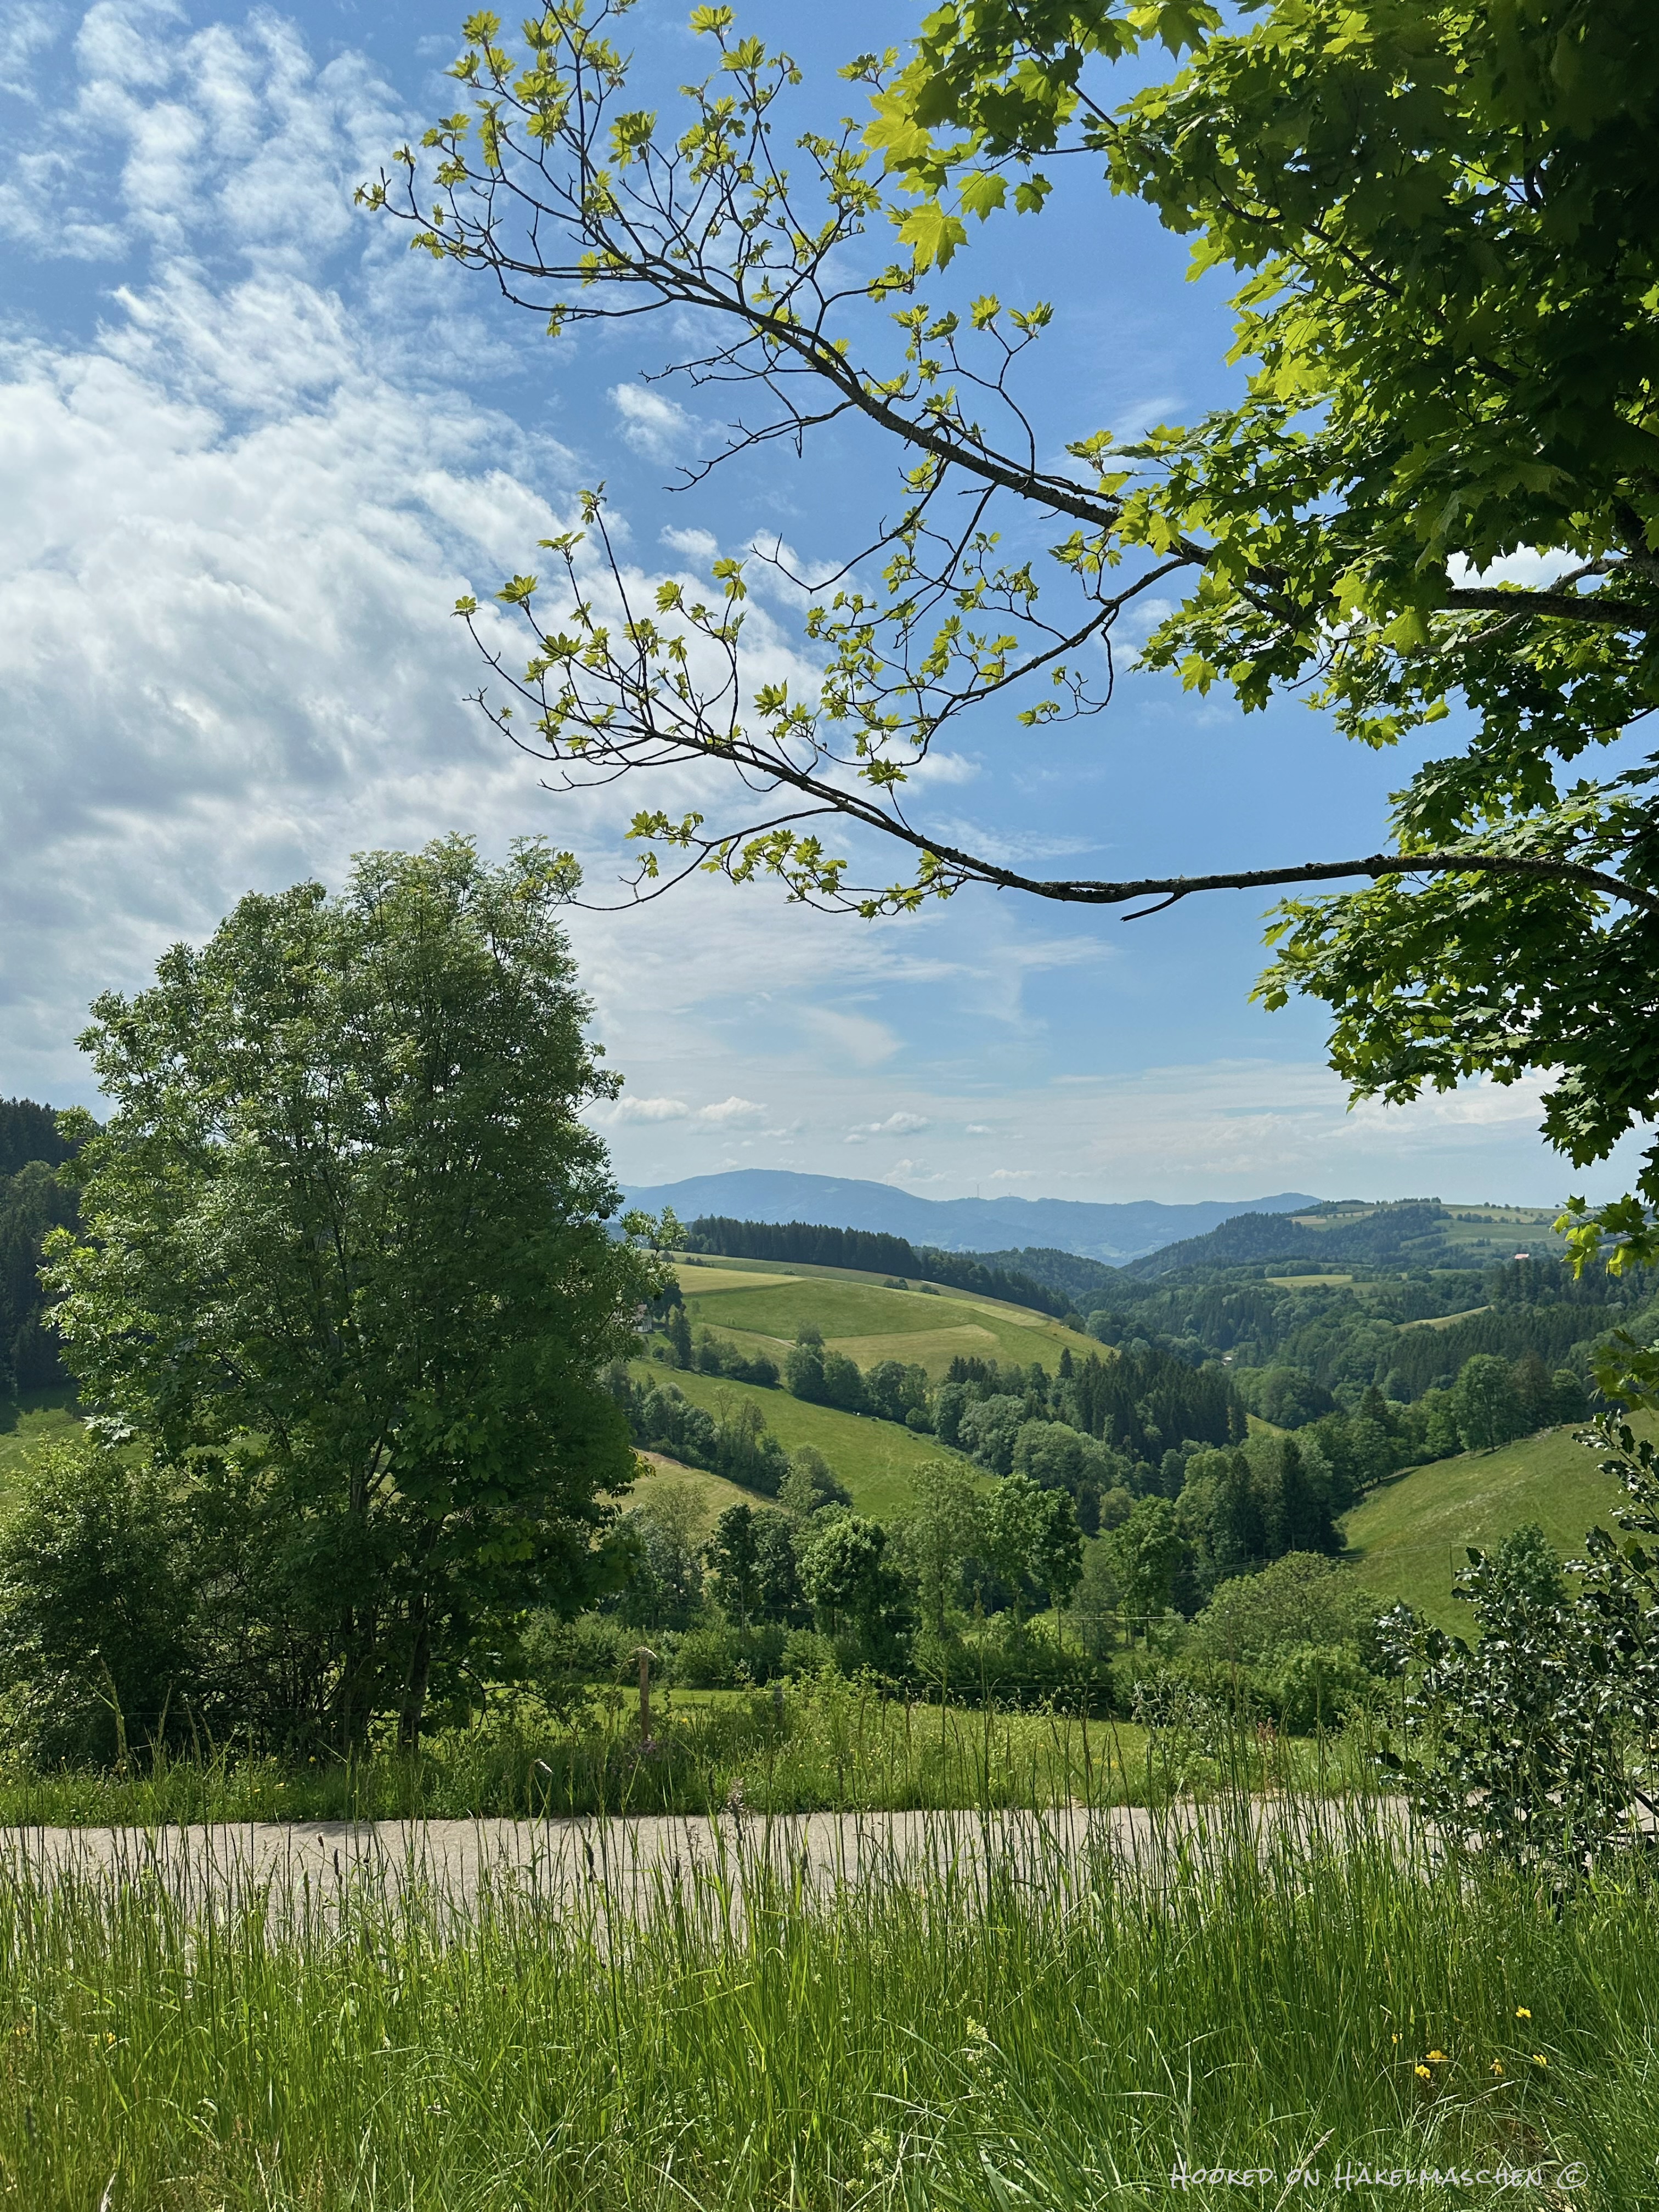
End of May is my birthday, so we travelled to the Black Forest for about 10 days. Even though the weather wasn’t so good, we really enjoyed our time. I love the Black Forest, especially at this time of year! Due to the mountainous landscape and the altitude, there is relatively little agriculture but all the more livestock breeding with cows, sheep and goats. The meadows just bloom wonderfully at this time of year! We had beautiful long walks and a very relaxing time!

Here some

Holiday impressions

Of course, I also had my crochet stuff with me (and a little bit of knitting). But I have to admit that I didn’t get as far with it as I had intended.
Towards the end of the holiday I was kind of tired and at the same time my bones were aching … When we got home, I realised that I had contracted a COVID infection. Unfortunately, that put me out of action for another 10 days …

I’m starting to feel better now, even if my voice is still a bit raspy and I’m still coughing – at least my brain is working again!!

My crochet progress

Unfortunately there’s not much news to report about my cushion cover. Let alone a final photo and / or a pattern.

At least I have finished the front panel. All my squares are joined and I also added a small border.

still unblocked …

… the front side

The finished size of the panel is 46 x 46 cm (about 18 x 18 inch).
I would like to use the cover for a 50 x 50 cm (20 in) cushion. I read somewhere that the cover for a square cushion should be about 5 cm (2 in) smaller than the insert to ensure a nice fit. Until now, I have always made the cushion covers to fit exactly. I then often had the problem that they tended to look too big, especially at the corners. So I thought I’d give the smaller size a try. I only hope that it will work out well! Otherwise I will have to start over.

At the moment I’m working on the back. I opted for a simple square. Crocheted in rounds with double crochet. I still have two or three rounds to go, then the joining can begin.

Work in progress …

… the back side


I can’t wait to see how it turns out …

I hope to finish it in the course of next week. Then it’s time to write down the pattern!

Have a lovely weekend 💕

Edit 06.07.2025:
I’ve just stumbled over my notes: I was wrong about the size of the cushion cover. It should not be 10 % smaller as I had originally written, but 5 cm (2 in). I have just corrected this – sorry!

I needed a bit of colour – Colour Experiment Part 1

Experimenting with Random Colour Combinations in Crochet

Lately I’ve been having incredible difficulties putting together the colours for a project. Ok, that’s never really been easy for me. But I’ve never found it as difficult as at the moment. I thought about making a new Gretchen but I am not even able to find two colours that would work together ant that I like. It feels like I’ve already used every colour combination before – I can’t think of anything new.
Maybe I just need to step out of my comfort zone and opt for colours I don’t normally use? Yes, maybe, but that’s really difficult!

Anyway, this gave me the idea to experiment a bit with colours and try something I’ve wanted to try for a long time

Random colour placement

I’ve read about it several times, but I’ve never gone into it in depth.

If you crochet simple shapes – such as grannies, circles or triangles and so on – and work with a lot of colours, there are countless ways to arrange these colours. And – you have probably noticed that too – you can achieve different effects with the arrangement of the colours. In my eyes a colourful granny blanket, for instance, looks best, when the colours are randomly put together. But how to achieve this?

To obtain random colour combinations, you can of course first list all possible combinations of the colours you are going to use. The easiest and best way to do this is probably with an Excel, Numbers, or Google spreadsheet. But I am afraid this can also get complicated. For instance: assuming you make a motif with 3 rounds, each round in a different colour (which should only appear once), and you use 5 colours, then there are already 60 possible colour combinations. The more colours and/or rounds, the more complicated the list becomes.

I haven’t tried this yet, so it’s just theory. But beyond that, I wonder what would happen if I couldn’t use all the colour combinations for my project. I would probably choose the ones I like best. Would that influence the overall impression?

However, I wanted to try something different for a random colour combination. I had read about a website that has a random number generator: random.org. They offer different services, including a list randomizer.

For my colour experiment I had thought about crocheting circles. Each circle with 3 rounds in different colours.

My colours and the random outcome

I picked up some of my little balls of leftover yarns and added some colours from my stash that I had never used so far, such as Stone, Camel, Lincoln and Violet. In the end I had these 15 colours that I thought might look good together.

All colours Stylecraft Special DK

I listed all colours in a Numbers spreadsheet (shown in the picture below, first column). Then I copied this list to the list randomizer in random.org.

After hitting the button ‘Randomize’ I had the first result in no time – all my colours listed in a random order.
I copied this result back to my Numbers sheet, filling the column for Round 1 (see picture below).

Hitting the button ‘Again!’ in the randomizer and gave me another random list of my 15 colours. I copied this result back to my Numbers table filling the column for round 2.

Then I repeated this step once more to get the colours for round 3.

This way I got 15 unique colour combinations.

Unfortunately I had to realise that, based on the result, some colours would appear twice in one motif. Since I didn’t want this to happen, I repeated the steps described above a fourth time and entered the result in the ‘Substitution’ column. Now I was able to replace the duplicate colour with the substitution colour.
For example: instead of Storm Blue, Violet, Violet I used Storm Blue, Violet, Raspberry.

My Numbers Spreadsheet

When crocheting, I strictly followed my list and this is the surprising result:

To be honest, I was VERY surprised at the result. There are colour combinations that I would never have put together myself. Nevertheless, I think every single one looks absolutely beautiful!

Afterwards I repeated my random selection – same steps as described above – and crocheted another 10 circles. You can see the result in the cover photo above. Here, too, I was not disappointed by a single one!!

My 25 circles are meanwhile all turned into squares. I used Stylecraft Special DK in Graphit as I thought a dark colour would showcase the colourful circles best.

Yep – a lot of tails to work away, but all done! My squares could do with a bit of blocking though. But so far I am very happy with my experiment!

Now I will have to think about the best way to join them AND what to do with them once they are joined. I can imagine either a wall hanging or a cushion cover. I’m not sure yet …

Anyway, I will let you know. And of course I will provide some information on how I made the circles / squares and what my layout looks like!

See you next time 💕