I hope you all had a great start in 2026!
I just took a moment to reflect on the past year. I felt like last year was dominated by the problems with my eye, frequent visits to the doctor and many treatments. So, I was surprised when I saw everything I had done. They were mostly small things, but seeing them all together still amazed me.
Patterns I tested
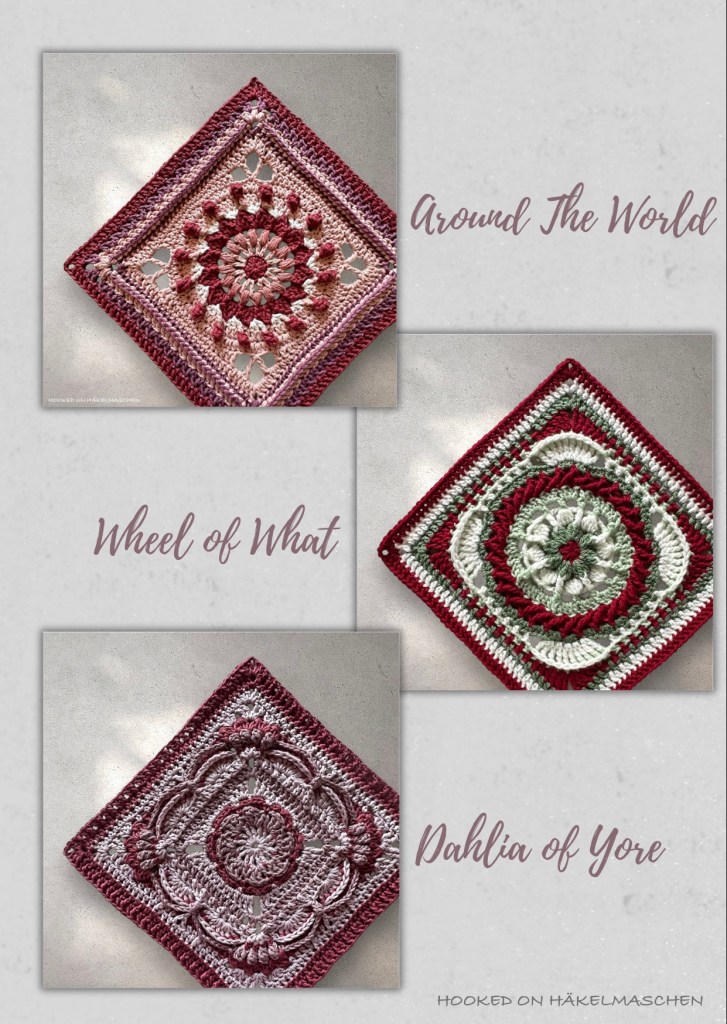
I was able to test three lovely designs from Pam Knighton-Haener (A Yarn of Serendipity): the Dahlia of Yore Square, the Around the World Square and the Wheel of What Square.
Patterns I published
I also managed to publish three crochet patterns on my own.
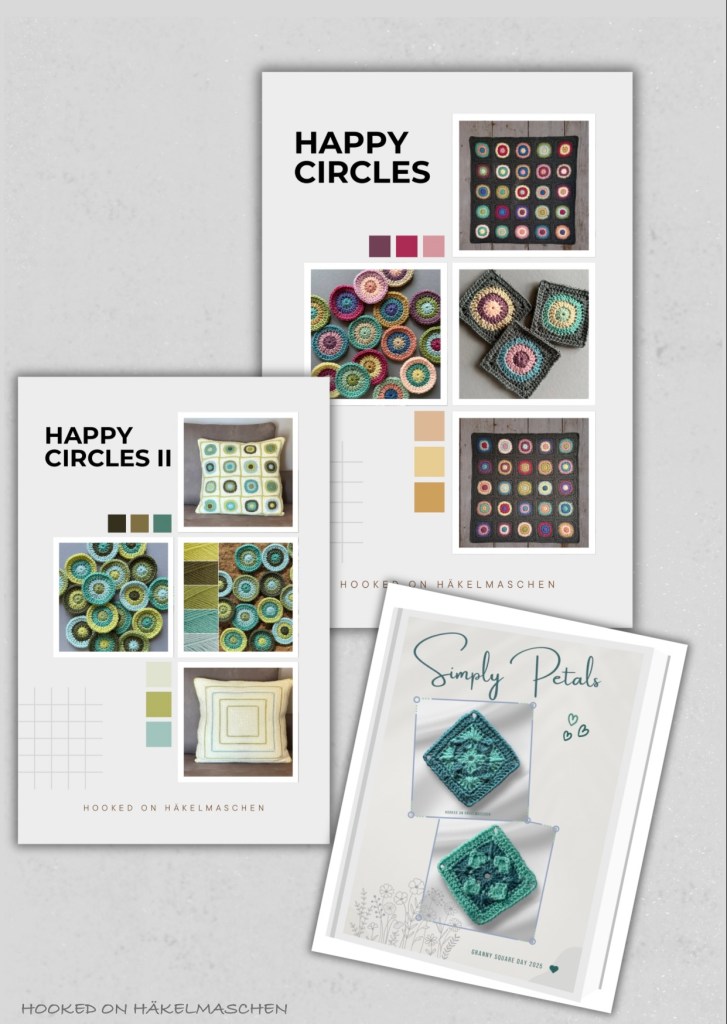
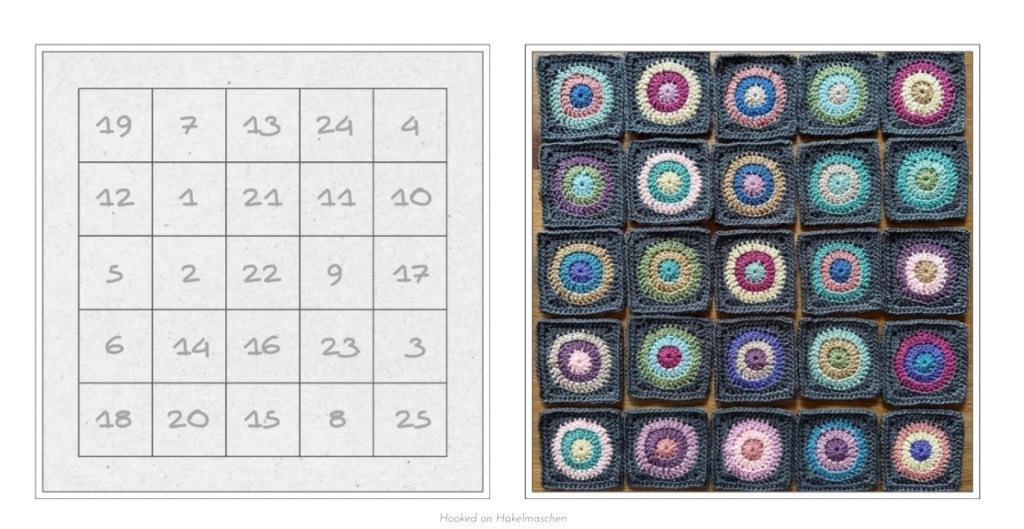
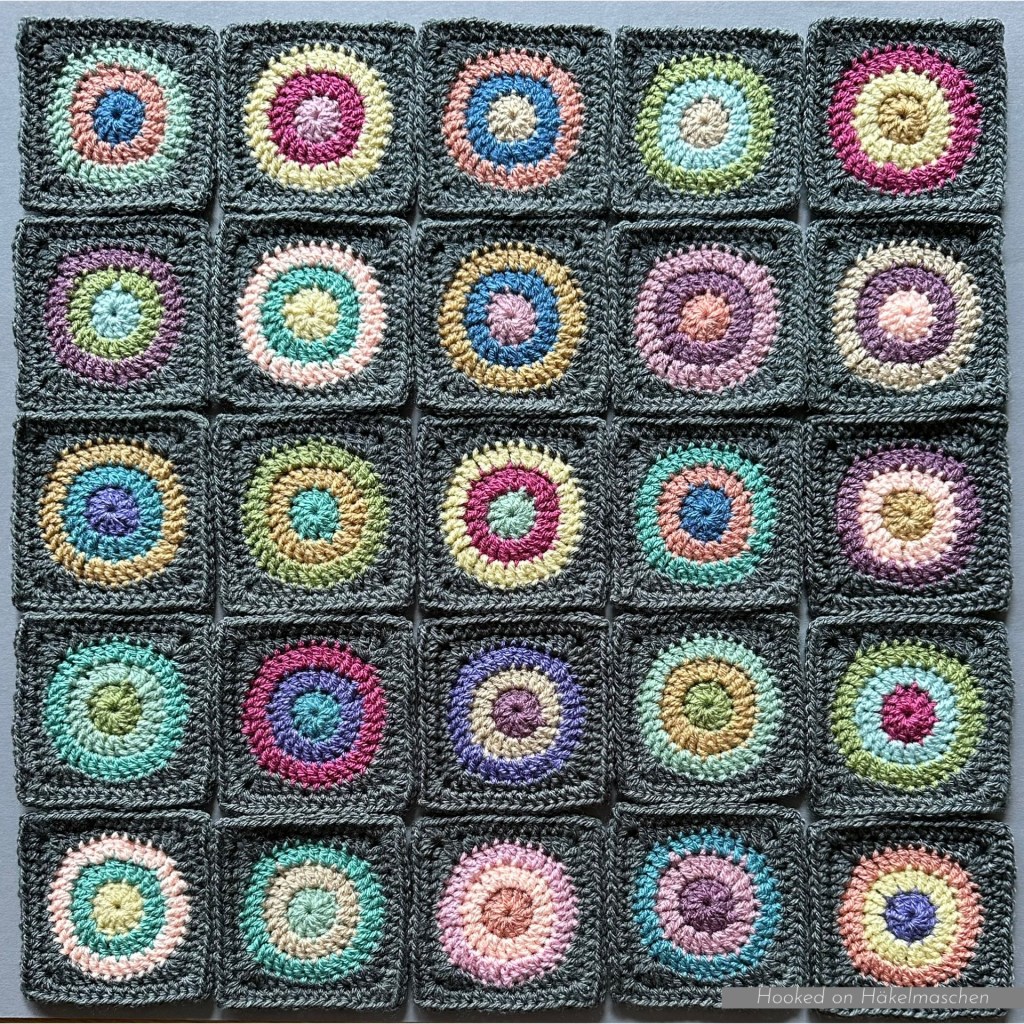
Right at the beginning of 2025 I published my Happy Circles pattern. It is primarily a guide for colourful circles that are transformed into squares. For me, it was mainly an experiment with random colour placement, using a random generator.
I assembled the squares into a wall hanging. But of course they can be used for other items as well.
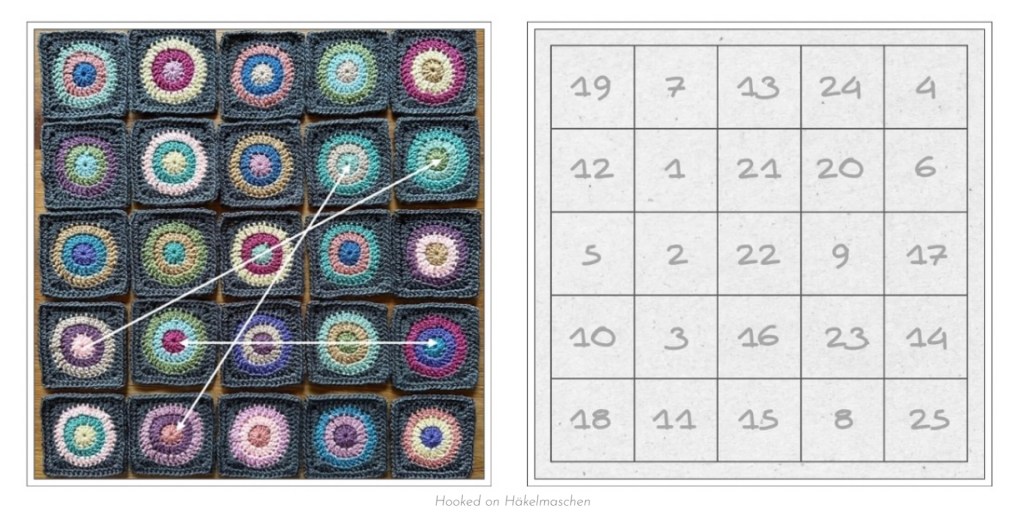
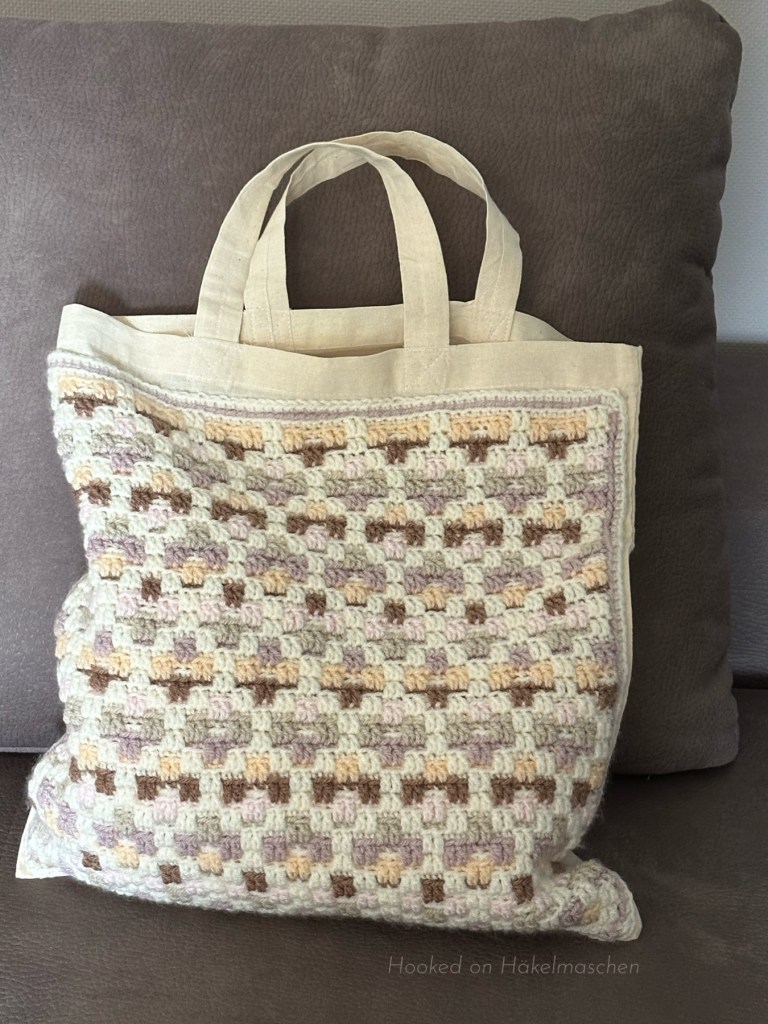
It was followed by Happy Circles II, which is based on the same simple pattern and was also a trial in random colour placement. This time, however, the squares are assembled to form a cushion cover. I also used a different joining method to make the individual squares stand out more. Plus, the pattern includes instructions for the back. However, the biggest challenge for me was using far fewer colours. The result I got using a randomizer was astonishingly different. You can read about this effect and my solution in this post.
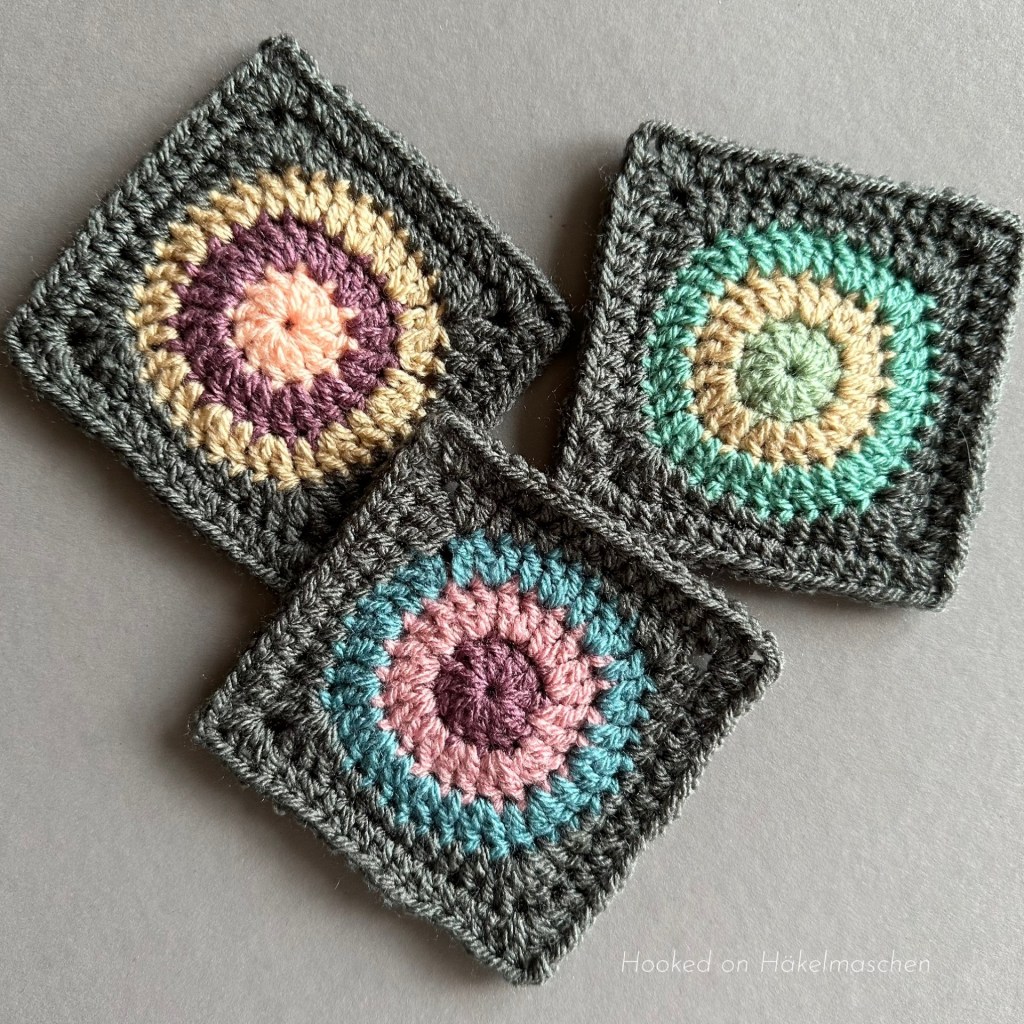
Last but not least I published the Simply Petals pattern. This little square was my contribution to the Granny Square Day 2025. There are certainly many different ways in which it can be used. Last year, I started making a cushion out of it. Regrettably, the project was never completed. Having finished all the squares for the front, I wasn’t satisfied with the colour choices at all. Now they are gathering dust in my craft basket, waiting for a new use.
You can download all three free patterns here.
New crochet experiences
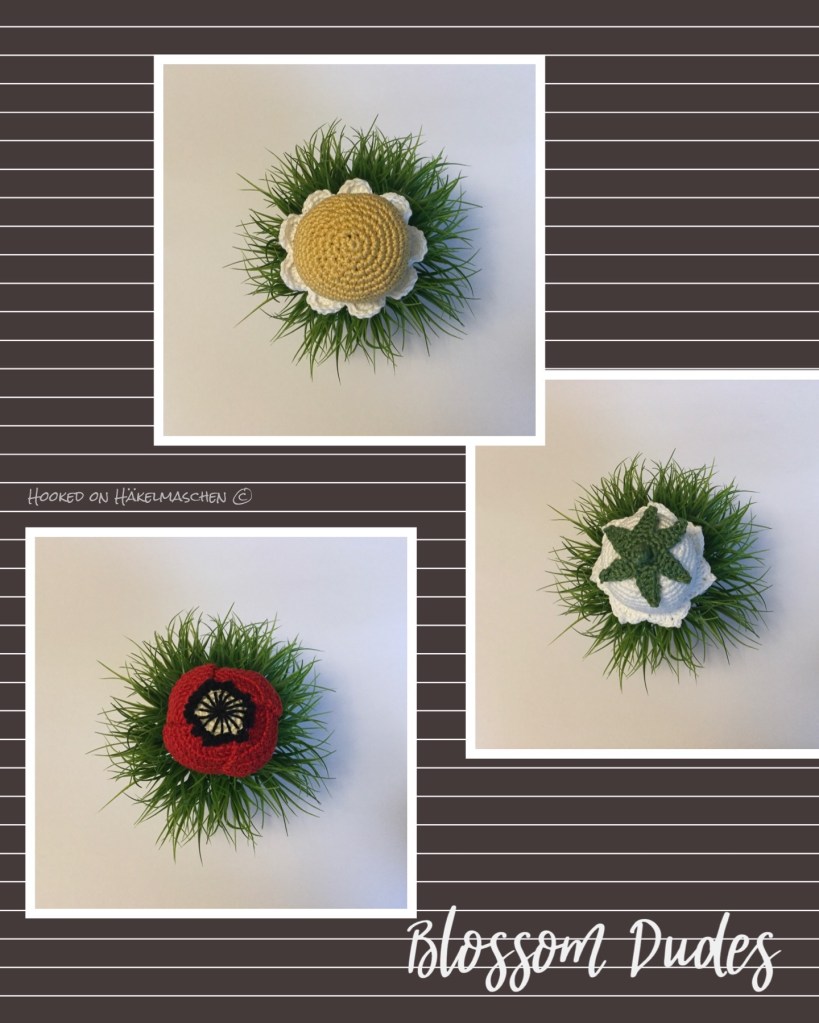
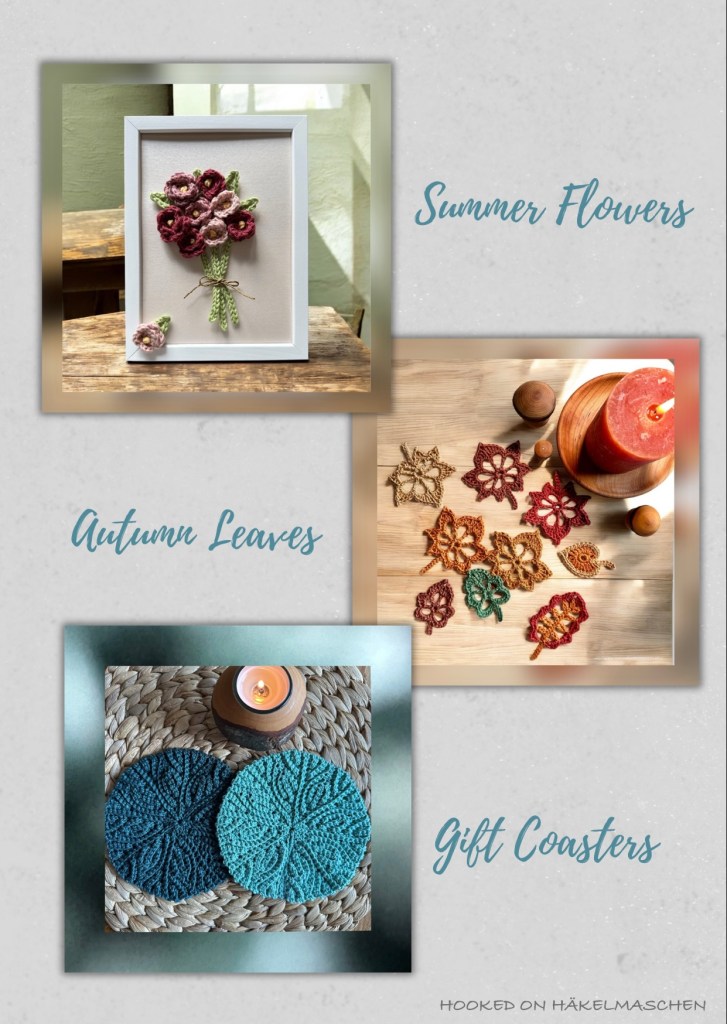
I also finally made something that I had been planning to do for a long time: a flowery collage. It was just a small one to start with, but it was tremendous fun. The pattern I used was Summer Flowers by Bomuldskys.
Tatsiana from Lilla Björn crochet also inspired me to try something completely new: short rows in crochet. It resulted in two beautiful coasters.
And I finally managed to try out some patterns from a book that I had on my shelf – äh, Kindle – for quite a while: Crochet Collage Garden by Chris Norrington. As the name suggests, the book features a lot of beautiful collages made with flowers and leaves. You can read all about the autumnal leaves I made in this post.
My detour in knitting
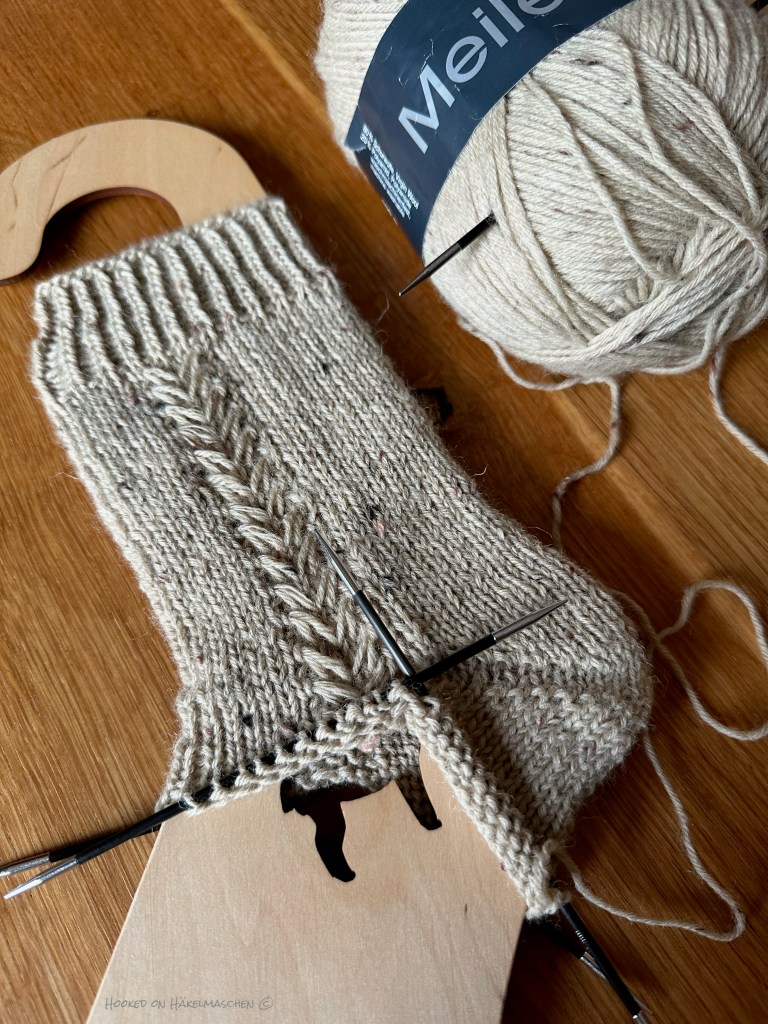
At the end of the year I made an adventurous excursion into knitting. I took it up after my eye surgery, as knitting is less tiring for my eyes than crocheting.
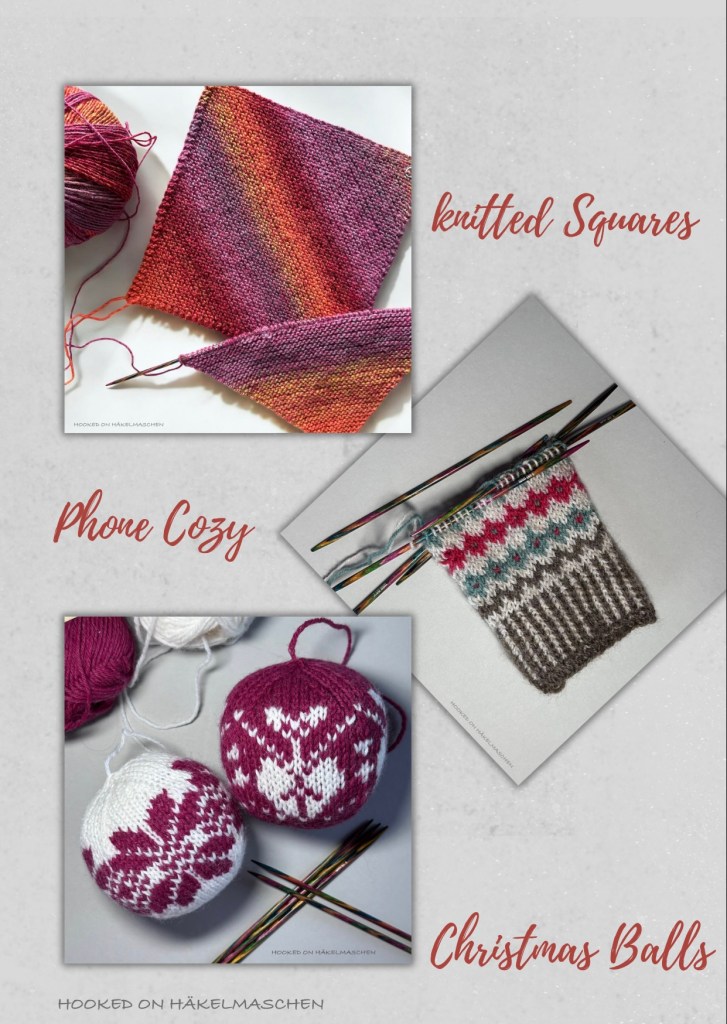
I tried out and learned a lot of new things in this field too: different ways to increase and decrease stitches, different ways to knit squares and I took my first steps in stranded knitting …
You can read all about my excursion in this post.
Crochet organization
Last but not least I published a crochet journal that I developed over the years. It is free for download. In case you are interested you can find it here.
Looking forward to 2026
I’m excited to see what 2026 will bring! While my eye will never fully recover, I’m grateful that it’s stable for now. As for my crafting plans, I hope to create more crochet flower collages and finally turn my little Simply Petals squares into something beautiful. Or perhaps something completely new will catch my interest – who knows? Whatever happens, I’m looking forward to the creative journey ahead.