Unfortunately, I still don’t spend much time crocheting – most of the time I sit at the computer or tablet.
During the last weeks I have translated Ana’s Go with the Flow pattern, did some kind of tech editing on another pattern .
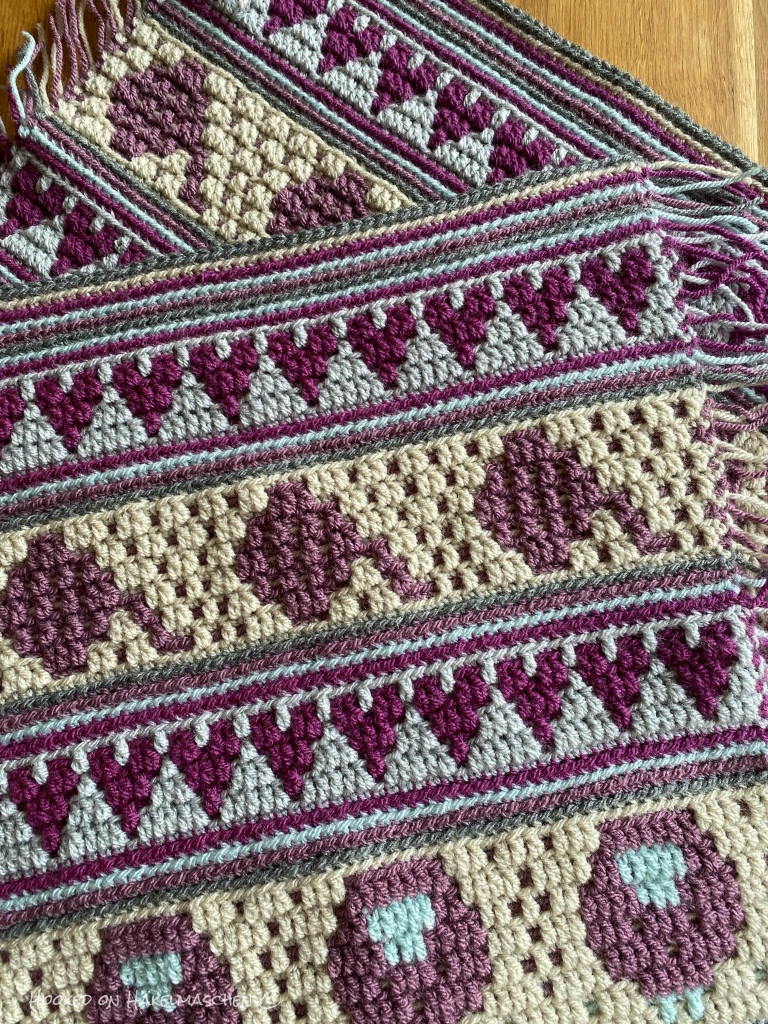
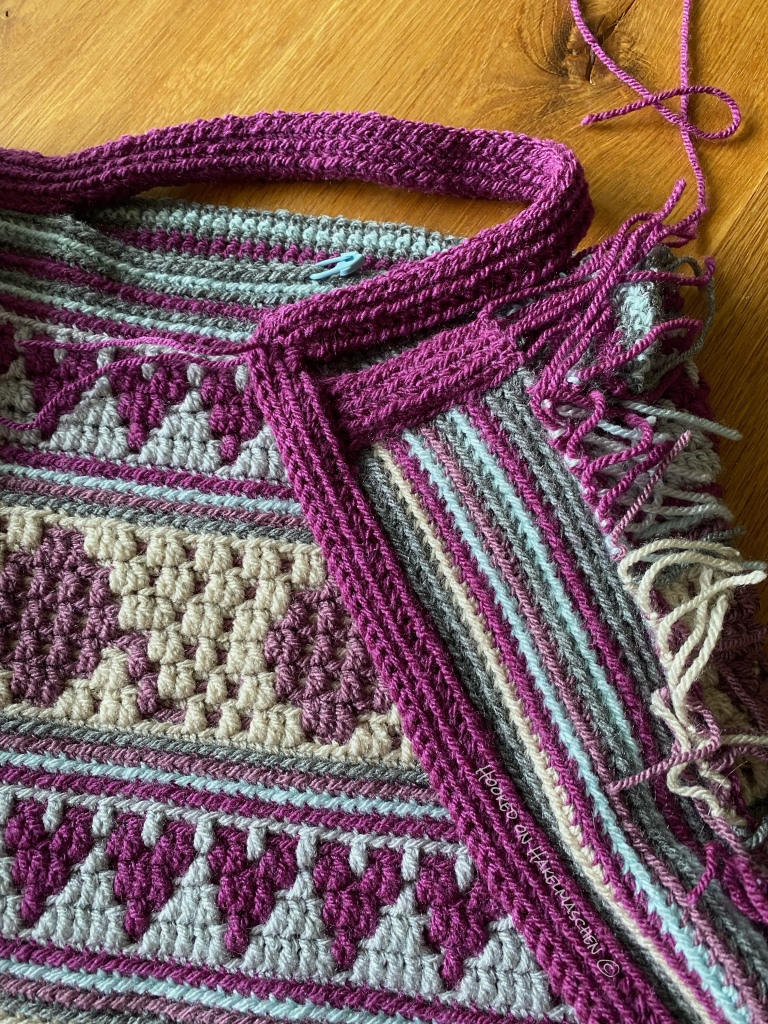
Besides I wrote down a pattern for a shawl I made for myself some time ago. The pattern is currently in the testing phase and of course I will present it here as soon as it is ready.
And every spare minute – and I definitely have too little of that – I am sorting through my old photos and revising some of the older blog posts here.
When I started with this blog I didn’t think of putting a watermark on my photos. From a legal point of view, watermarks are not really necessary, because every photo I have taken belongs to me and I have all the rights to it. No one may publish it without my permission!
Unfortunately, some of my photos have already been found on other, sometimes dubious, websites where people try to earn money with patterns that are not theirs.
This is so annoying, especially for the designers concerned!!
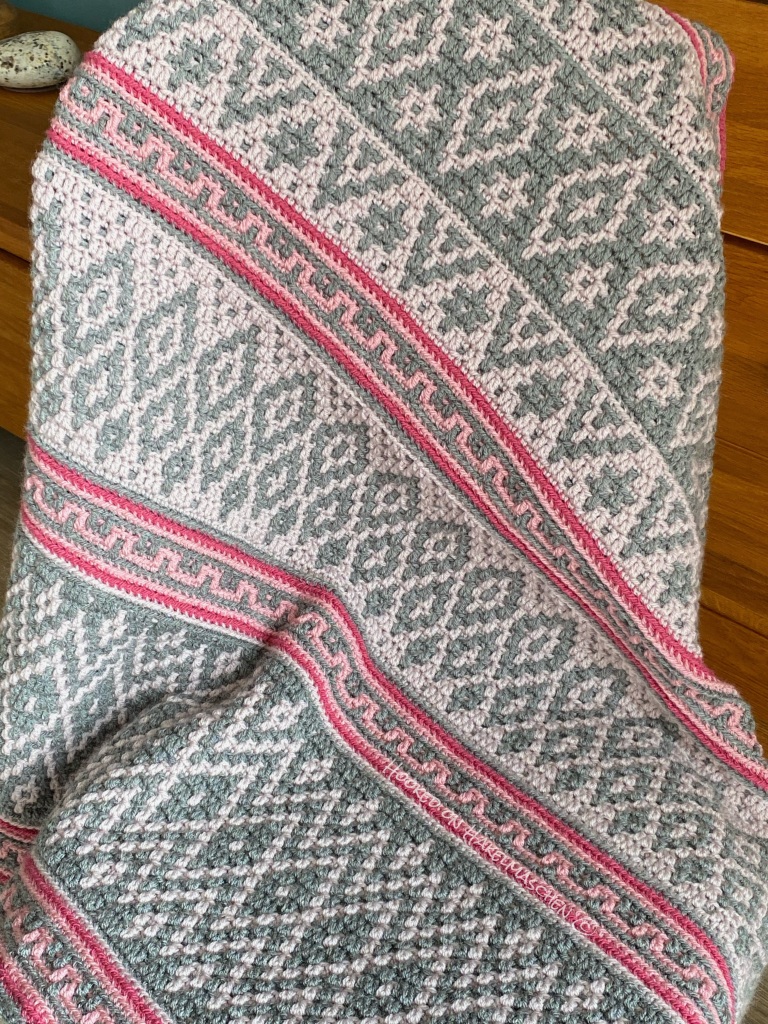
I know that a watermark on the photos won’t save me from that in the future either. But it makes it easier to prove and I just feel safer doing it. Especially as some of my photos – mainly with blankets – are not so unique. I have seen photos from Winter Wonderland blankets, done in my colourway, where I first had to think about whether they were mine or not. So I just make the effort!
But I digress!
Dudes, Dudes, Dudes
While sorting my photos I realized how many of the Dudes patterns I tested during the last years. The Dudes are very, very cute Amigurumi designed by Dana from missBerlin.
She writes about these patterns:
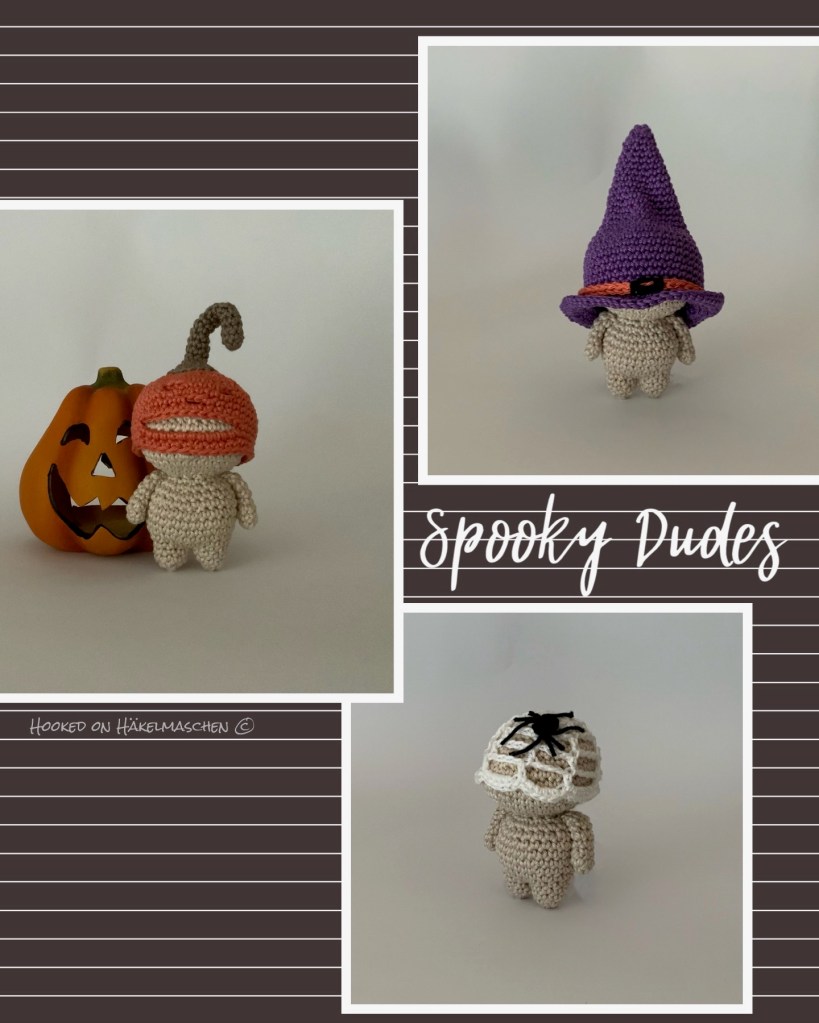
The little Dudes live among us, but only a child at heart can truly see them. They are bald and shy, so they cover their heads and half of their faces with whatever they find in their surroundings.
These endearing amigurumi/crochet dolls are faceless little fantasy creatures. They are educational dolls for learning and for play-therapy, as well as unique collectible decorative figurines. The Dudes’ minimalist features, inspired by the Waldorf approach, are designed to stimulate the imagination, and their pocket size is suitable for those little hands to make the perfect companions.
I think it was back in 2019 when I fell in love with her designs, discovering the Pumpkin Dudes.
Maybe you have already seen some of the designs I tested for Dana here on my blog – the Succulent Dudes, the Suga’ Dudes or the Carnival Treat Dudes.
All the others I never wrote about, because I tested them before I started this blog. It’ a shame! So I thought I could at least share some photos here.
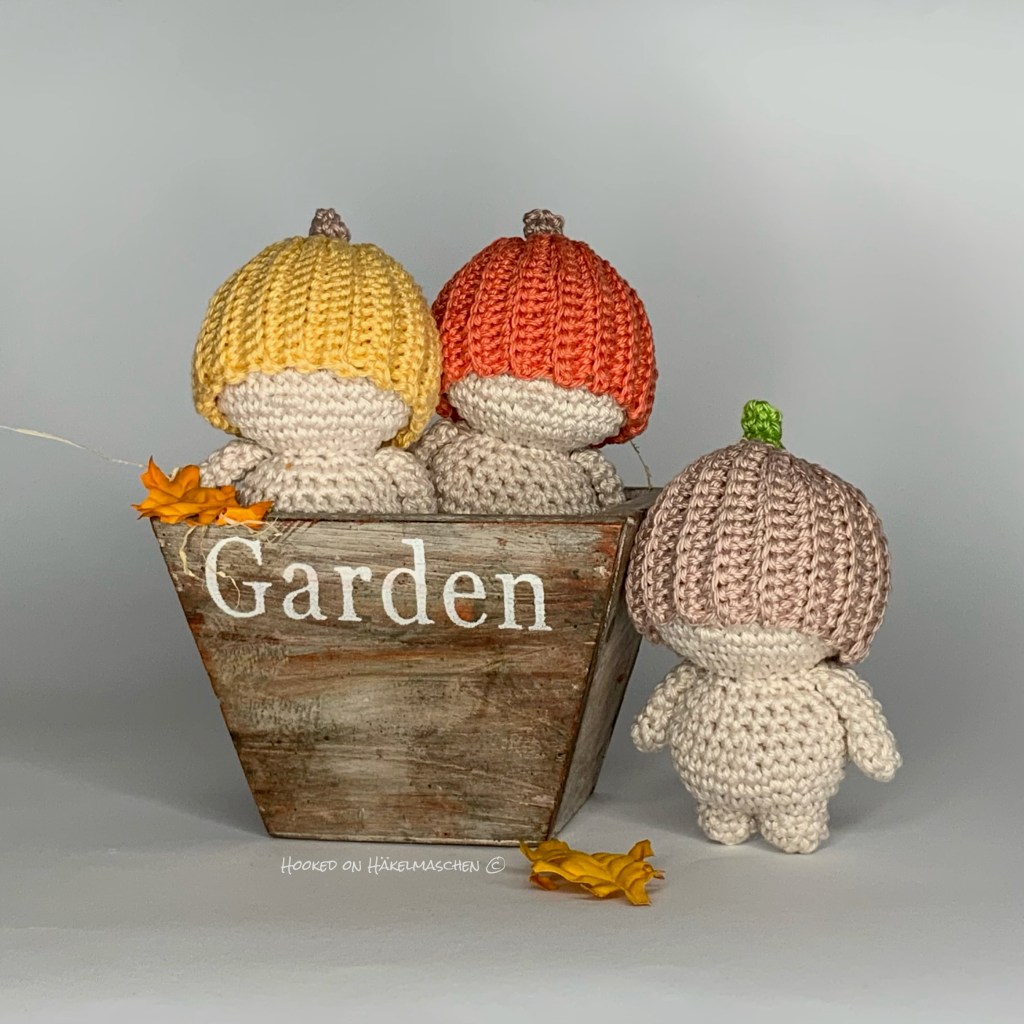
Here my collection – so far …


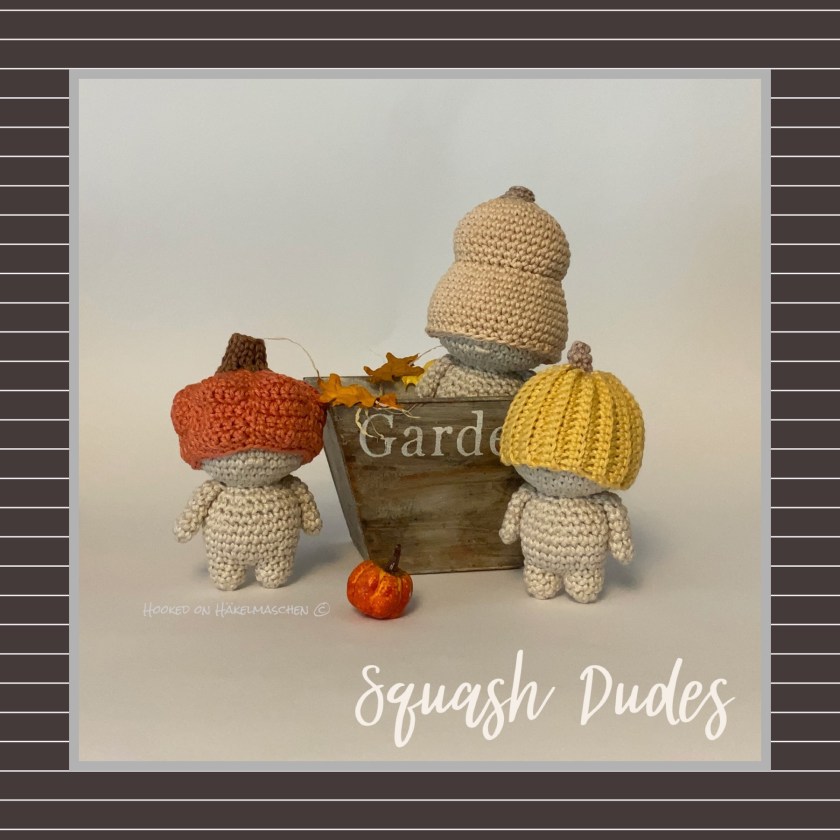
Theses cuties are all made with #2, Sport weight yarn and around 10 cm tall. I mostly use a 2,5 mm hook, sometimes a 2,25. My favorite yarn for the Dudes themselves is Scheepjes Catona in the colour 505, Linen. For the caps I either use Scheepjes Catona or Schachenmayr Catania. But any other yarn works as well.
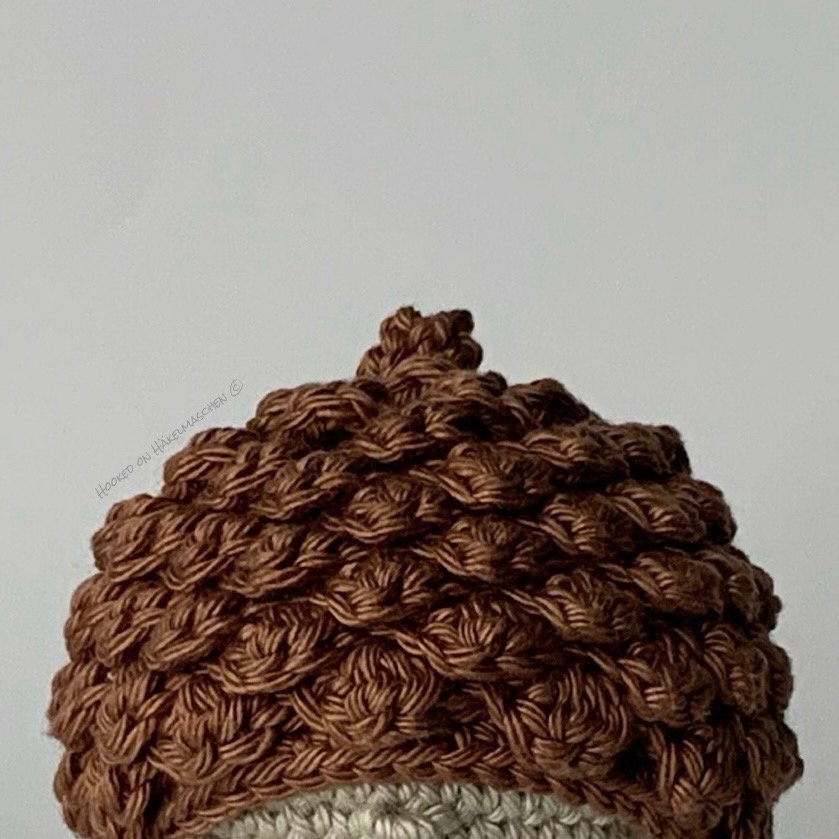
The first Dudes pattern I tested were the Woodland Dudes.
The Cap of the PineCone Dude is still one of my favorites.
But I also love the Cactus Dudes, the little Pumpkins, the Seashells (which I haven‘t made yet) and well … all the others. Each one of them was so fun to test!
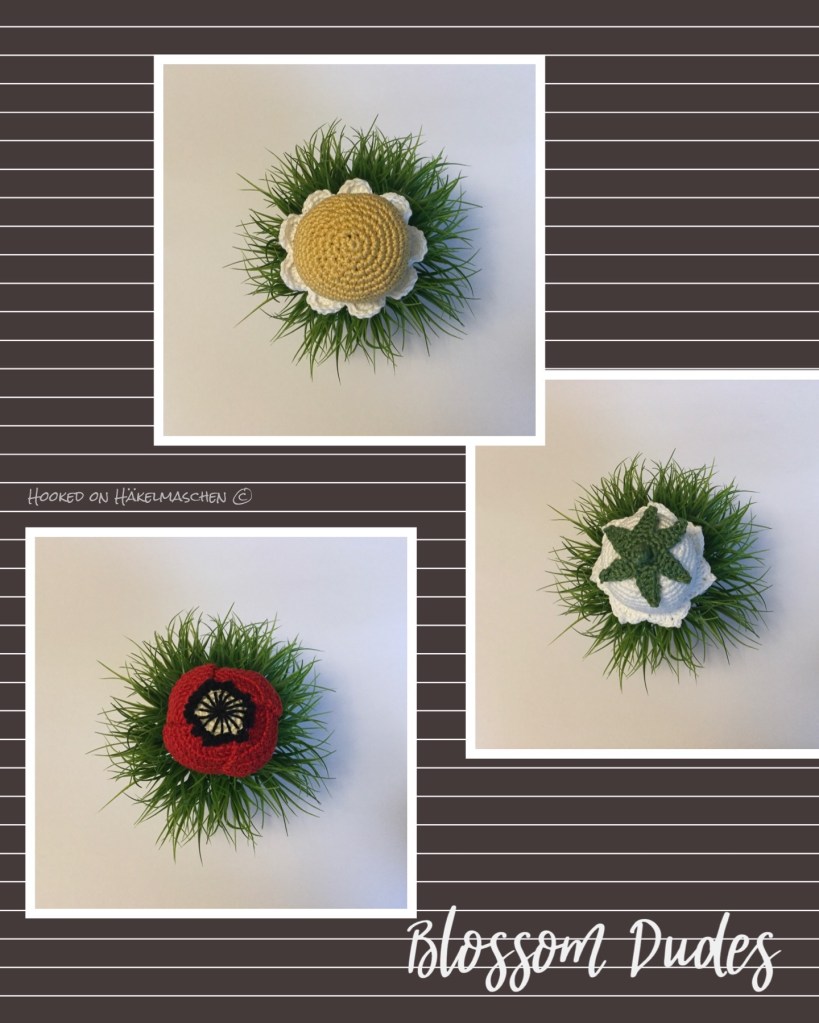
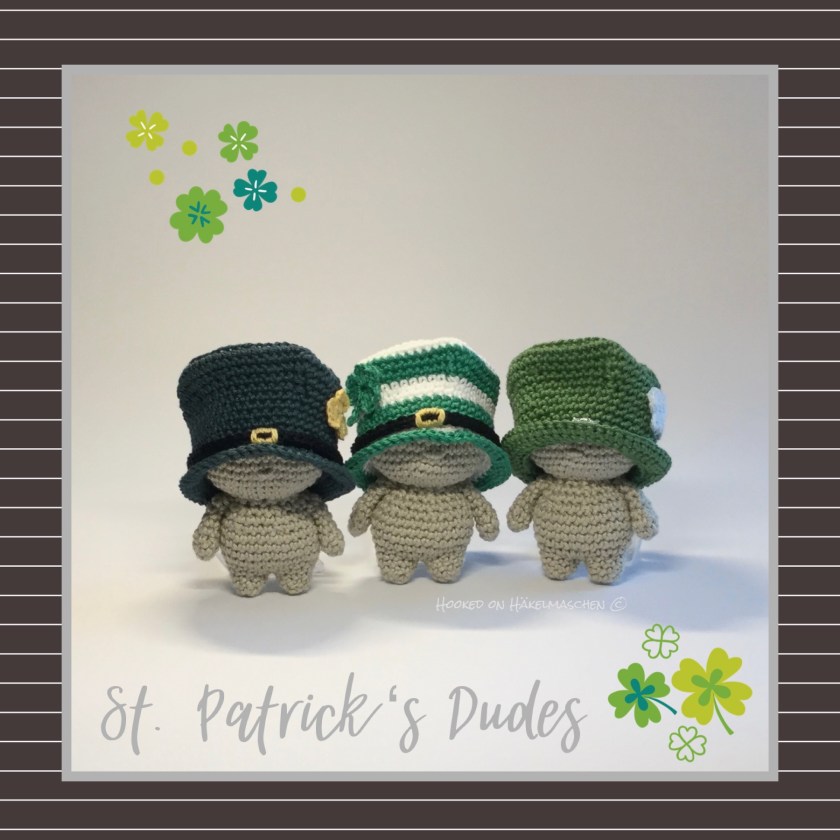
Each pattern has instructions for the Dude and comes with 3 different, themed caps. Some of the caps are really easy to make, for others you will need a bit more concentration, but every step is explained very well.
In case I could inspire you: the patterns are available in Dana‘s Ravelry or Etsy shop . Or just have a look at my Ravelry projects where I have partially listed additional info.