Another test for Pam
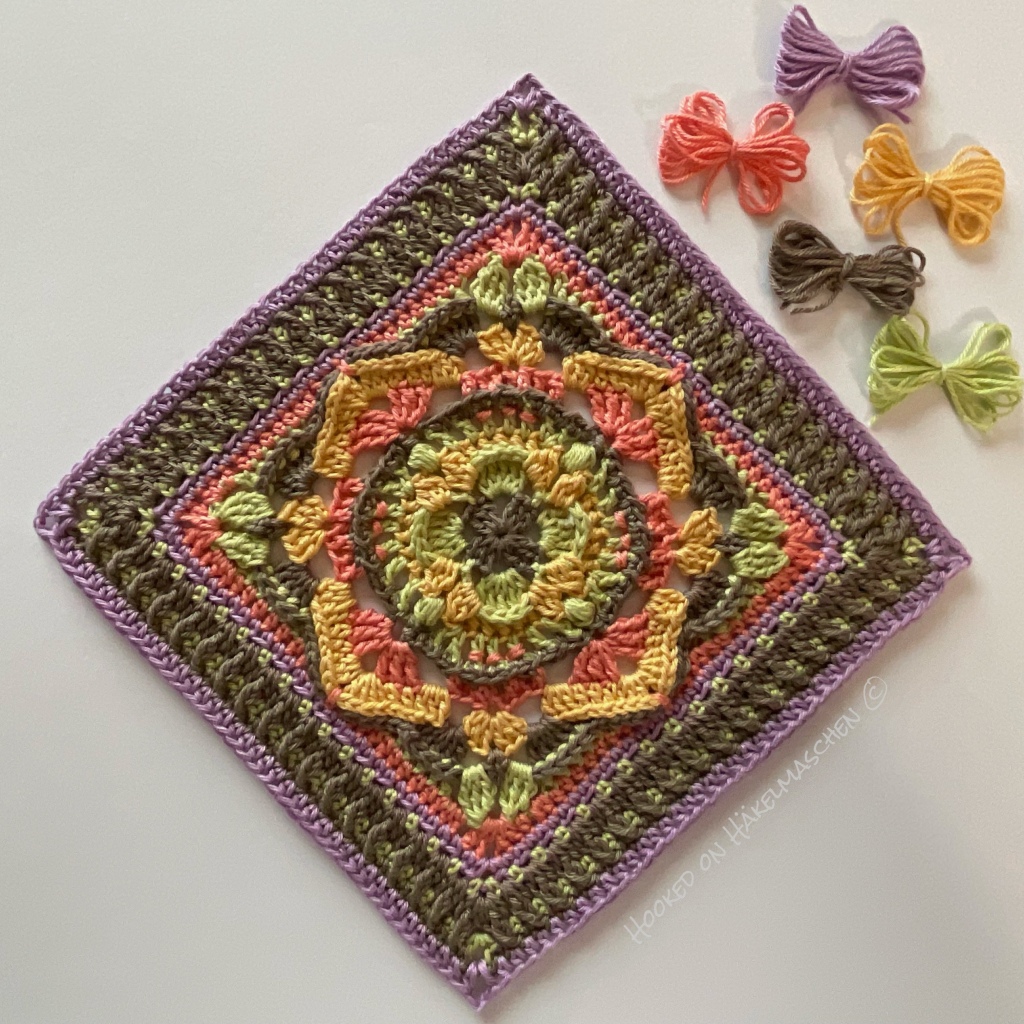
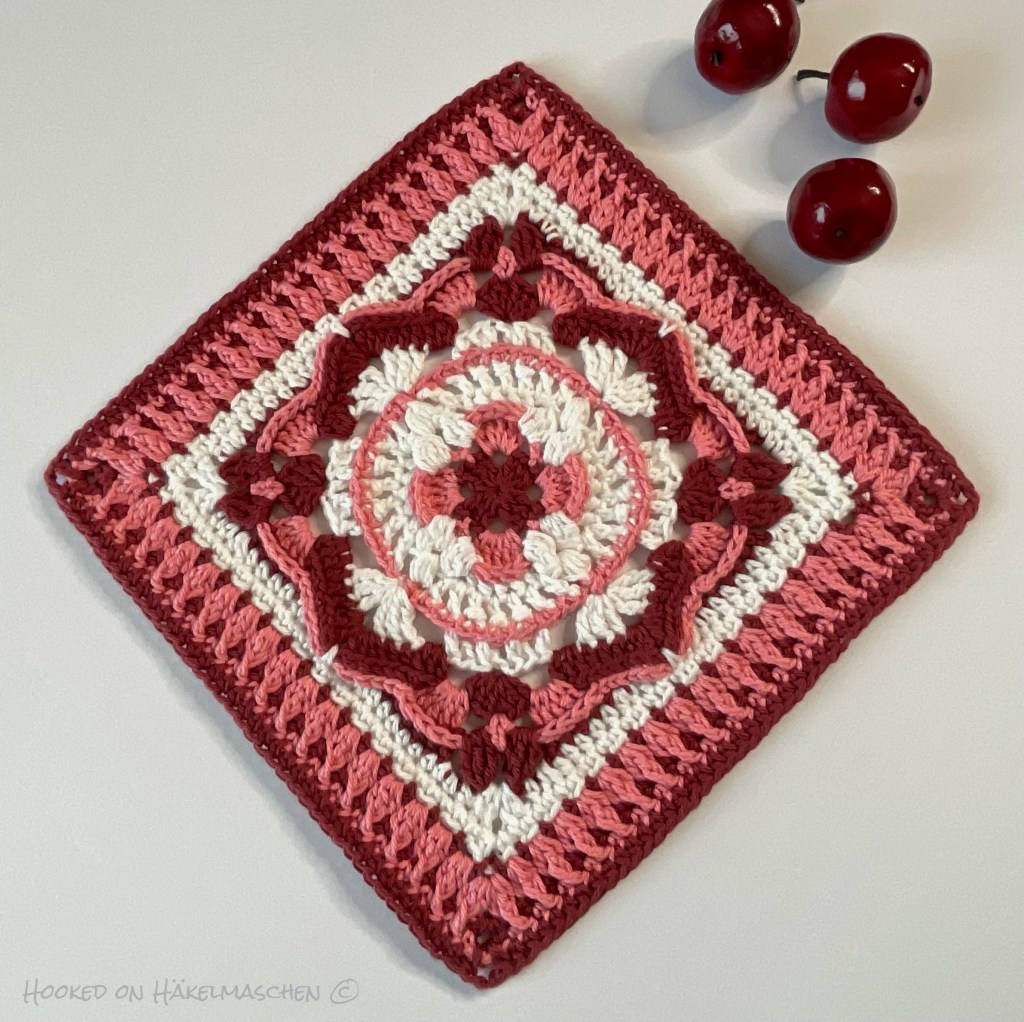
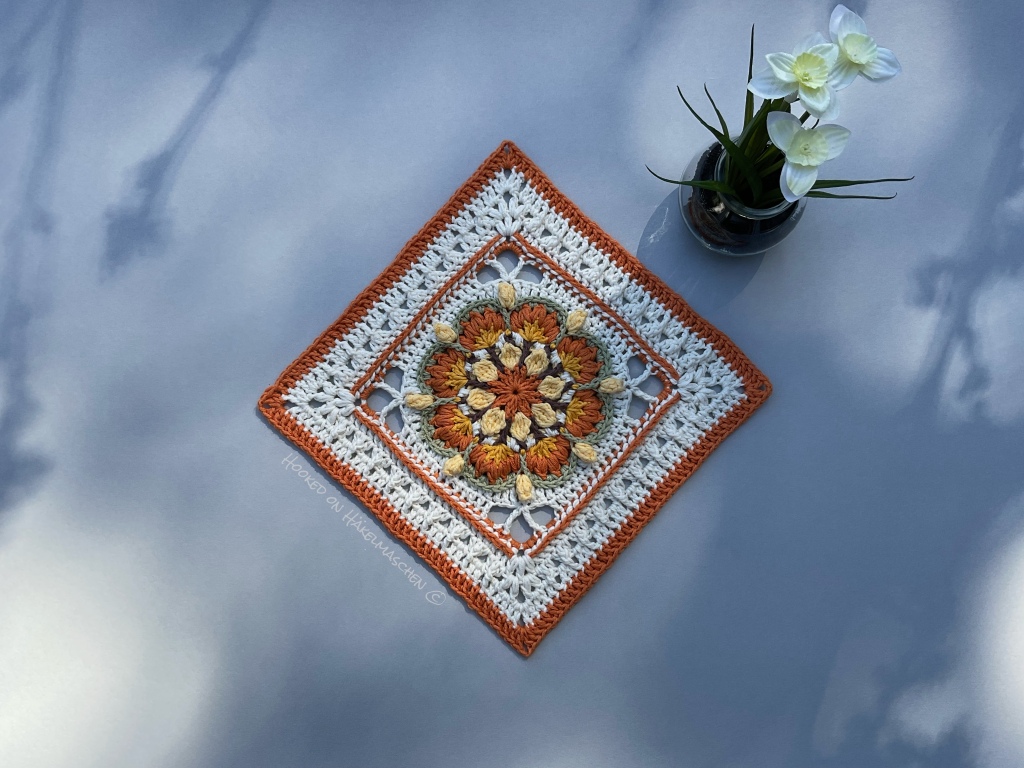
Pam Knighton-Haener from A Yarn of Serendipity just released one of her new designs: Efflorescent Square. I am happy that I was able to test it!
Efflorescence demonstrates the growth and beauty of nature’s flower bloom and the personal growth and splendor of human love.
Pam
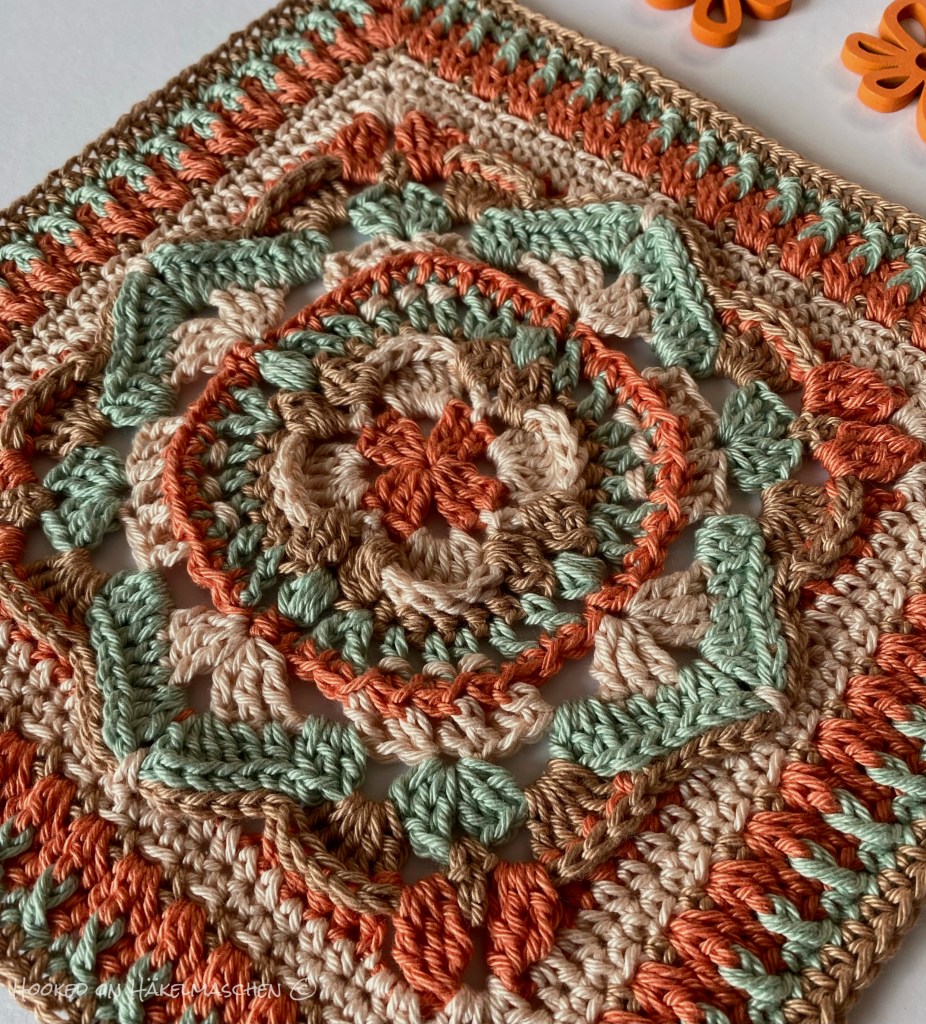
For this test I tried a new yarn: Drops Safran.
It is a sport weight cotton yarn that has 160 m per 50 g. I am very happy with this choice. It is a soft yarn and nice to work with. I definitely will get some more colours of it. It also will be a good match with my Hobbii Rainbow Cotton 8/4!
As recommended on the yarn label I used a 3 mm hook. But it should also work with my 2,75 mm hook that I usually use with Hobbii Rainbow Cotton 8/4.
I didn’t follow one of Pam’s colour ways this time, but created my own. Therefor I have listed the colours for each round below.
Here the details about my version:
Pattern
Efflorescent Square
Available on Ravelry
Designer
Pam Knighton-Haener from A Yarn of Serendipity
Technique
Regular crochet
Yarn and Hook
Drops Safran
Clover Soft Touch, 3 mm
Colours
A – 28, Orange
B – 10, Vanilla Cream
C – 23, Dark Taupe
D – 18, Off White
E – 11, Sunshine
F – 65, Pistachio
Colours per round
Round 1 – A, Orange
Round 2 – B, Vanilla Cream
Round 3 – C, Dark Taupe
Round 4 – D, Off White
Round 5 – E, Sunshine
Round 6 – A, Orange
Round 7 – F, Pistachio
Round 8 – B, Vanilla Cream
Round 9 – D, Off White
Round 10 – D, Off White
Round 11 – A, Orange
Round 12 – D, Off White
Round 13 – D, Off White
Round 14 – D, Off White
Round 15 – A, Orange
Finished Size
about 21,5 cm / 8,5 inch