Last updated on January 11, 2026
Although I really didn’t crochet much this year, I’m actually working on a new project right now. A cushion cover!
I’m still a long way from having finished it. But so far I like it so much that I wanted to show it off!
I opted for a similar design to the Happy Circles wall hangings I made last year.

Back then I used 15 different colours and created the random arrangement of the colours with a random generator. I was totally happy with the result! You‘ll find all information about it in this post.
Choosing colours for my new project
Although I am using a similar pattern, the colours will be different in my new project. I’m using a colour combination that I’ve wanted to try for a long time.
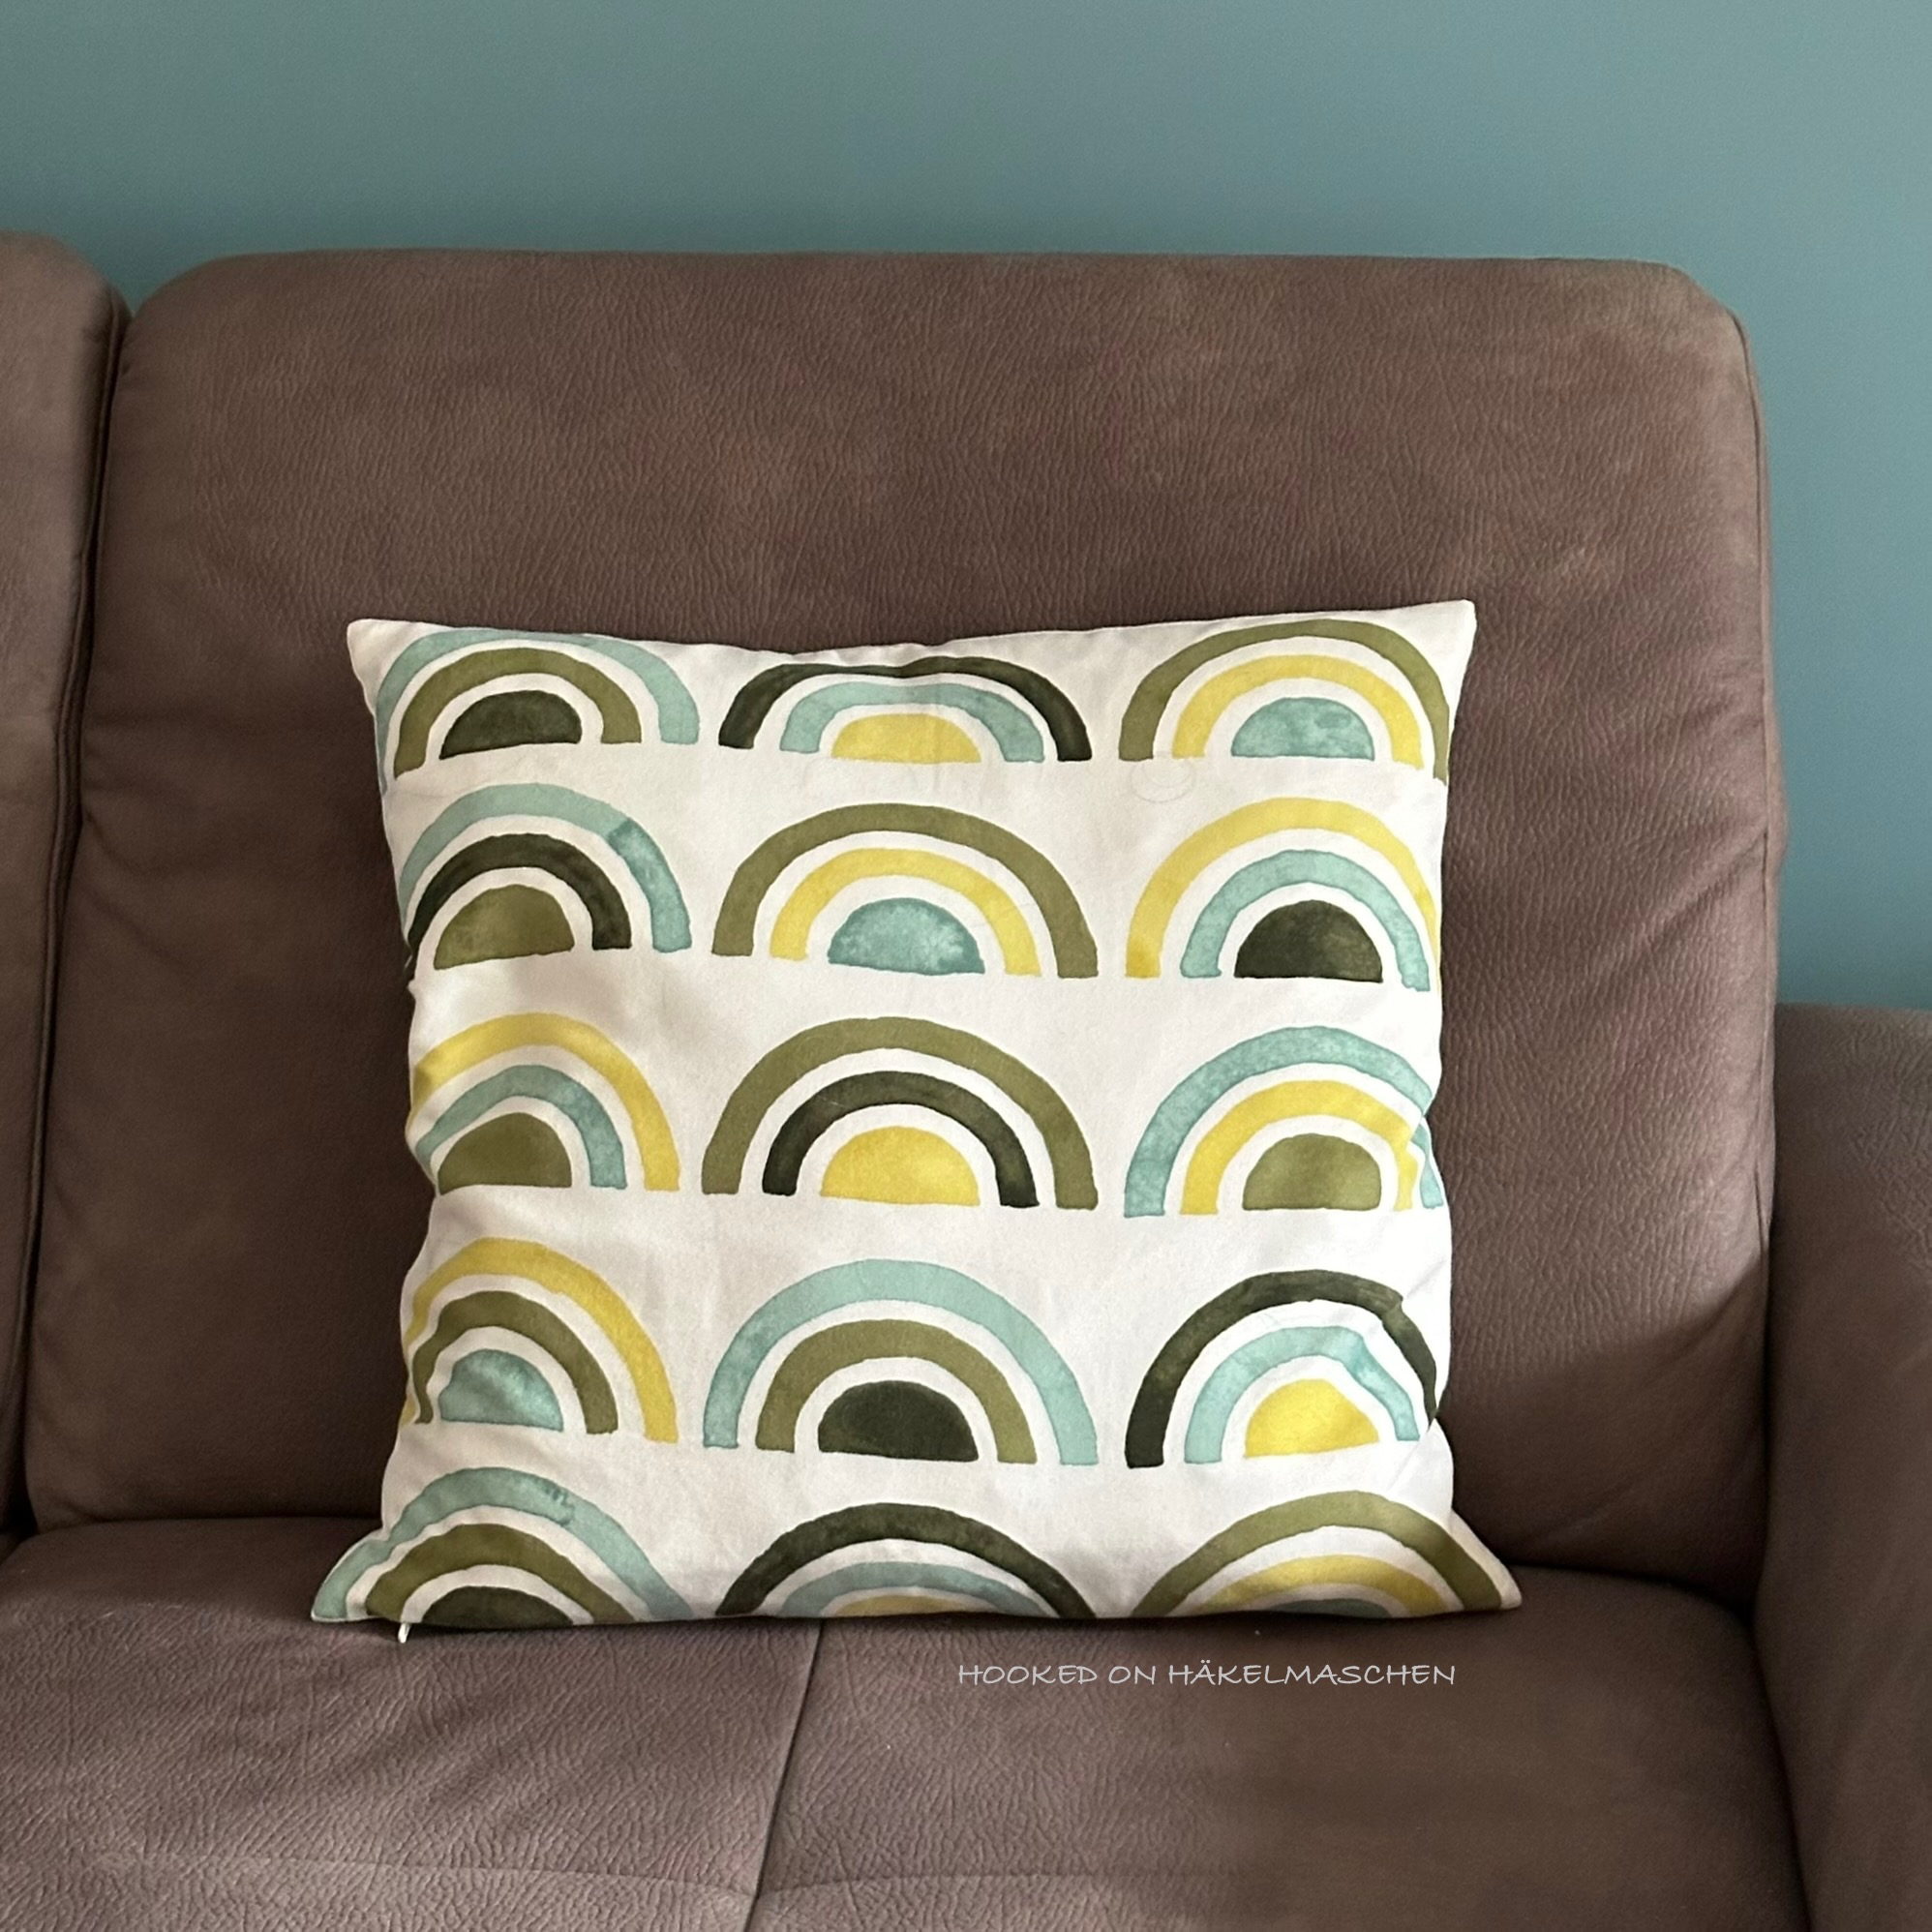
My inspiration is a cushion I have from IKEA.
A mixture of green and blue tones, with a yellow undertone in the green shades.
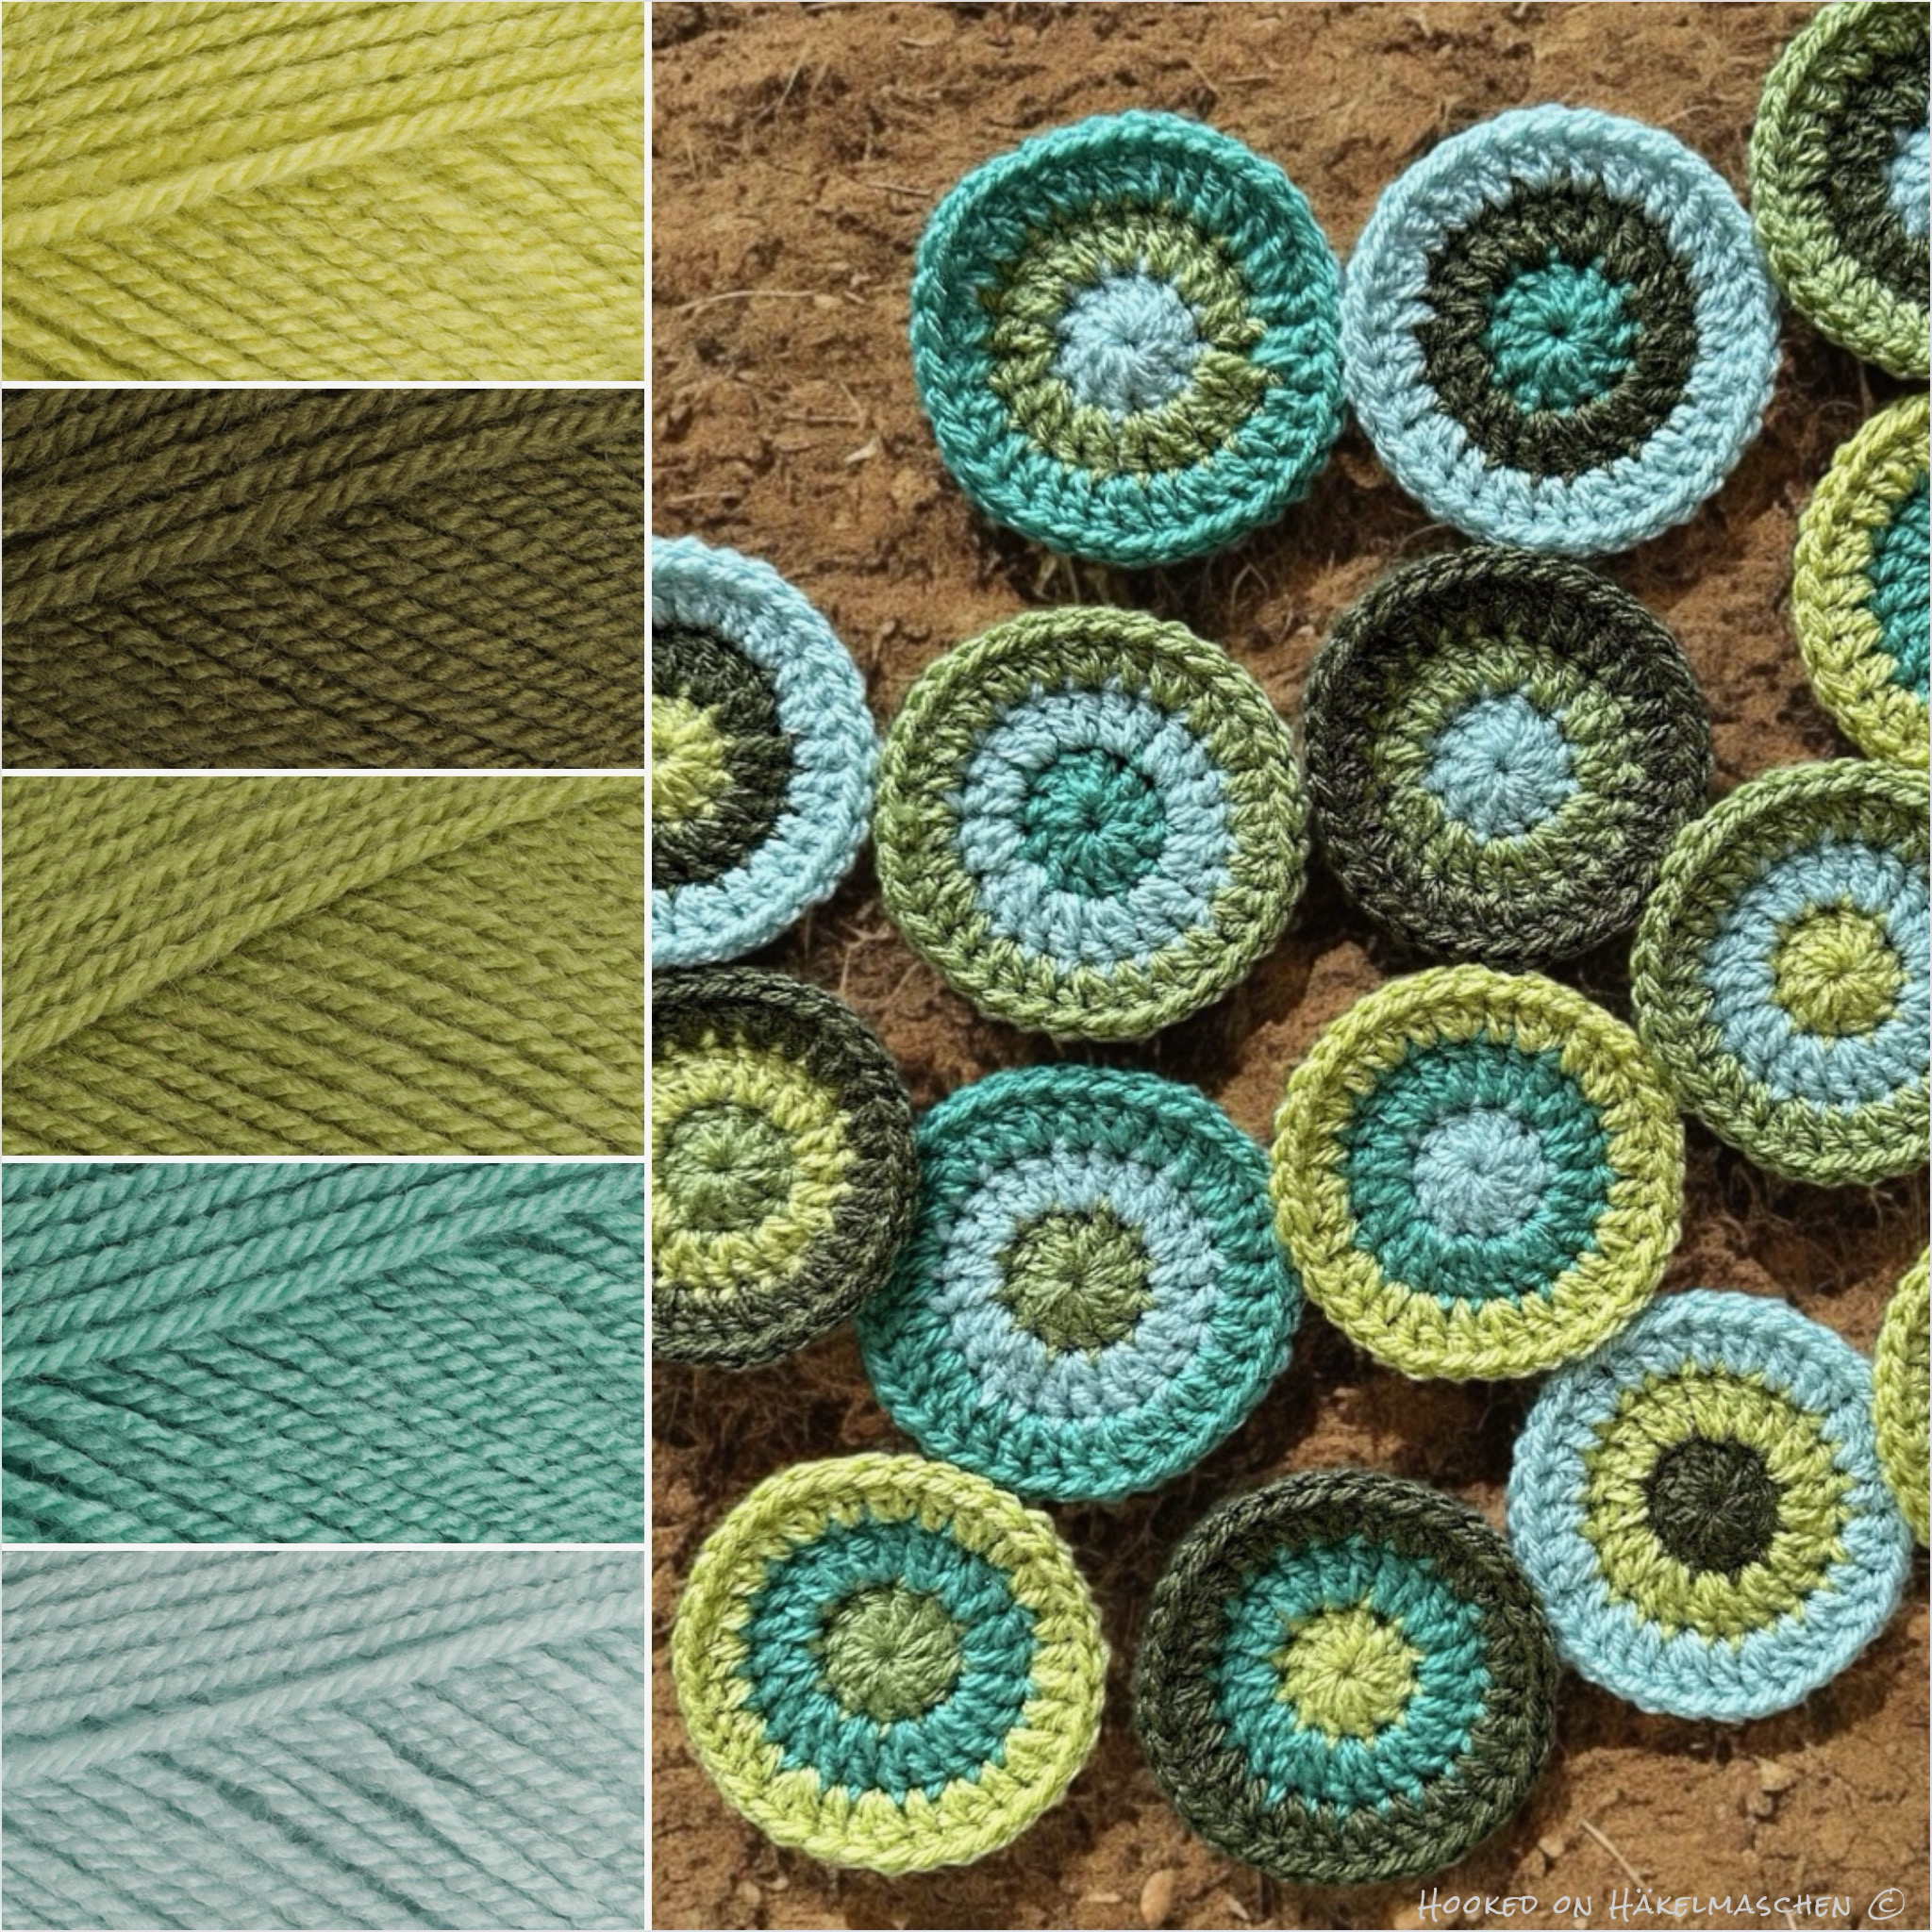
My colours
Stylecraft Special DK
1822 – Pistachio
1027 – Khaki
1065 – Meadow
1725 – Sage
1820 – Duck Egg
My colour placement – Random or not?
For my Happy Circles wall hangings, the random colour placement worked so well, so I wanted to use the same method for the cushion cover.
Well…
Using a random generator
Unfortunately, using a random generator didn’t work out as expected this time.
No matter how many times I started the random generator and regardless of the order in which I entered the colours., they were not evenly distributed. Certain colours appeared more frequently than others.
What happened?
A bit frustrated, I then took a closer look at the topic, and it is actually logical. This effect is known as ‚true randomness‘ and that’s exactly what random.org provides. Without any corrections, repetitions and clusters are not only possible but even to be expected in true randomness.
What I learned is:
A pure random generator aims to be random, not uniform – therefore repetitions can occur that quickly catch the eye and may feel unbalanced in a small colour set. In a larger colour set, however, this same kind of distribution can create an attractive tension that supports the design.
So it wasn’t a mistake of the randomizer, it just wasn’t the right tool for this specific project
That’s why I decided to create my own ‚controlled’ randomness with a more balanced distribution of colours.
Creating my own randomness
My starting point was
- The five colours I wanted to use
- First, I assigned a letter from A – E to each colour – without a specific scheme, just to make it easier
- The sixteen circles I needed to create the squares for my front panel
- The layout I planned was a 4 x 4 layout – 4 squares wide and 4 squares high
A – Duck Egg
B – Meadow
C – Sage
D – Pistachio
E – Khaki
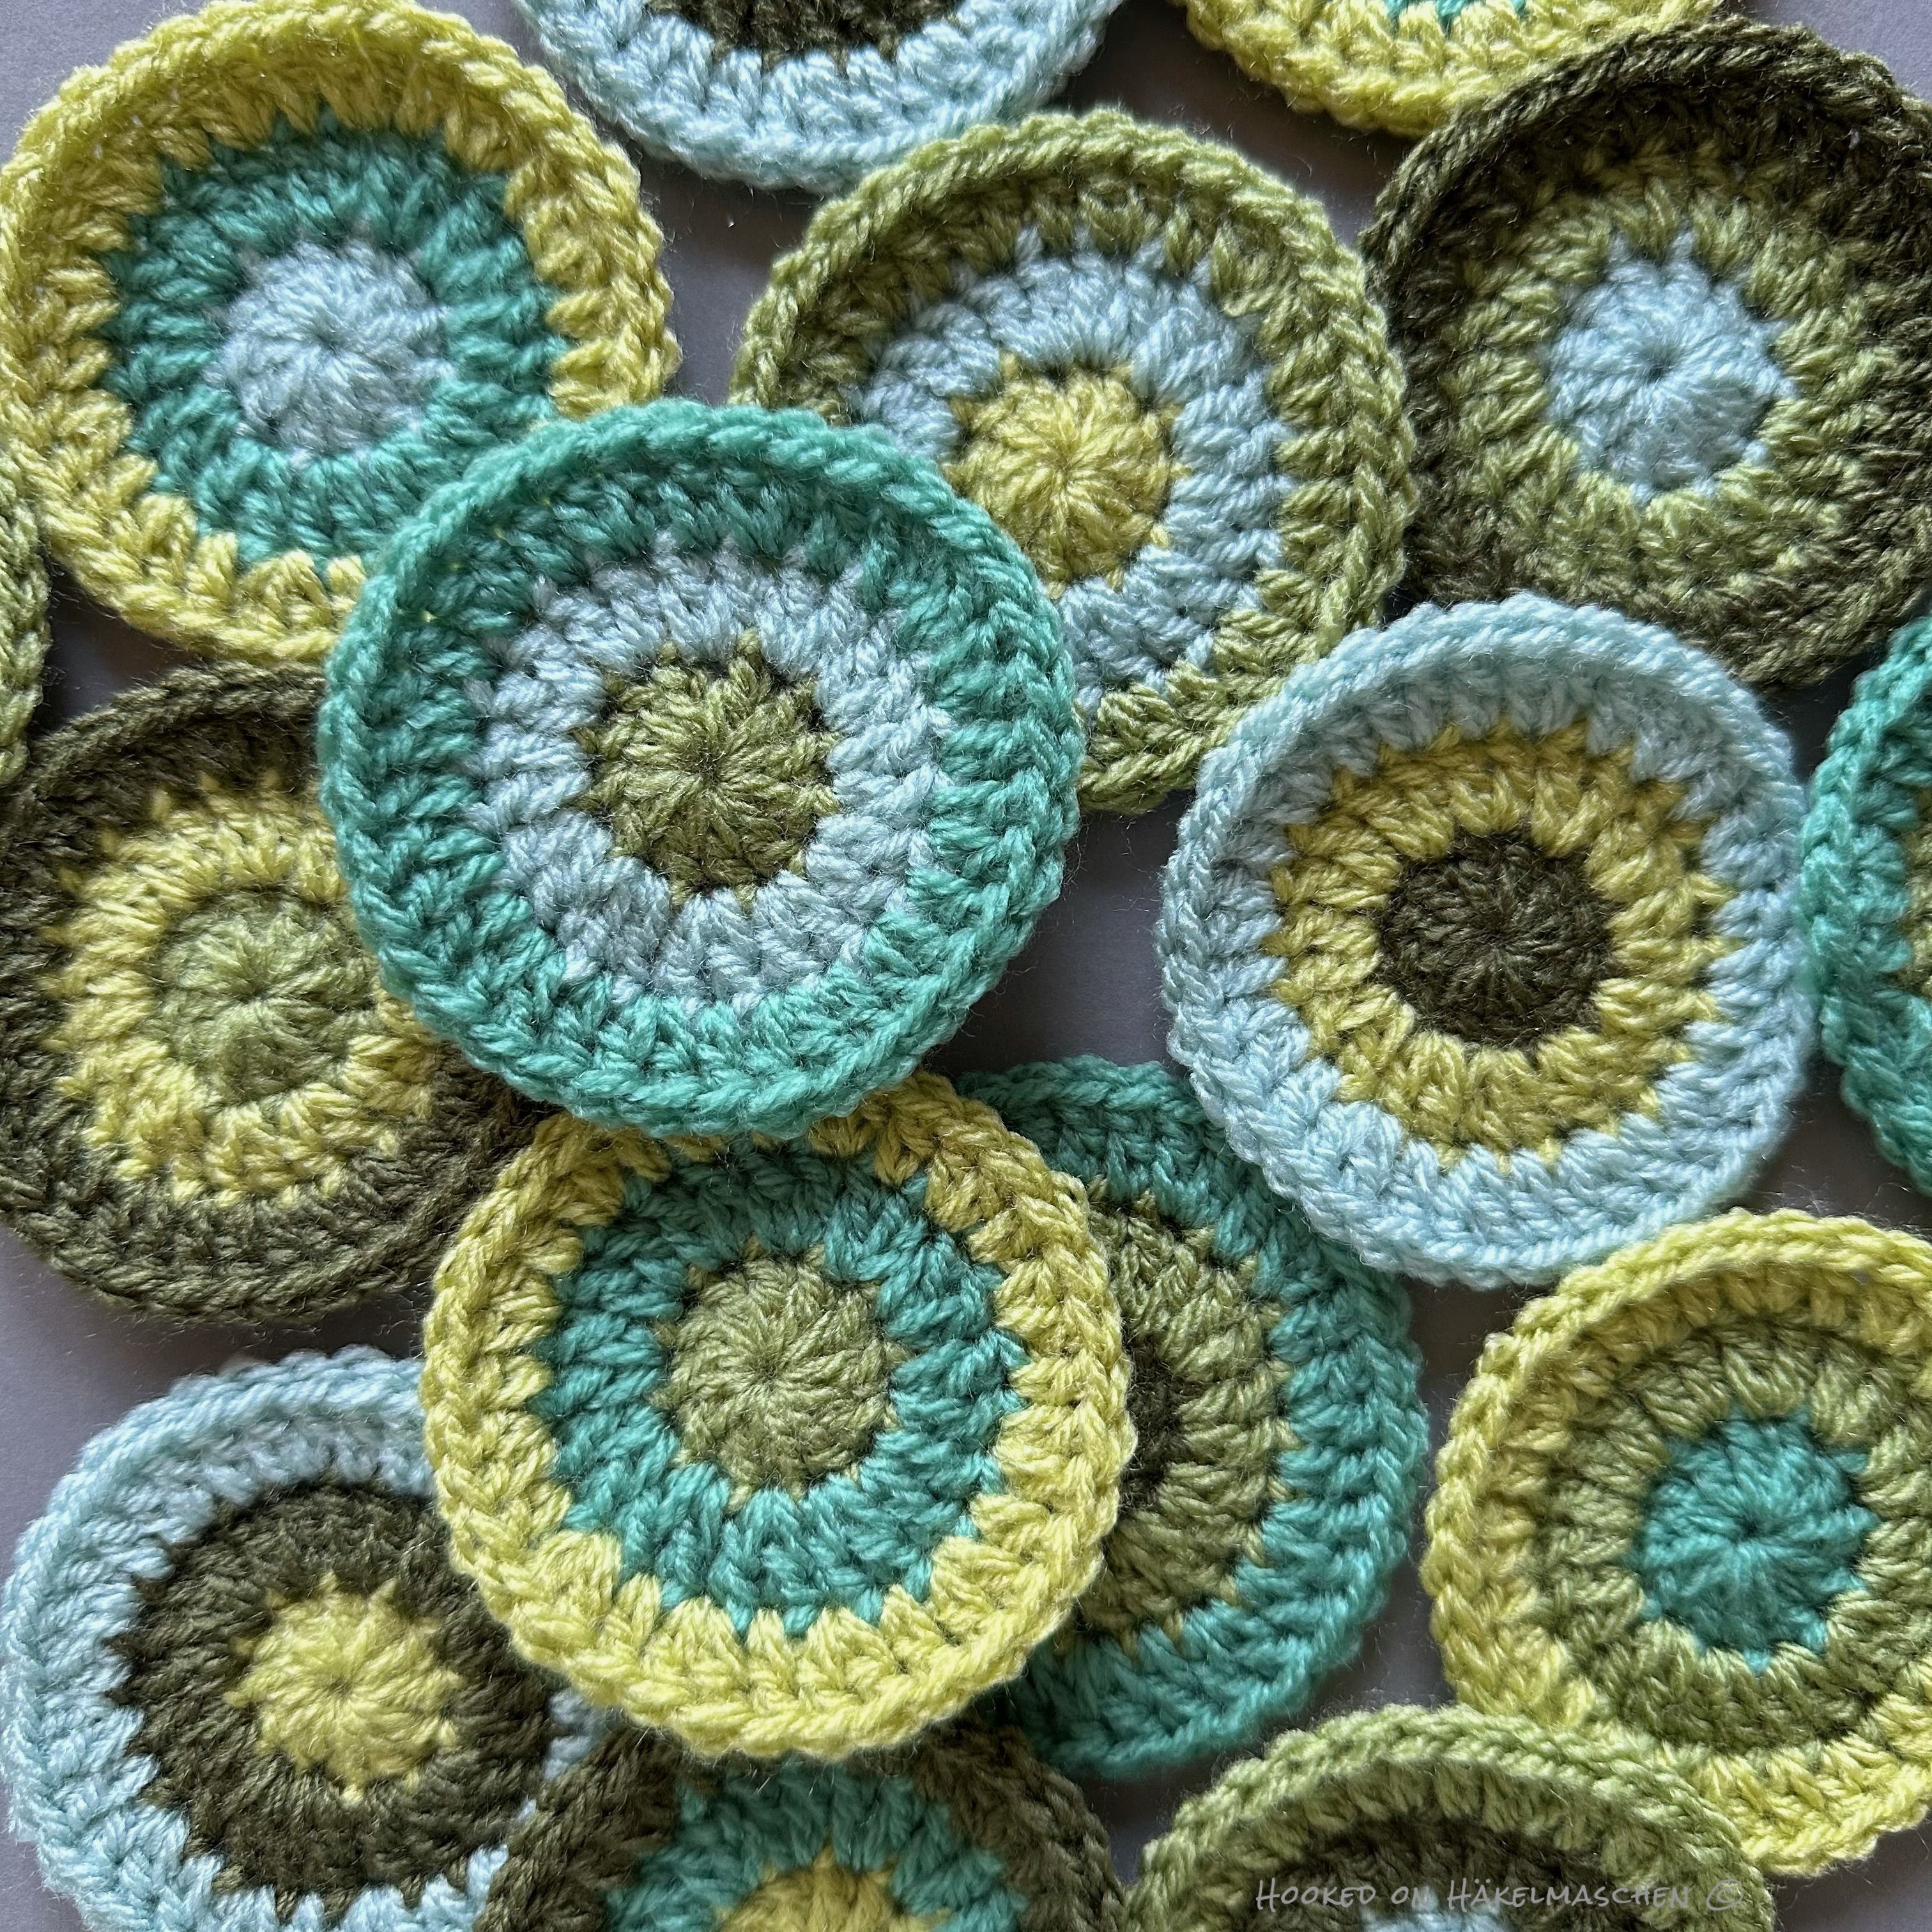
I decided to start 4 circles with the same colour and 3 circles each with one of the other 4 colours. Makes a total of 16.
So I listed the 16 circles in a table and assigned them the colours A – E. Circles 1 – 4 started with colour A, circles 5 -7 with colour B and so on. This was the colour placement for the first round.
To determine the colours for the second round, I started at circle #1 with colour B (as it had already colour A for round 1) In the following I entered the colours consecutively downwards. To avoid two rounds having the same colour, I skipped the relevant letter in these cases. For example: in circle #6, following the sequence, it should have been colour B for round 2. I skipped this to C as B was already assigned for round 1.
Afterwards I did the same for round 3, starting at circle #1 with colour C.
The final result is shown in the table below. In this way, the colour combination looks much more balanced.

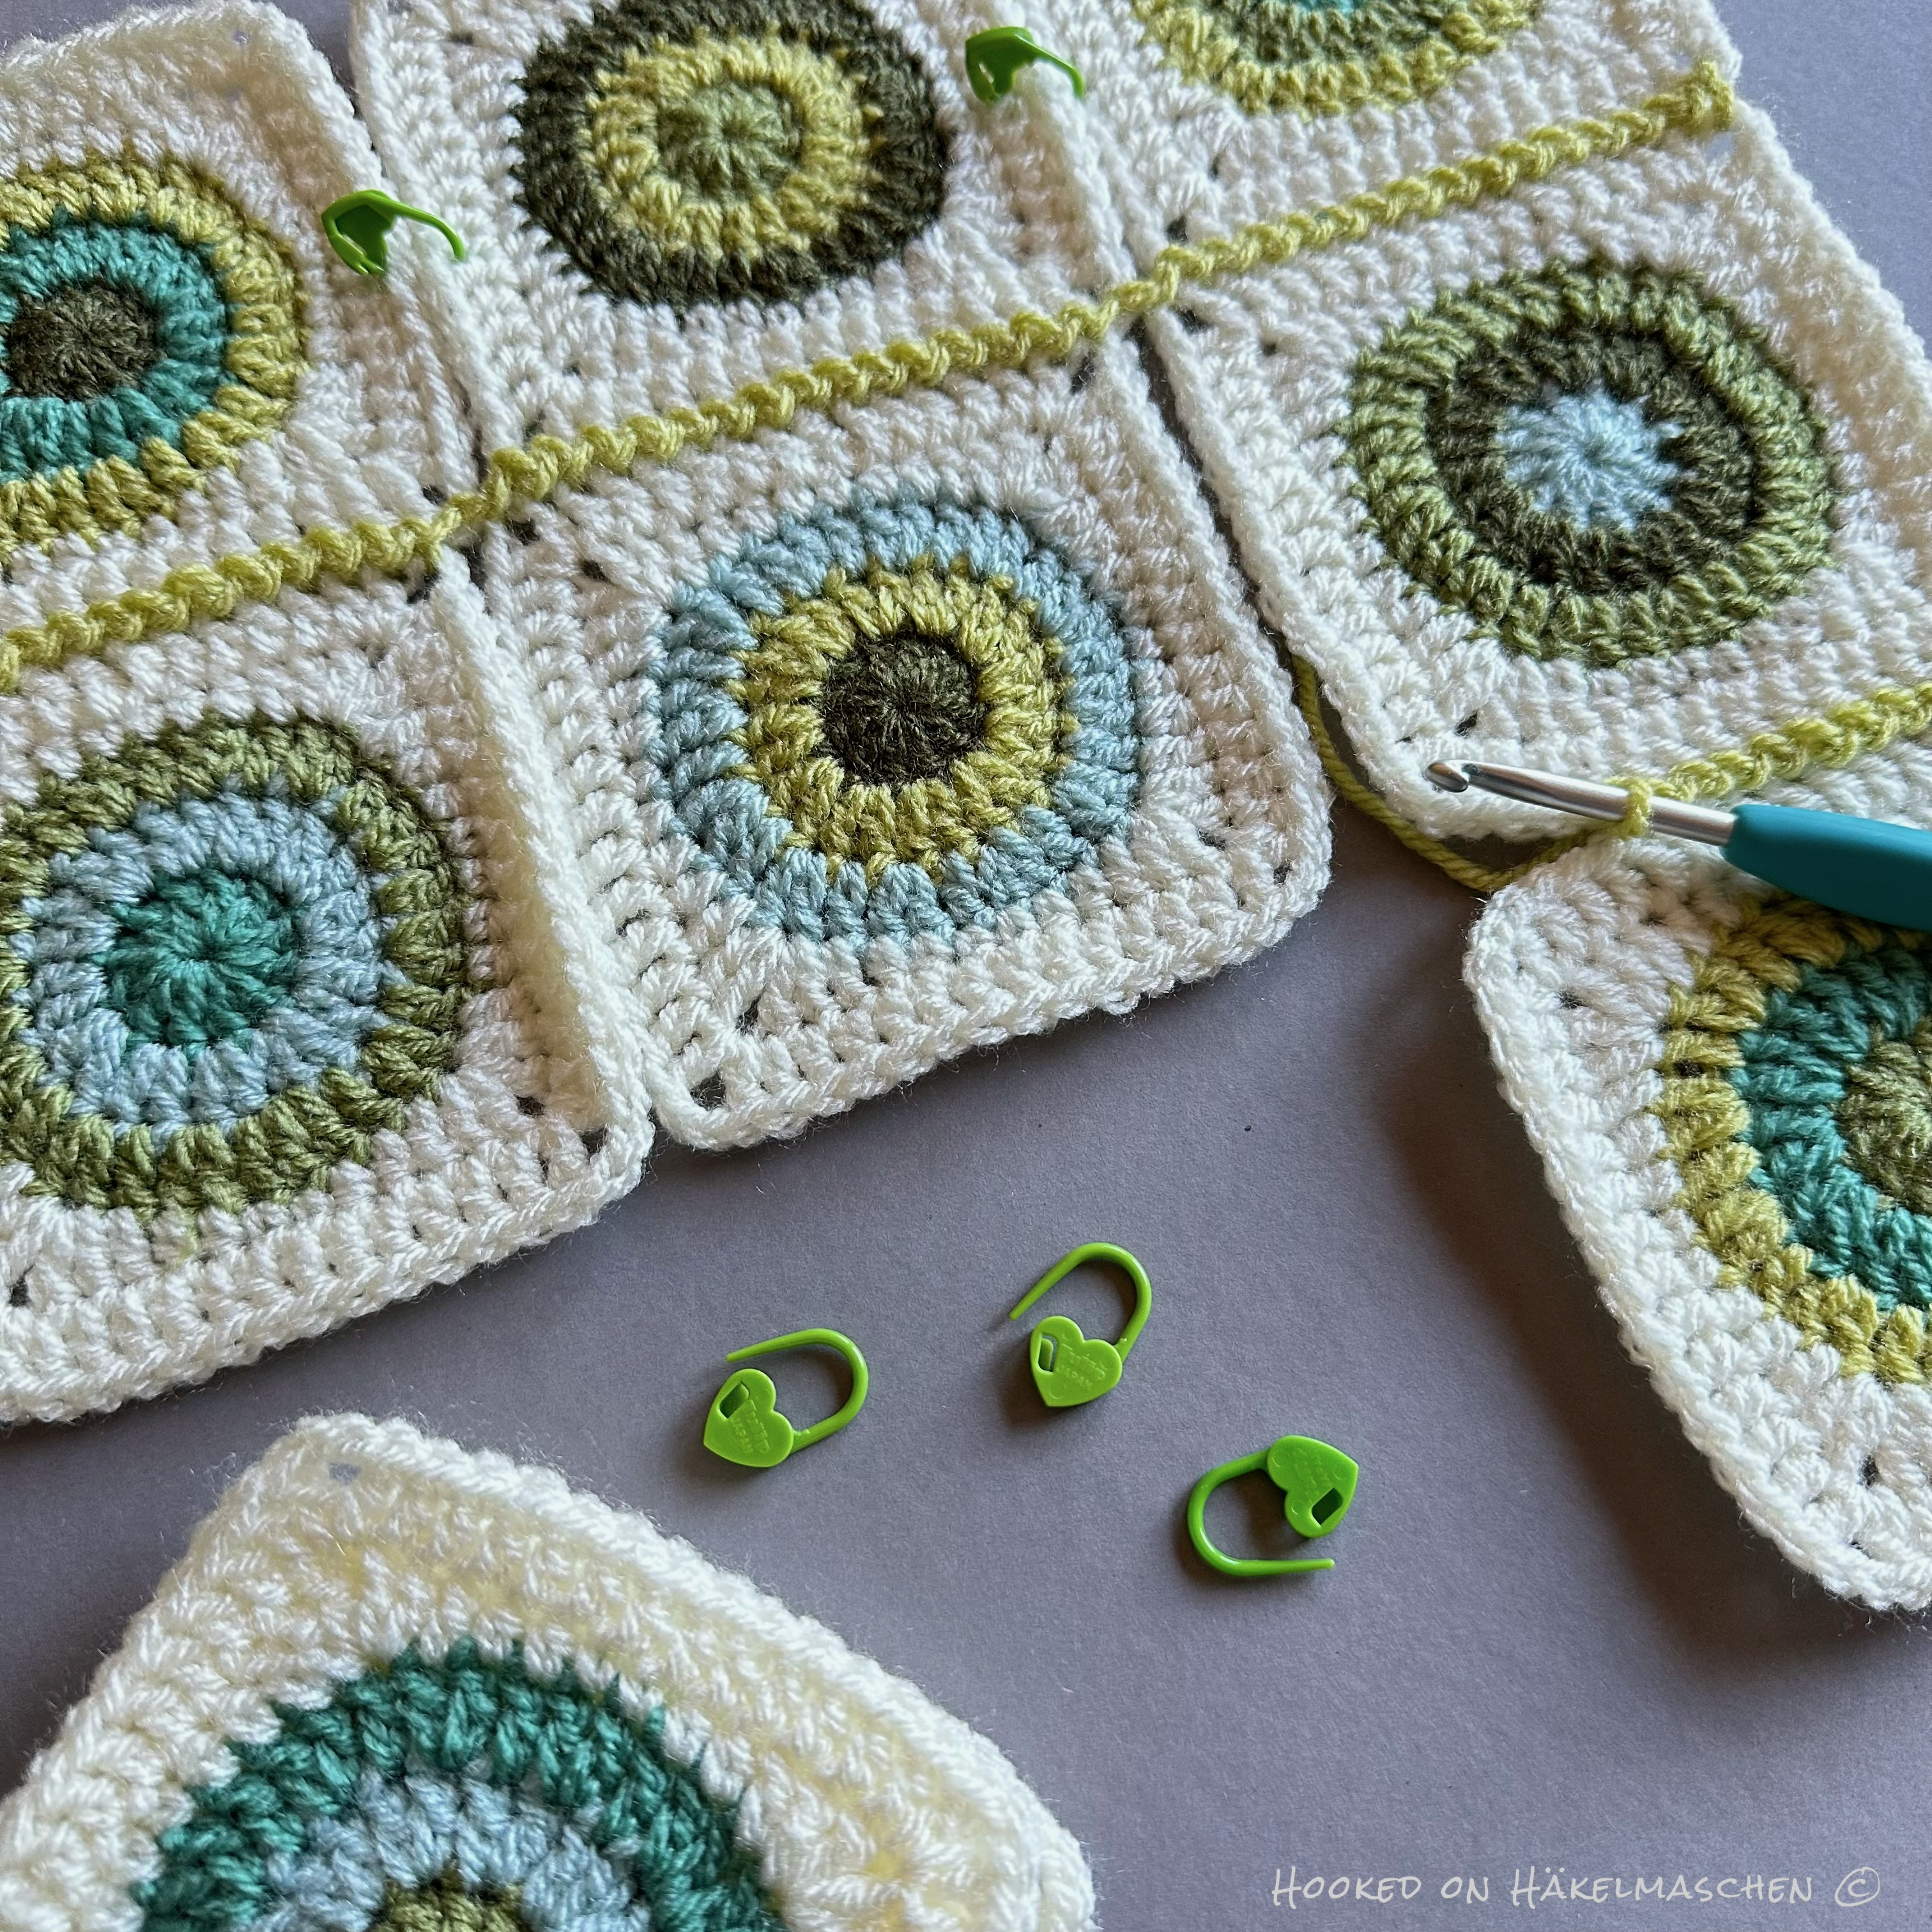
The finished circles were then ‚squared’ by adding two more rounds in Cream.
Creating a layout
Similar to my wall hangings, I created the final layout with the random generator.
Very easy, although it sounds a bit complicated when written.
- Each of my squares already had a number, defined by the colour arrangement (according to the table above / random colour sequence)
- I also numbered the places in a 4 x 4 grid symbolizing the layout (shown as mall grid, upper left in the picture below)
- I entered numbers 1 -16, symbolizing the squares into the list generator of random.org and generated a random result
- I arranged the squares according to this result in the 4×4 grid, made some changes and voilà …

Below my detailed list of the colours used for the circles for each round and the corresponding layout.
Final colour scheme and layout

Joining the squares
Currently I am working on the join…
For my wall hangings, I had opted for a relatively inconspicuous joining method in the colour of the squares. In comparison, I now use Pistachio, so it’s more of a contrasting colour. And I opted for the Zig Zag Slip Stitch Join.
I really like how this turns out!
After joining, I will probably have to work a few more rounds around the whole panel to achieve the desired size.
However, I’m still not sure what the back should look like. Single coloured or colourful? I think I’m leaning towards single-coloured, but that could still change …
Have a great start to the new week 💕