

A free pattern for a simple & cozy crochet decoration
Last updated : 5 June 2026
Back in 2023, I was looking for some easy-to-make Christmas decorations.
Although our home is furnished in a clean and simple style, I prefer my Christmas decorations to feel a bit more traditional and nostalgic. I had been looking for something like a candy cane or a classic Christmas wreath, and somehow that search sparked the idea to make my own. So I grabbed some yarn, picked up my hook, and got started…
I really love the result! And I thought I might as well write down the pattern and share it with you. Maybe you like it too…

For my wreaths, I used Schachenmayr Catania yarn and a 2.75 mm crochet hook. Each wreath has a diameter of about 6 cm, which is between 2 1/4 and 2 1/2 inches.
Catania is 100 % mercerised cotton yarn and has 125 m per 50 g.
Of course you can easily substitute it with any other sport weight cotton yarn.
My colours are
- 212 Khaki – for the wreath
- 192 Weinrot (Wine Red) – for decoration
- 105 Natur (Off White) – also for decoration
The pattern requires only need only small amounts of each color. So it’s also perfect for using up some leftovers.
These pattern also works with any other yarn weight. The only difference is that the size of the finished wreath may vary.
And of course you can use any other colour you like and decorate your wreath with whatever comes to your mind.
Some ideas for decoration
To decorate the little Christmas wreaths, you could, for example, simply sew on a few beads or little stars. Or cut out small shapes from felt and stick them on …
Unfortunately, I didn’t have any of these items on hand, so I focussed on what you can do with yarn.
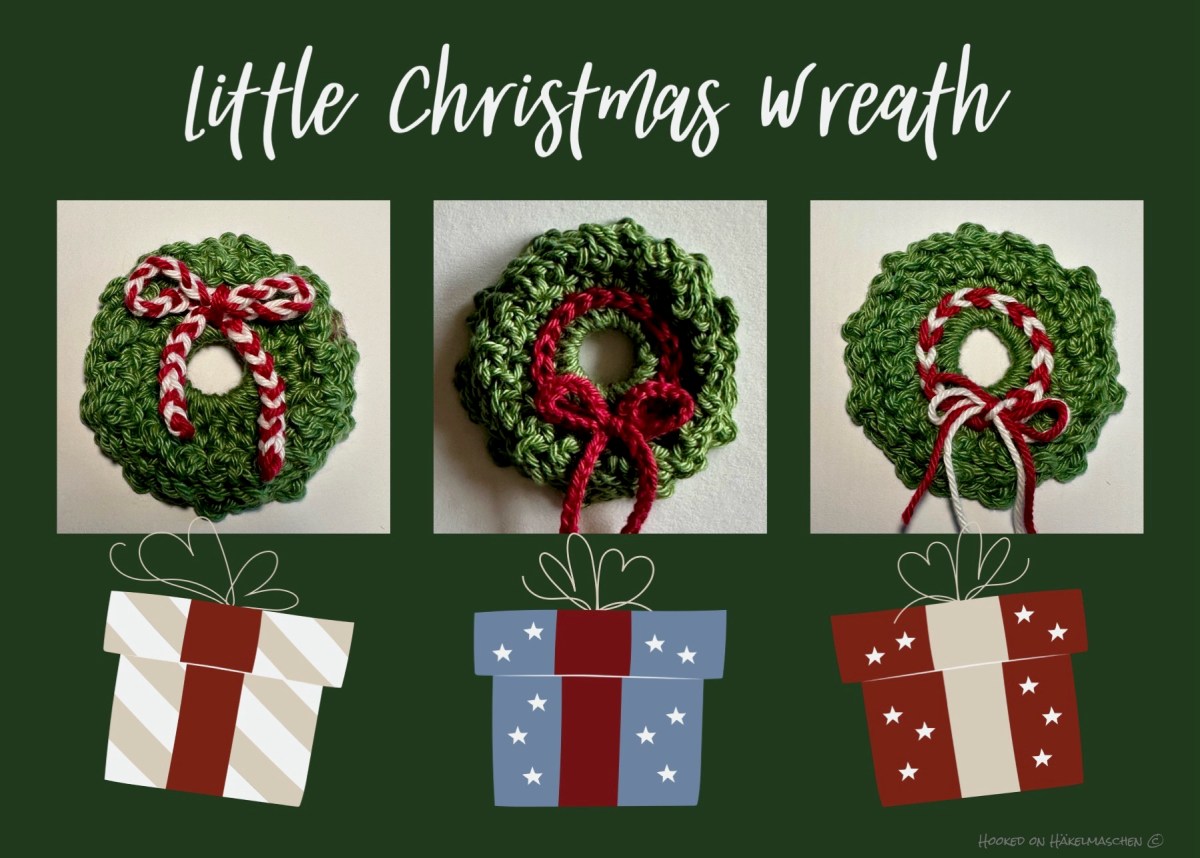
I immediately thought of some ribbons and bows. But you can also just embroider some French Knots, as shown in the picture below (bottom right).

Idea #1 – A simple red ribbon

To create a small ribbon, I simply crocheted a round of slip stitches around the stitches of round 1. The ends of the ribbon were made of chains stitches and have been tied into a bow.
I used two different hook sizes:
– a 1.75 mm hook for the chain stithies, just to make them as small as possible
– a 3.5 mm hook for the slip-stitches to avoid them from being too tight
This is how idea #1 is made
- For the slip-stitches, the yarn should be at the back of the work; for the chain stitches, however, it should be at the front.
- Therefore, insert the hook between any two hdc of round 1 and bring the yarn from back to front
- Start with the smaller hook size. Make a slip knot and chain 22. My chain was about 7 cm / 2 3/4 inches long.
- Switch to the larger hook size. Now work slip stitches around all the stitches of round 1, starting at the stitch to the left of where the yarn was brought to the front.
- Switch to the smaller hook size again. Work another 22 chains.
- Fasten off and secure the ends – either by tying a knot at each end, or by carefully sewing them away at the back
- When the bow is tied, it may look a little bulky; simply shape it as desired and secure it with a thread as shown below (idea #2).
Idea #2 – A two-coloured bow

This bow is made from a chain, approximately 15 or 16 cm (about 6 inches) long.
This is how idea #2 is made
As before, it’s best to use a smaller hook size to ensure the chains are nicely small. I used my 1.75 mm hook again.
The bow is made with two different colours (A and B). To get the striped effect, the colours are changed with every stitch.
Please note: You probably have to work a little more slowly and tighten the previous stitch slightly with each colour change.
- Start with a slip knot on the hook using colour A.
- Grab the colour B thread and make a chain.
- Grab the colour A thread again to make the next chain
- Continue like this until you reach the desired length
And a word about the yarn ends:
Like shown in the photo above, I simply cut off the yarn at the ends of the chain and untangled it a little. However, I didn’t really like the result!
So I made a second version and sewed the threads away at the back. You can see this one in the first photo at the top of the page. I think it looks better.
Idea #3 – A two-coloured ribbon

A two-coloured alternative to idea #1
This is how idea #3 is made
- For this two-coloured ribbon, again, the yarn is needed in the back to work the slip stitches. Start and end of the threads are needed on the front to make and tie the bow.
- So, bring the yarn to the front between any two stitches of round 1. Like in idea #1, but this time, two threads at once (colour A and B).
- Leave the tails long enough to tie the bow later. Mine we’re about 20 cm long
- On the front side: start with a slip knot in one of the threads (colour A)
- Using colour A, slip stitch around the stitch directly to the left of the thread.
- Work the second slip stitch around the next stitch, using colour B
- Work the next slip stitch using colour A again – and so on
As with the two-coloured chain (idea #2), you will probably have to tighten the previous stitch a bit after the colour change.
At the end of the round, cut the yarn, again leaving a long tail. Bring the ends to the front and tie a bow. Then shorten the threads to the desired length.

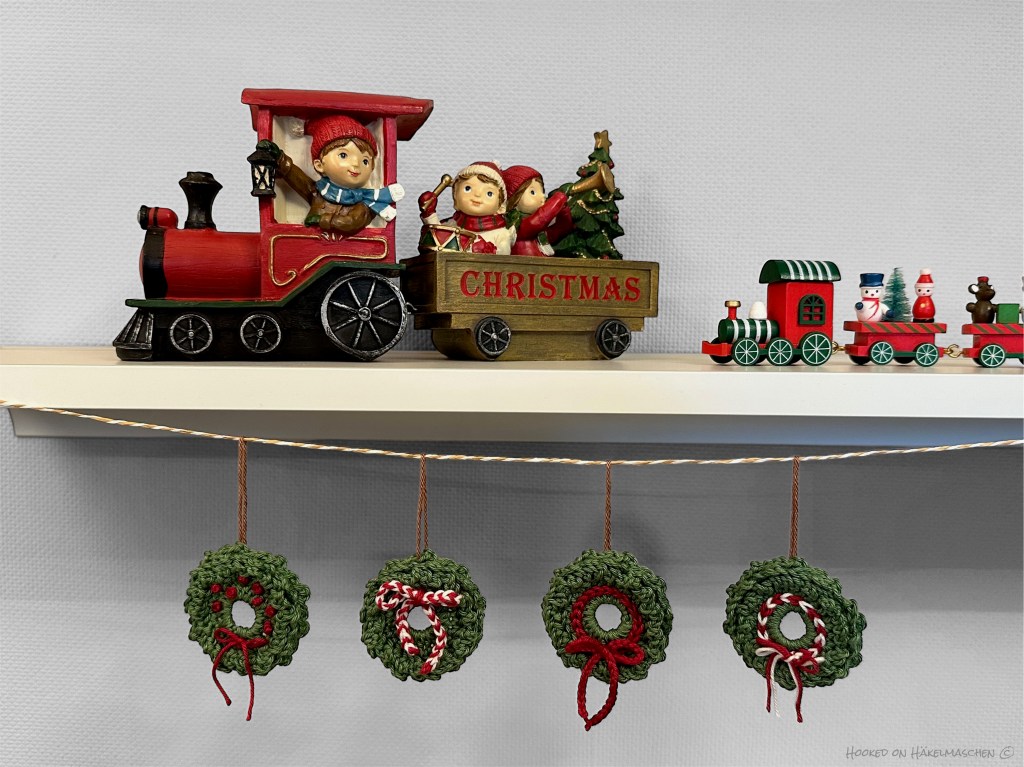
In case you want to hang your wreaths, simply attach a thread, ribbon, or cord to the backside. Ensure it’s roughly aligned with the centre of the bow (where appropriate).
Pattern Link
If you like my little Christmas Wreath and would like to make one too,

The pattern is not tested. So, if you spot any errors or have any questions, don’t hesitate to contact me.
And please, feel free to add your projects to my Ravelry page.
Have fun 💕


What a great idea! 💕
LikeLike
Thanks 💕 I am happy that you like it!
LikeLike