

Ana from One Skein of Love just released the pattern for her latest design: Go with the Flow – a blanket made in Overlay Mosaic technique. The pattern is available in her shops.

Isn’t it lovely?
Actually, I didn’t want to test this pattern.
After the death of my parents-in-law we are still sorting out and dissolving their household. They didn’t live nearby and it’s a longer drive every time – so I don’t have much time at the moment … But I couldn‘t resist …
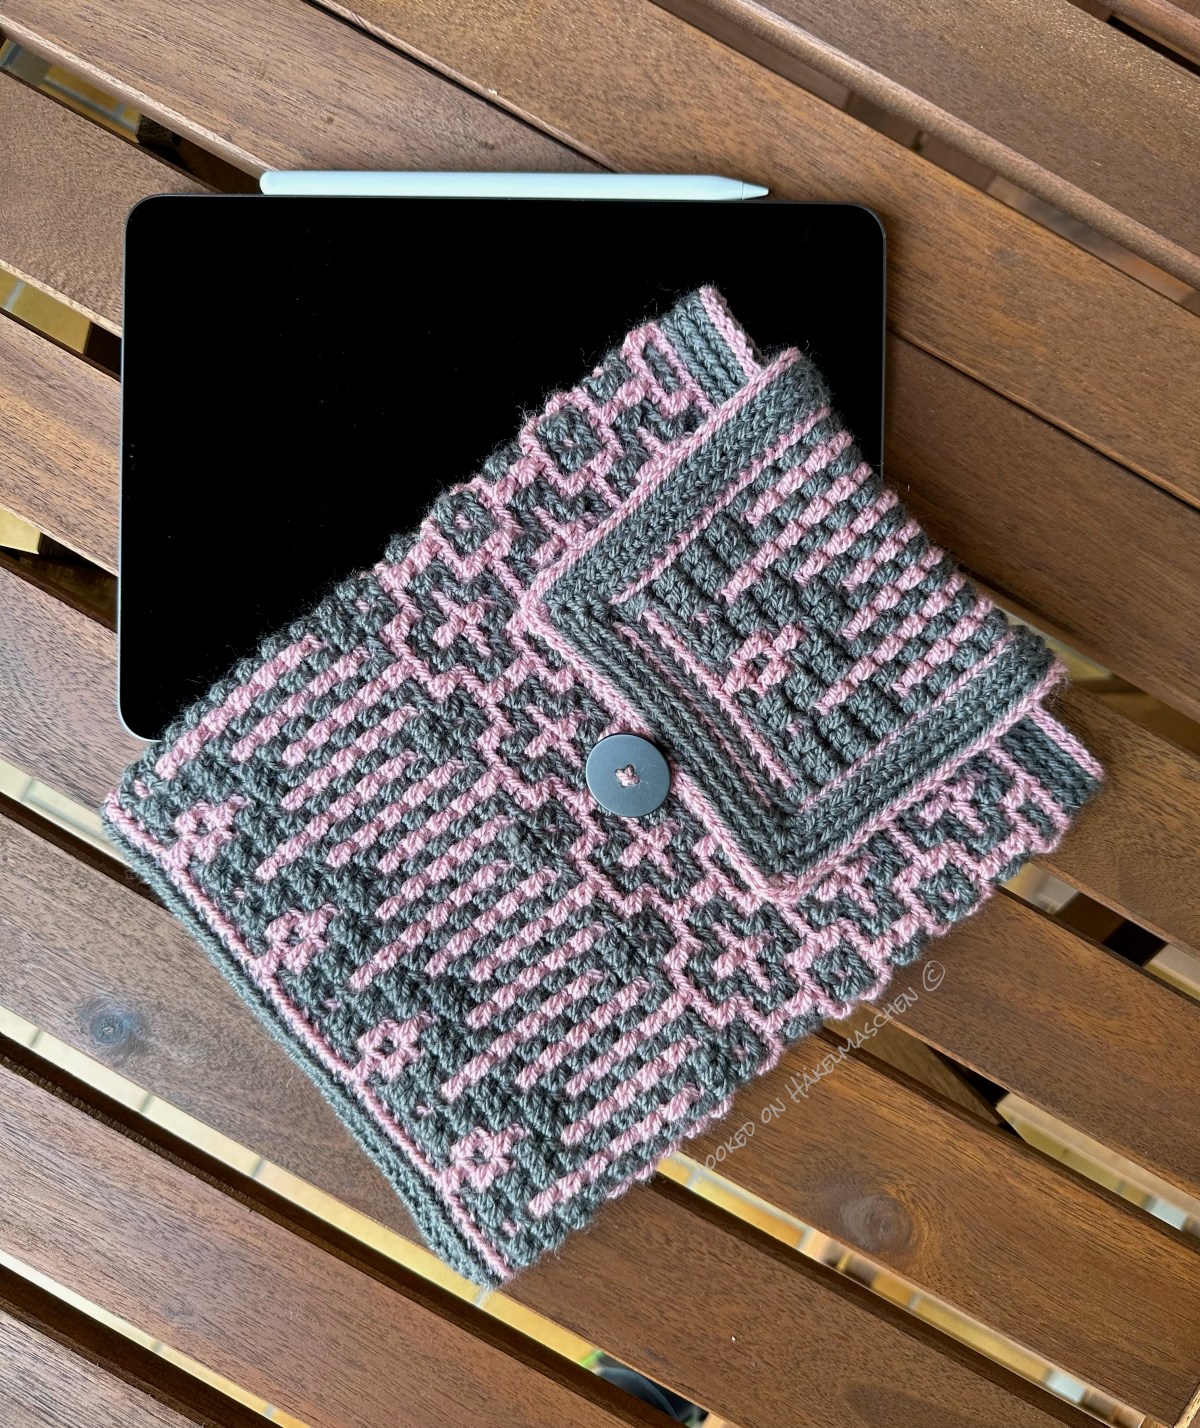
The pattern has a small repeat and so I was able to make something I wanted to do for a long time: a cover for my iPad.

I used Stylecraft Special DK with my 4,0 mm Clover Amour hook. The colours are Graphite (1063) and Pale Rose (1080). Ok, perhaps a cotton yarn would have been better for this purpose. But I didn’t have any matching yarn on hand and I also think that the colour combination suits the pattern very well.
I used Graphite as colour C1 and Pale Rose as C2. To avoid the yarn tails on both sides I just worked the body of the cover in the round.
For me, 72 stitches made a perfect size in width. Especially as I wanted the cover to be a bit bigger so that my pencil would also fit in.
Unfortunately I have no ‘work in progress’-pictures, but here a short summary of what I did.
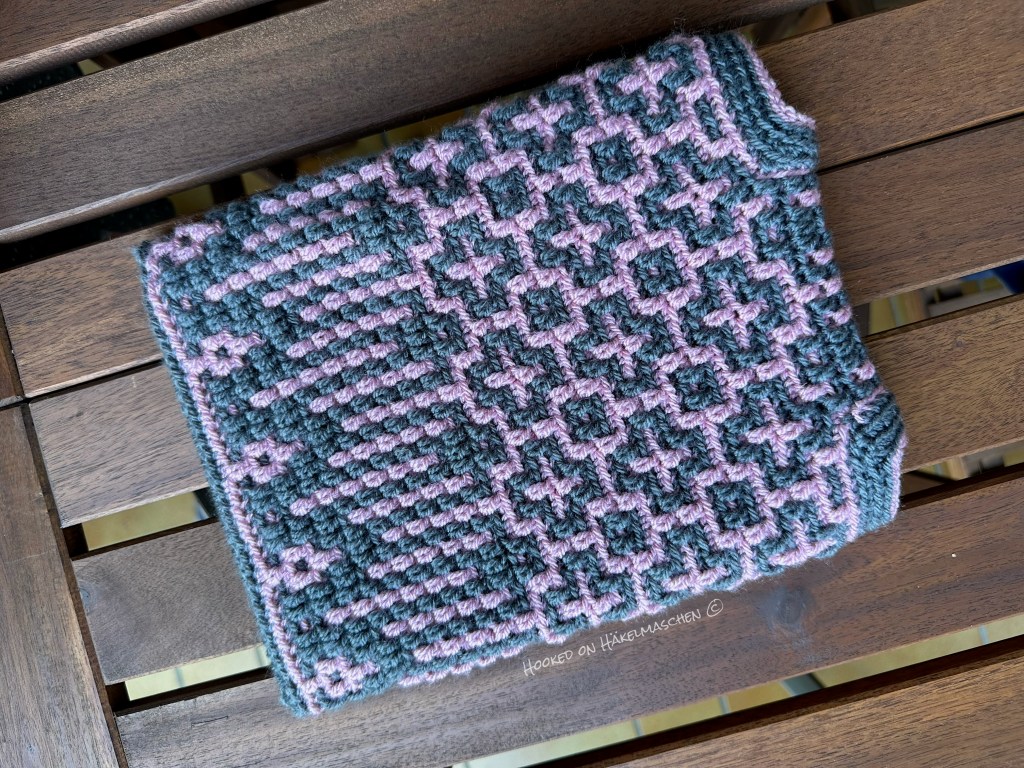
Body and flap of the cover
- Width of the cover
- 72 stitches, worked in the round = 9 repeats (no border stitches, no extra stitches)
- Height of the cover
- rows 1 – 22 / 1 time
- rows 23 – 30 / 3 times
- 46 rows in total
- Flap
- in continuation of the pattern but only worked over 17 stitches (1 repeat, plus extra stitches, plus border stitches) and worked in rows
- rows 199 – 219 of the pattern / 1 time
Border
To attach a small border I prepared the edges of the flap in the same way as it is done for the blanket. My slip stitches (only around the edges of the flap) are made in Pale Rose. For back and front layer I used Graphite.
- Back layer
- The back layer was only worked on the sides and the top of the flap. Therefore it was worked in rows with turning the work in between.
row 1: double crochet worked in the back of the slip stitches, (2 dc, ch 2, 2 dc) in each of the 2 corner spaces
row 2: single crochet in both loops, (1 sc, ch 2, 1 sc) in the corner spaces
- The back layer was only worked on the sides and the top of the flap. Therefore it was worked in rows with turning the work in between.
- Front layer
- The front layer was worked in rounds over the flap and the upper edge of of the cover. To get a rounded transition from the flap to the upper edge of the body, I skipped the first / last stitch of the upper edge (directly after / before the stitches of the flap) in each round.
round 1: single crochet, over the flap worked in back loops of the slip stitches, in the corner spaces (1 sc, ch2, 1 sc) like explained for the border of the blanket. Over the body worked in back loops of the stitches of the last round.
rounds 2 and 3: single crochet worked in back loops, (1 sc, ch2, 1 sc) in the corner spaces of the flap.
- The front layer was worked in rounds over the flap and the upper edge of of the cover. To get a rounded transition from the flap to the upper edge of the body, I skipped the first / last stitch of the upper edge (directly after / before the stitches of the flap) in each round.
- Joining
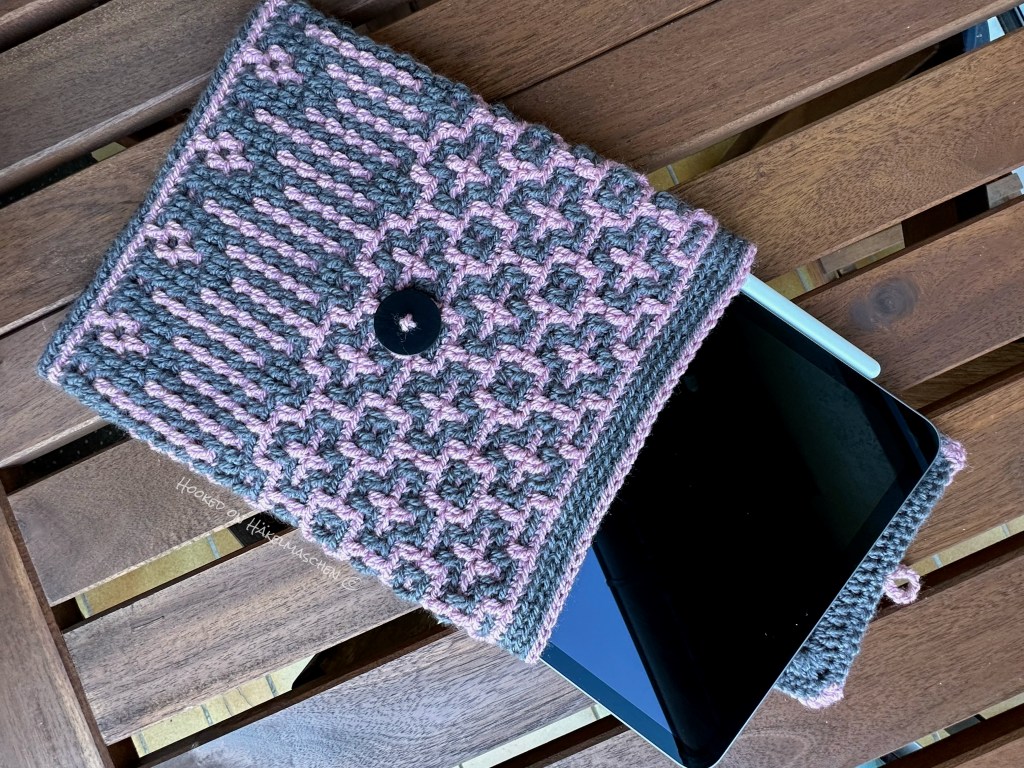
- Back and front layer of the flap are joined with a row of slip stitches in Pale Rose. To get a consistent look I continued the slip stitches over the body. A small loop on the upper edge of the flap, made with some chains, serves as buttonhole.
Finishing
I closed the bottom of the cover with some whipstitches and a sewed on a button.


If you want to make one for your own
To get the measurements for a cover that fits your Tablet I would suggest that you make a little swatch first. For this, two or three pattern repeats should be enough. Then you can work out how many repeats you will need in width and also estimate how many rows / repeats you will need in height.
Or – and that was my way :) – you just cast on some chains and put them around your tablet. (I suppose this method will even work better with foundation single crochet but FSC still is not MY thing.) Just keep in mind that your total number of stitches has to be a multiple of the stitches of a pattern repeat.
After you have crocheted a couple of rows, put your tablet next to it and check now and then if you have already reached the required height. It doesn‘t sound very professional but it worked perfectly for me!
Two more points are important:
When starting the flap double check that the pattern is continued as it would be in a blanket. And, before closing the bottom of the body make sure that the flap is in the middle of the backside and take care that the pattern is centered. That‘s all – have fun!


